
Soldering is an essential technique used to join electronic components together. To successfully solder without temperature control, it’s important to understand the basics.
There are different types of soldering tools and equipment available, so choosing the right soldering iron for your project is crucial. Here we will take you through the basics of soldering, step-by-step instructions on how to solder without soldering station temperature control, safety measures to keep in mind, and troubleshooting common soldering problems.
Whether you want to repair electronics or embark on exciting DIY projects, this guide has got you covered. With our comprehensive tips and tricks, you’ll be able to confidently tackle any soldering task that comes your way. Get ready to unleash your creativity and achieve professional-level results with soldering without temperature control. Let’s dive in.

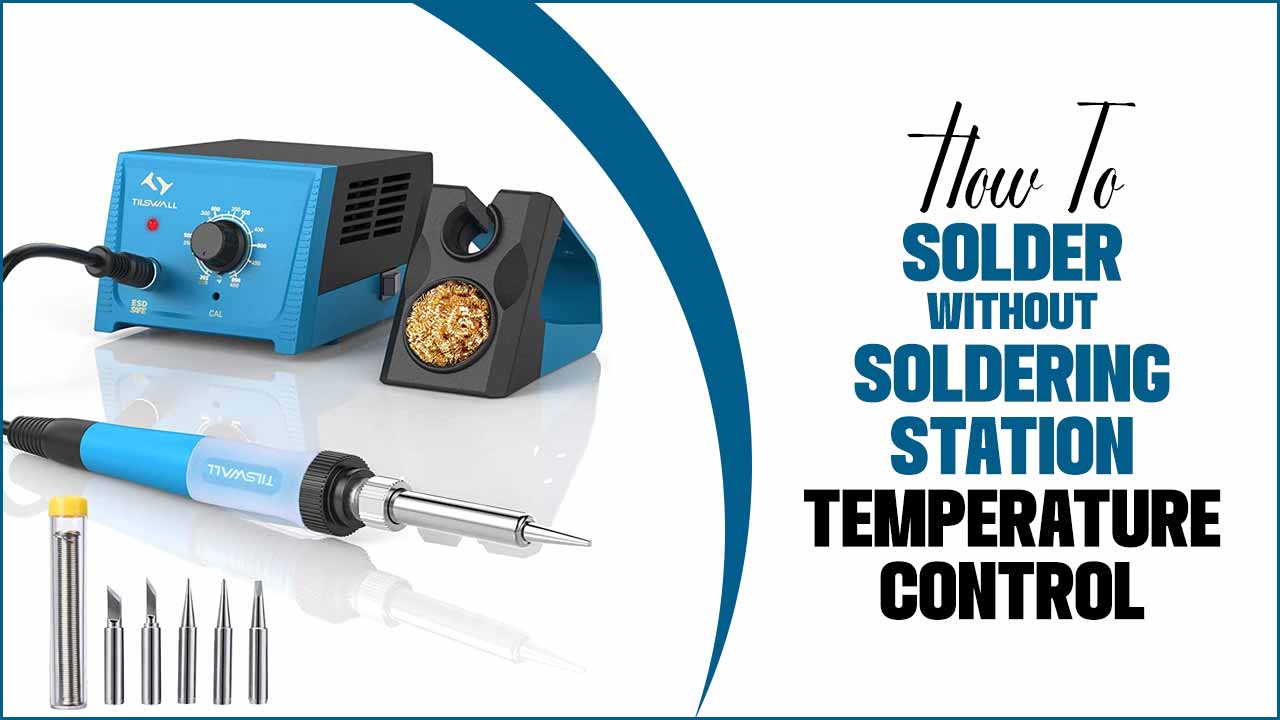
How To Solder Without Soldering Station Temperature Control-Step-By-Step Guide
Soldering without temperature control offers several benefits. it can be a more affordable option as soldering irons with temperature control tend to be pricier. This makes it accessible for beginners and hobbyists who may not need precise temperature adjustments. Additionally, soldering without temperature control allows for faster heat-up times since there is no waiting for the iron to reach a specific temperature. Here are step-by-step processes on how to solder without soldering station temperature control
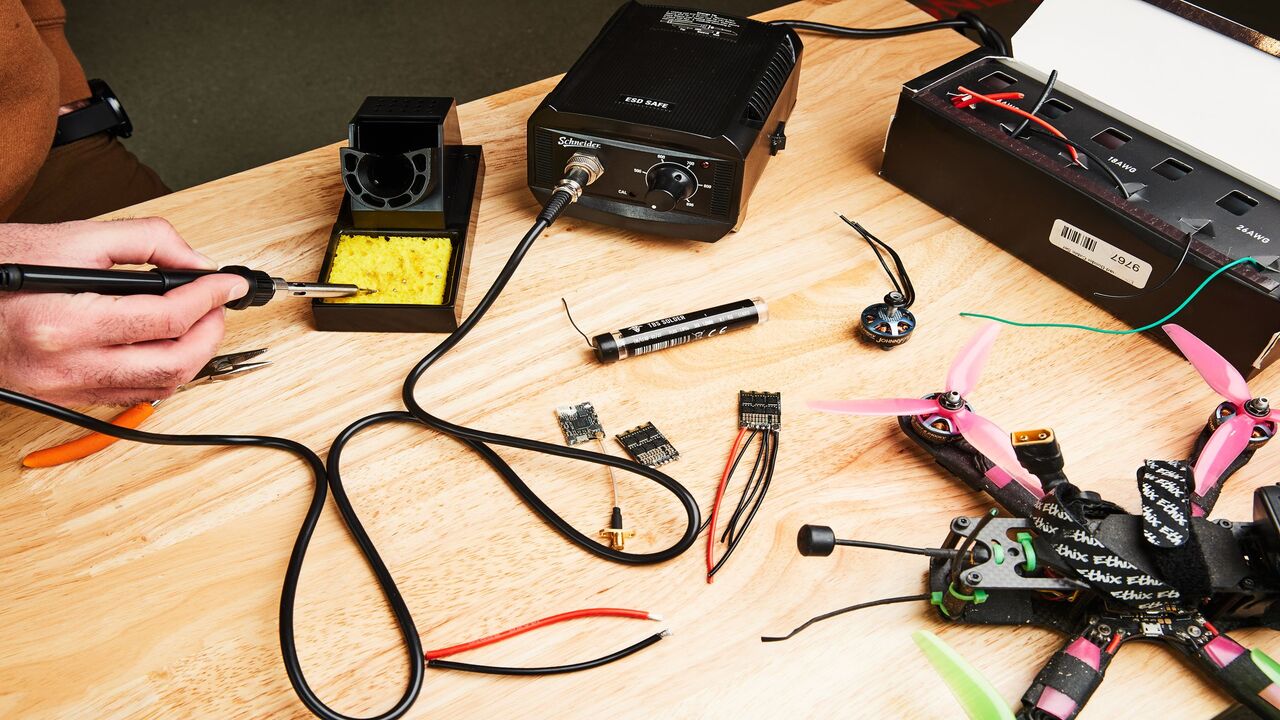
1.Gather The Necessary Tools And Materials
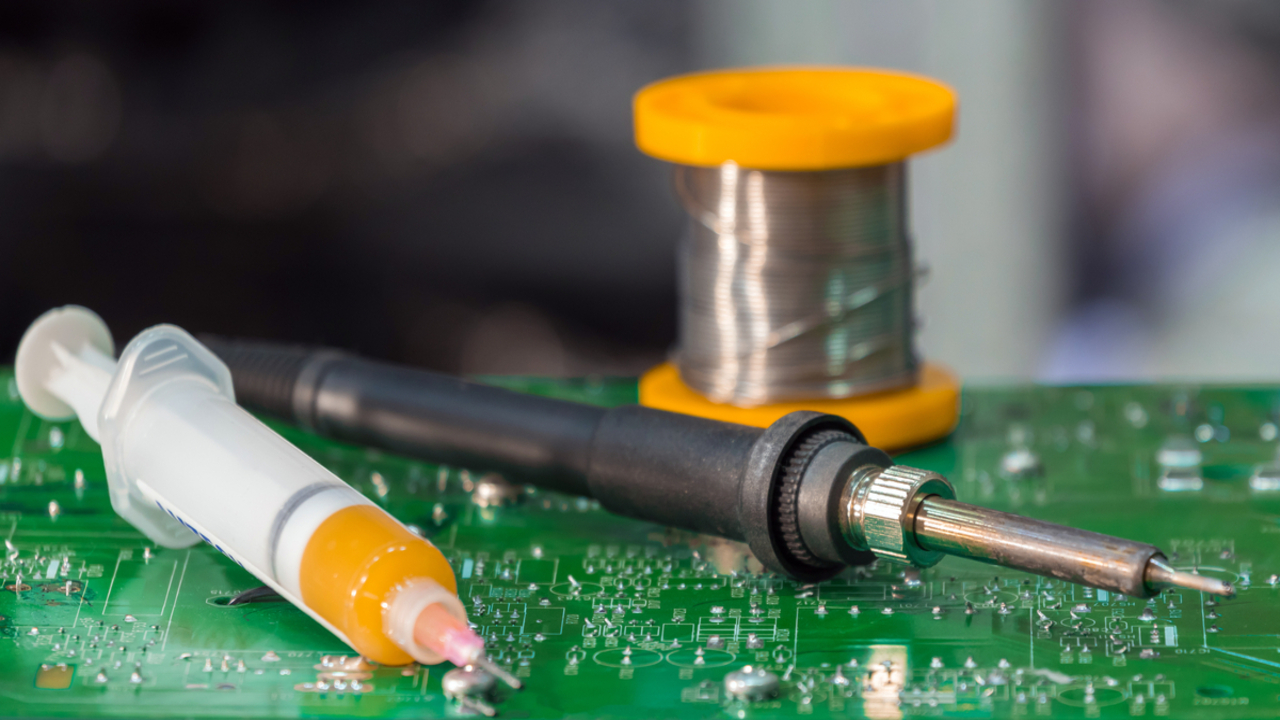
To ensure a successful soldering experience without temperature control, it’s important to gather all the necessary tools and materials beforehand. The essential items include a soldering iron, solder wire, flux, soldering stand or holder, safety goggles, and heat-resistant gloves.
Working in a well-ventilated area and taking proper safety precautions is crucial. Before soldering, make sure to clean the surface you’ll be working on to remove any dirt or debris that could interfere with the process. Applying flux to the area where you’ll be soldering helps the solder flow smoothly. Finally, heat up the soldering iron and touch it to the joint area to transfer heat effectively.
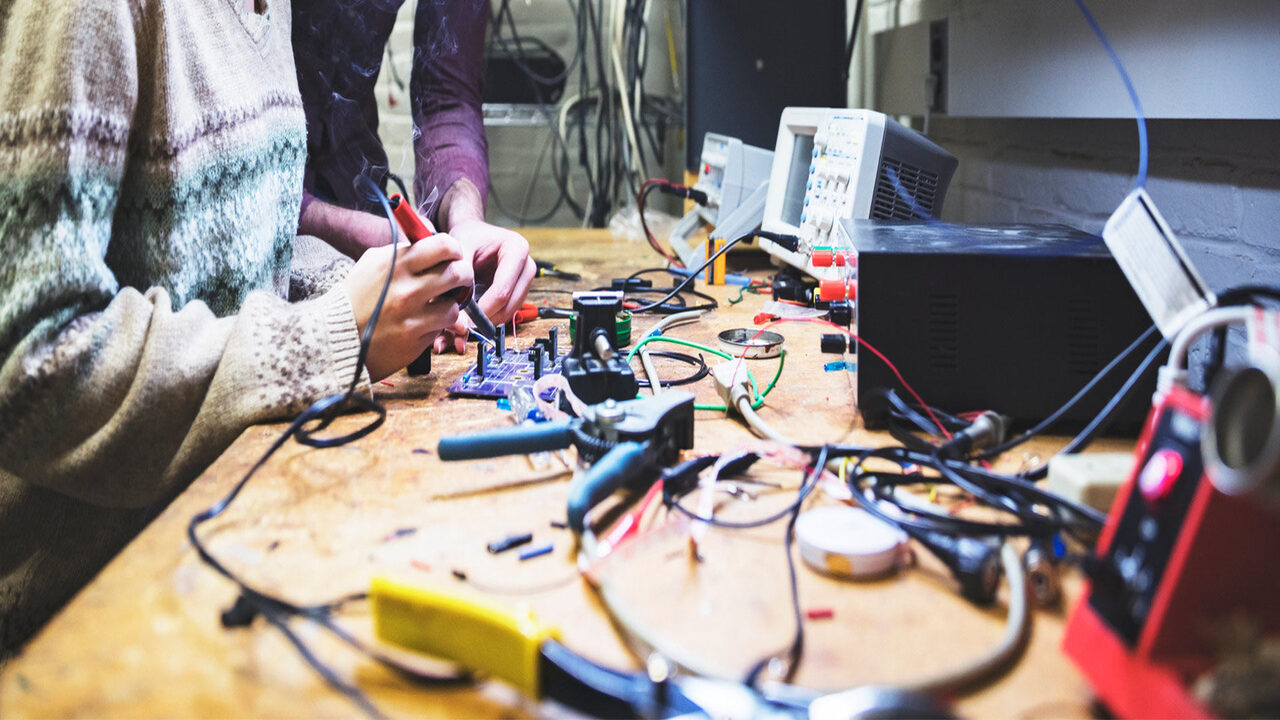
2.Prepare Your Work Area
To ensure a safe and efficient soldering process, it is important to prepare your work area properly. Start by clearing your workspace of any clutter or flammable materials that could pose a hazard. Place a heat-resistant mat or surface on your workspace to protect it from heat damage.
Good ventilation is crucial to avoid inhaling fumes, so make sure the area is well-ventilated. Gather all the necessary tools and materials, such as a soldering iron, solder, flux, and wire cutters. Before you begin, ensure that your soldering iron is clean and in good working condition. Double-check that you have the correct type and size of solder for your project.
3.Apply Soldering Flux (Optional)
Soldering flux can be a helpful addition when soldering without temperature control. It serves two purposes: cleaning the surfaces being soldered and promoting better solder flow. To apply the flux, you’ll need a small amount of it. Use a brush or applicator to evenly spread the flux over the area where you will be soldering.
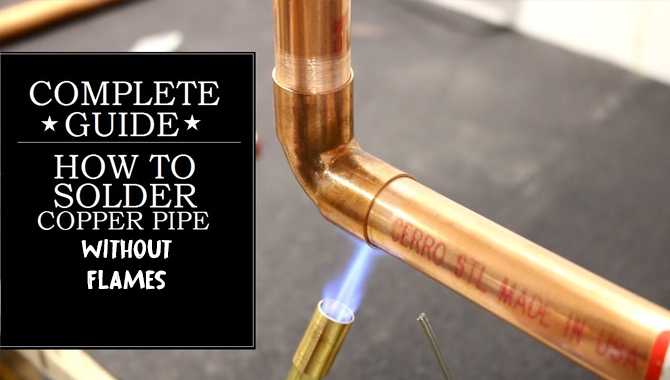
Be cautious not to apply too much, as this can create excess residue and make the soldering process more difficult. Flux is especially beneficial when soldering metals prone to oxidation, like copper or brass. If you don’t have access to flux, attempting soldering without it is still possible, but keep in mind that the results may not be as clean or strong.
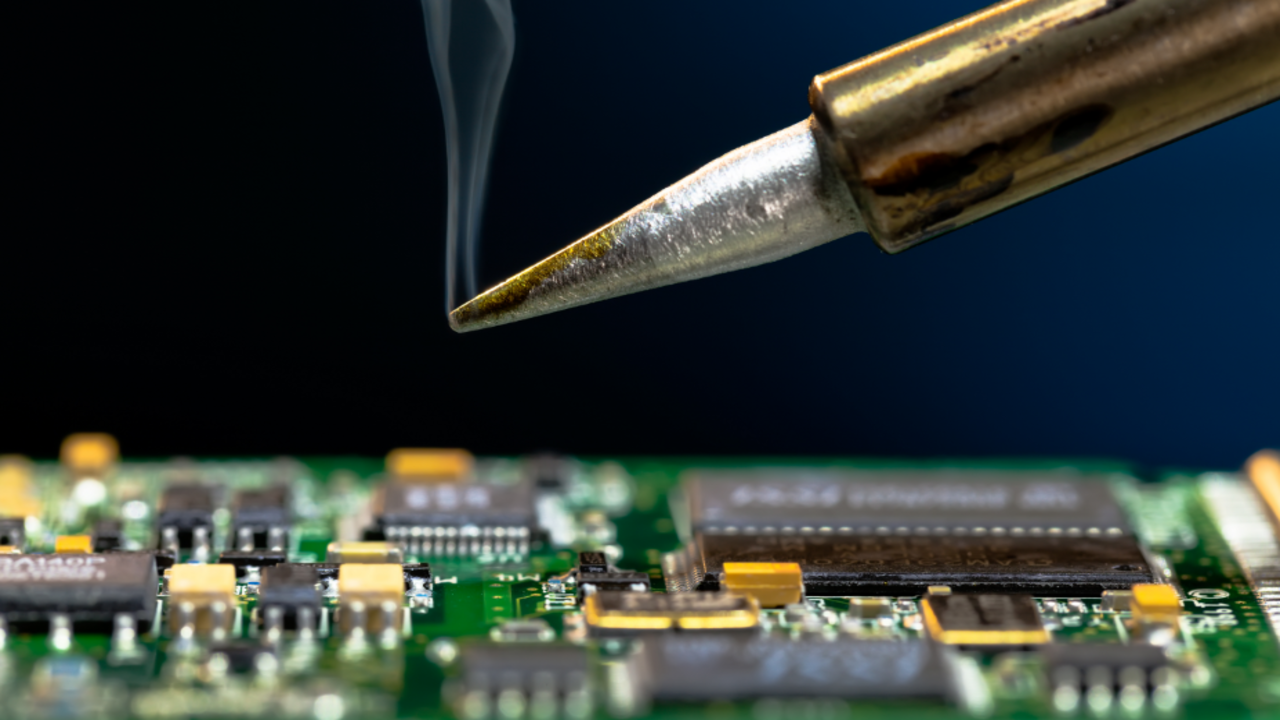
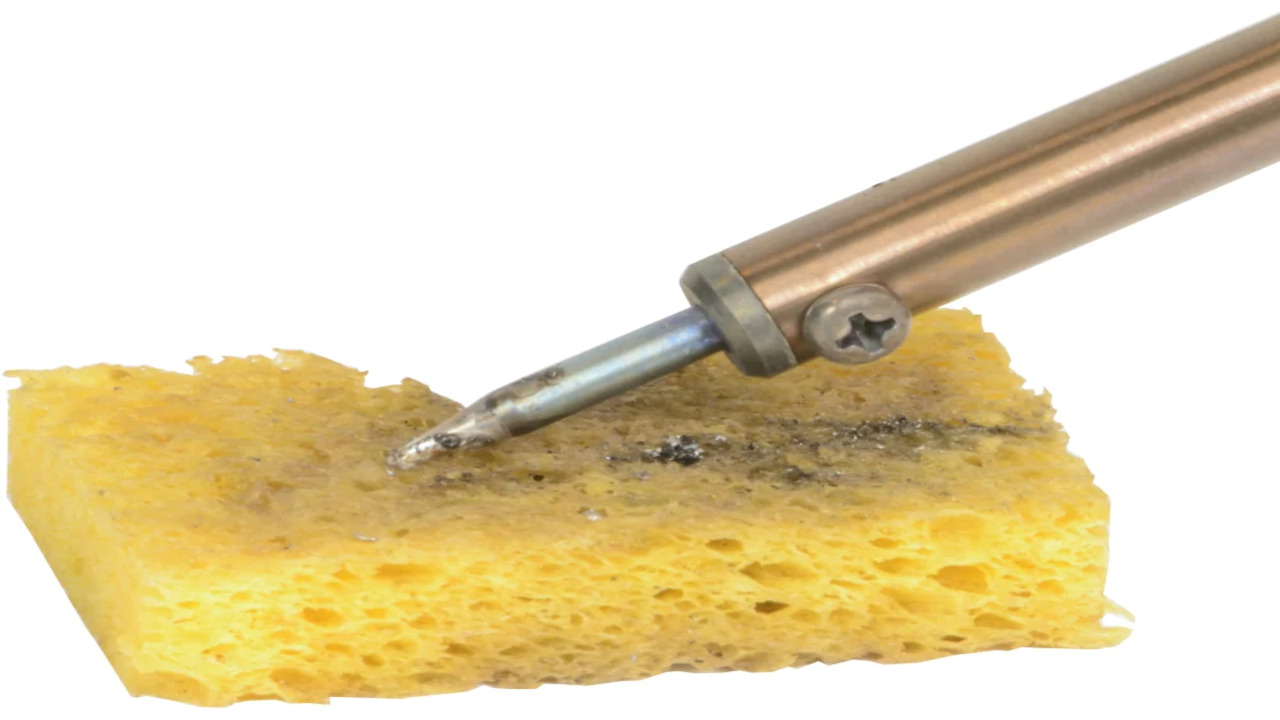
4.Tin The Soldering Iron Tip
Tinning the soldering iron tip is an important step in any soldering project. It enhances heat transfer and ensures clean, smooth solder joints. To begin, turn on the soldering iron and let it heat up.
Clean the tip by wiping it with a wet sponge or cloth to remove dirt or oxidation. Apply solder to the tip, making sure to cover the entire surface evenly. The solder should melt and spread smoothly without any excess. Tinning the soldering iron tip promotes efficient soldering and better results.
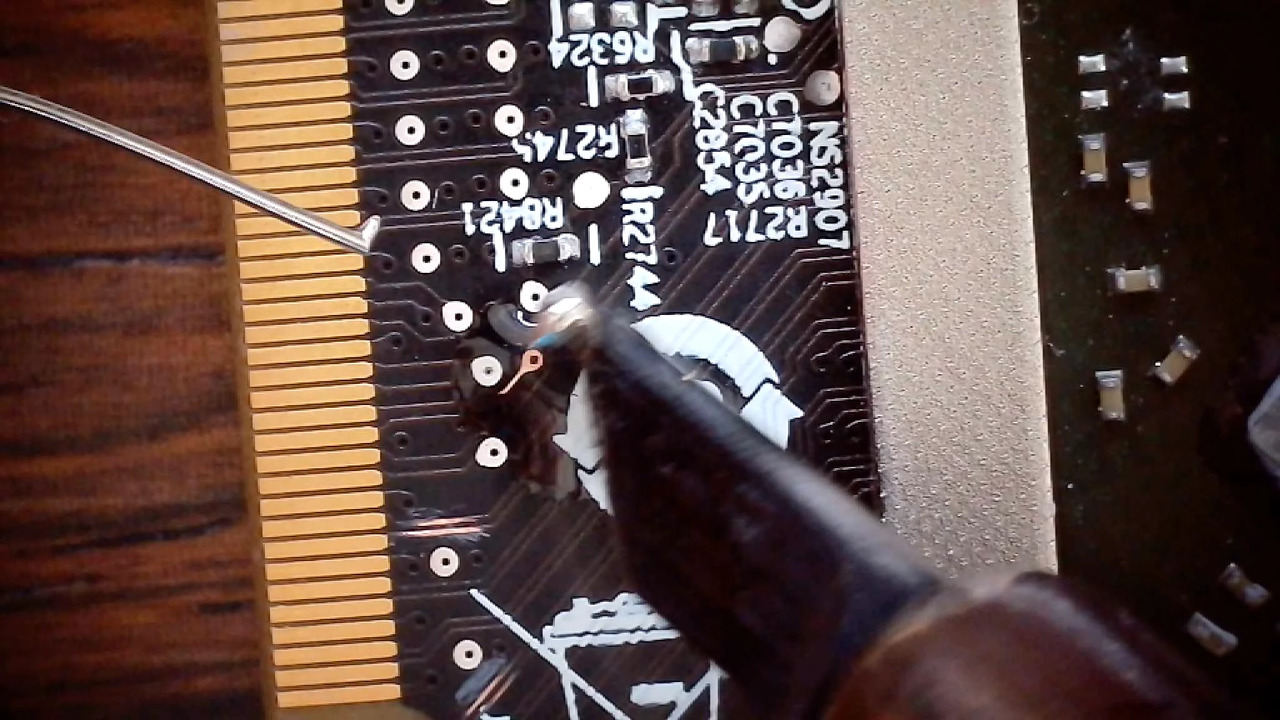
5.Heat The Components
To ensure a proper bond when soldering without temperature control, it’s crucial to heat the components evenly. Use a soldering iron with a pointed tip and apply heat directly to the joint you want to solder.
Move the soldering iron around the joint to distribute the heat evenly and prevent overheating. Be cautious not to apply excessive heat for too long, as this may damage sensitive components or melt plastic parts. Employ proper soldering techniques like tinning the tip of the soldering iron and using flux for a strong and reliable solder joint.
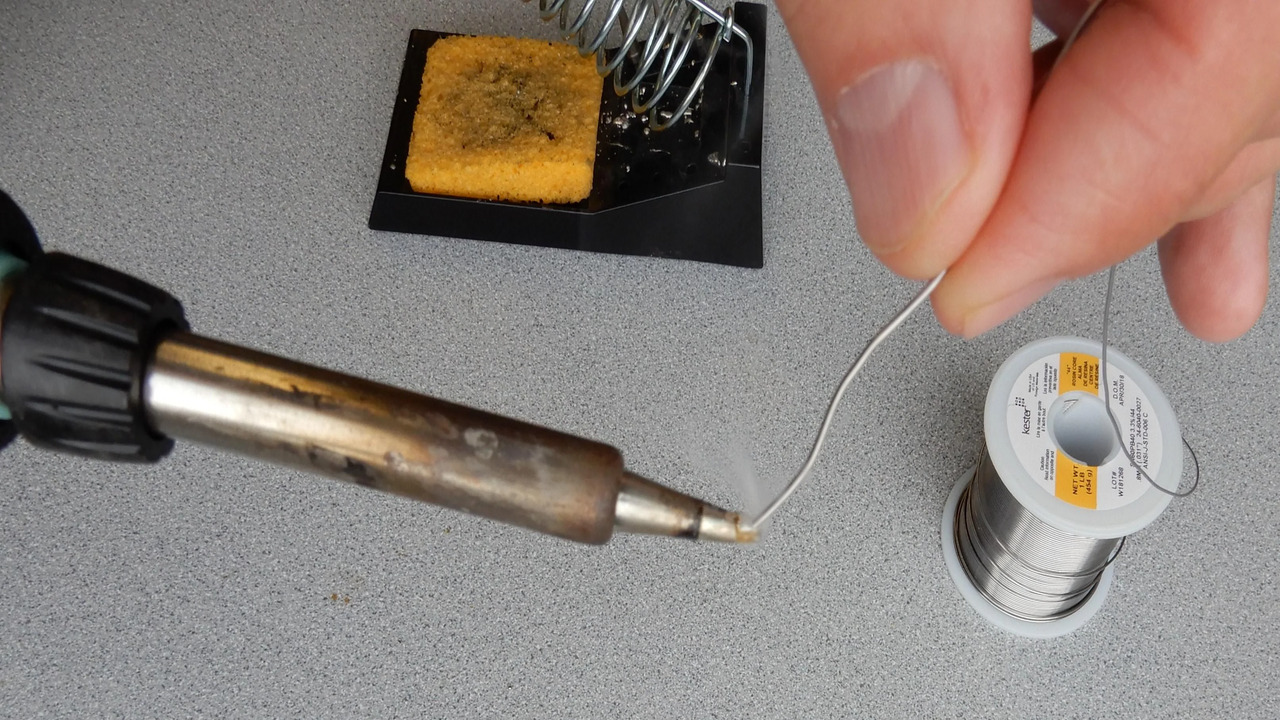
6.Apply Solder
To apply solder, start by applying a small amount of solder to the tip of the soldering iron. Next, heat the joint or connection point with the soldering iron until it reaches the appropriate temperature for soldering. Once heated, touch the solder to the joint, allowing it to melt and flow into the connection. Make sure to cover the entire joint with solder to create a strong and secure bond. After that, remove the soldering iron and allow the joint to cool before handling.
7.Remove The Solder And The Iron
To ensure a successful soldering process without temperature control, it’s crucial to remove any excess solder and clean the tip of the soldering iron. By wiping the tip with a damp sponge or using a brass wire brush, you can eliminate built-up residue and improve heat transfer.
Additionally, make sure that the soldering iron is properly heated before starting. Preheating the iron for a few minutes ensures that it reaches the optimal temperature for soldering without temperature control. By taking these steps, you can achieve more effective soldering results.
8.Inspect The Solder Joint
Before you begin soldering without a temperature-controlled soldering station, it is crucial to inspect the solder joint. Ensure that it is clean and free of any debris or oxidation that could hinder the soldering process. To improve the flow of solder and create a strong bond, apply flux to the solder joint using a flux pen or flux paste. Preheat your soldering iron for a few minutes to reach an optimal temperature.
Find the right balance between too hot and too cold. Hold the soldering iron at a slight angle and touch it to the joint to allow the heat to transfer and melt the solder. Apply a small amount of solder evenly to cover the entire area of the joint. Once done, remove the soldering iron and allow the joint to cool before handling.
9.Clean The Soldering Iron Tip
To ensure a clean and efficient connection, it’s important that the soldering iron tip is free from any old solder or oxidation. Gently clean the tip using a damp sponge or brass wire brush, removing excess solder or debris. Regularly cleaning the tip during soldering helps maintain good heat transfer and prevents oxidation buildup. In case of heavy oxidation or corrosion, replacing the tip with a new one is recommended for optimal soldering results.
Safety Measures During Diy Soldering
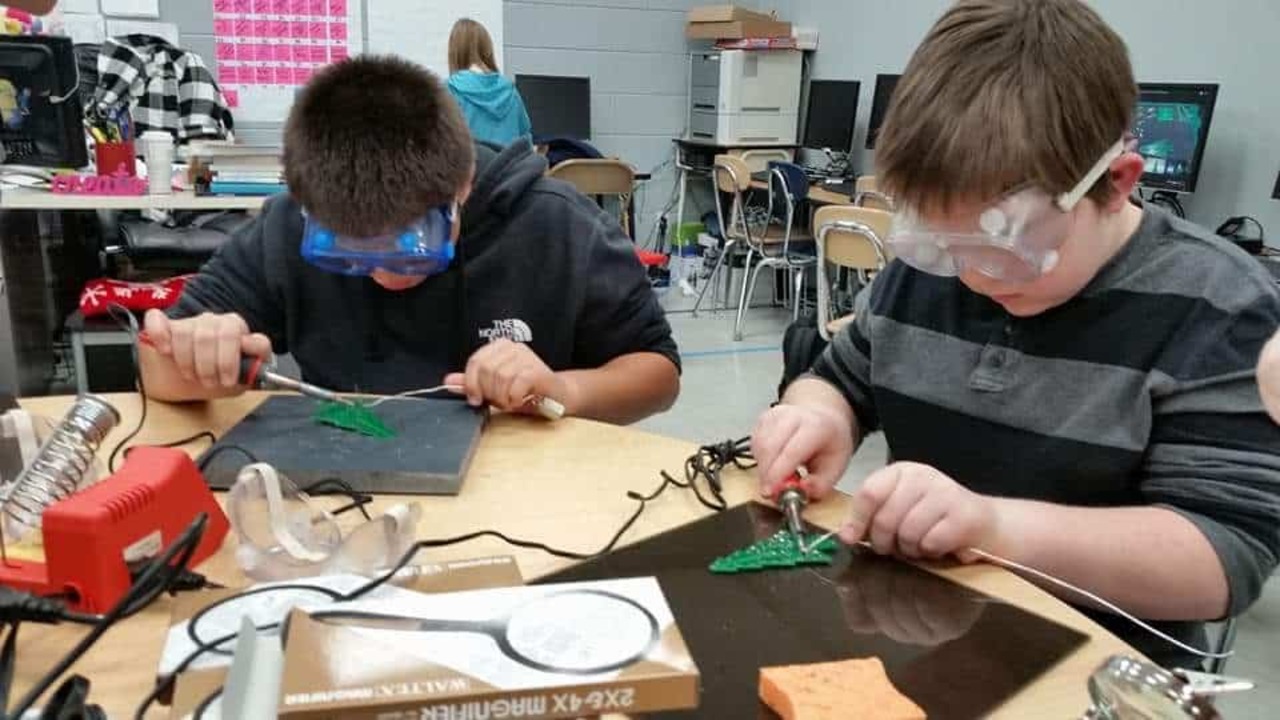
When engaging in soldering without temperature control, it’s crucial to prioritize safety. Ensure you have proper safety equipment such as safety goggles and gloves to protect yourself from potential burns and fumes. Additionally, work in a well-ventilated area or utilize a fume extractor to avoid inhaling toxic fumes.
Always exercise caution with the soldering iron’s temperature, avoiding direct contact with the hot tip. Keep flammable materials away from your workspace to prevent accidents, and take breaks to prevent fatigue. Finally, clean up after soldering to eliminate any potential hazards or accidents.
Trouble Shooting Common Soldering Problems
Troubleshooting common soldering problems is essential for achieving quality connections. One common issue is cold solder joints, which occur due to insufficient heat transfer during soldering. To fix them, ensure proper heating of the soldering iron and apply sufficient solder to form a strong connection.
Overheating components can lead to damage, so it’s important to use the right temperature and avoid prolonged contact with the iron tip. Minimizing solder splatter can be achieved by using the correct soldering technique and maintaining a clean work area. Poor solder flow can be improved by using flux to enhance wetting and ensuring the solder melts properly.
Solder bridges, unwanted connections between adjacent components, can be removed by carefully applying heat and using desoldering techniques. Lastly, proper cleaning and maintenance of soldering equipment, including regular tip cleaning and inspection, will ensure consistent performance.
Advanced Techniques For Soldering Without Temperature Control
To achieve successful soldering without temperature control, it is crucial to choose the right soldering iron for the job. Using the correct soldering technique ensures a strong and reliable connection. Preheating your components helps avoid thermal shock, while the use of flux improves solder flow and prevents oxidation.
It is also important to practice good solder joint inspection and rework techniques for optimal results. By implementing these advanced techniques, you can enhance your soldering skills even without a temperature-controlled soldering station.
Conclusion
Soldering without a soldering station temperature control may seem challenging, but with the right techniques and tools, it is still possible to achieve good results. By using alternative methods such as using a temperature-controlled iron, utilizing a soldering iron tip with built-in temperature regulation, or employing solder paste with a low melting point, you can effectively solder without the need for a soldering station temperature control.
Remember to always prioritize safety by working in a well-ventilated area and using proper protective equipment. With practice and patience, you can become proficient at soldering even without a soldering station temperature control. Hope the above outline on how to solder without soldering station temperature control will be helpful for you.
Frequently Asked Questions
1.Do I Need Temperature Controlled Soldering Iron?
Ans: While a temperature-controlled soldering iron is highly recommended, it’s not always necessary. Temperature control allows for precise adjustments and prevents overheating delicate components.
2.What Can I Use Instead Of Soldering Machine?
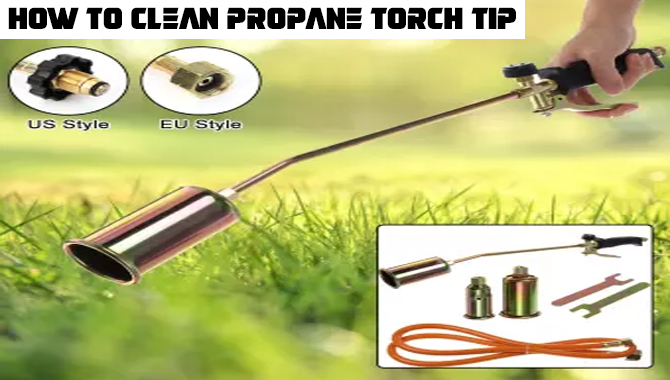
Ans: When you don’t have a soldering machine, there are alternatives you can use. A soldering iron or a soldering gun are common options. Butane torches with soldering tip attachments can also work.
3.What’s The Need For A Temperature Controlled Soldering Iron?
Ans: A temperature controlled soldering iron is essential for precise heat control during soldering. Different components and materials require specific temperatures for proper connections. Without temperature control, there’s a risk of overheating or underheating, leading to weak connections or damage.
4.Is It Ok To Set The Heat At Maximum Temperature To Speed Up Soldering?
Ans: Setting the heat at maximum temperature to speed up soldering is not recommended. Excessive heat can damage components and result in poor solder joints. It’s crucial to find the right temperature for your specific project, practice good soldering techniques, and use flux for quality solder joints.
5.What Do I Need To Solder Electronics?
Ans: To solder electronics, you’ll require a soldering iron with a fine tip for precision work, solder wire of appropriate thickness, flux for cleaning surfaces, and a soldering stand. Using rosin flux before soldering ensures a strong bond.
