
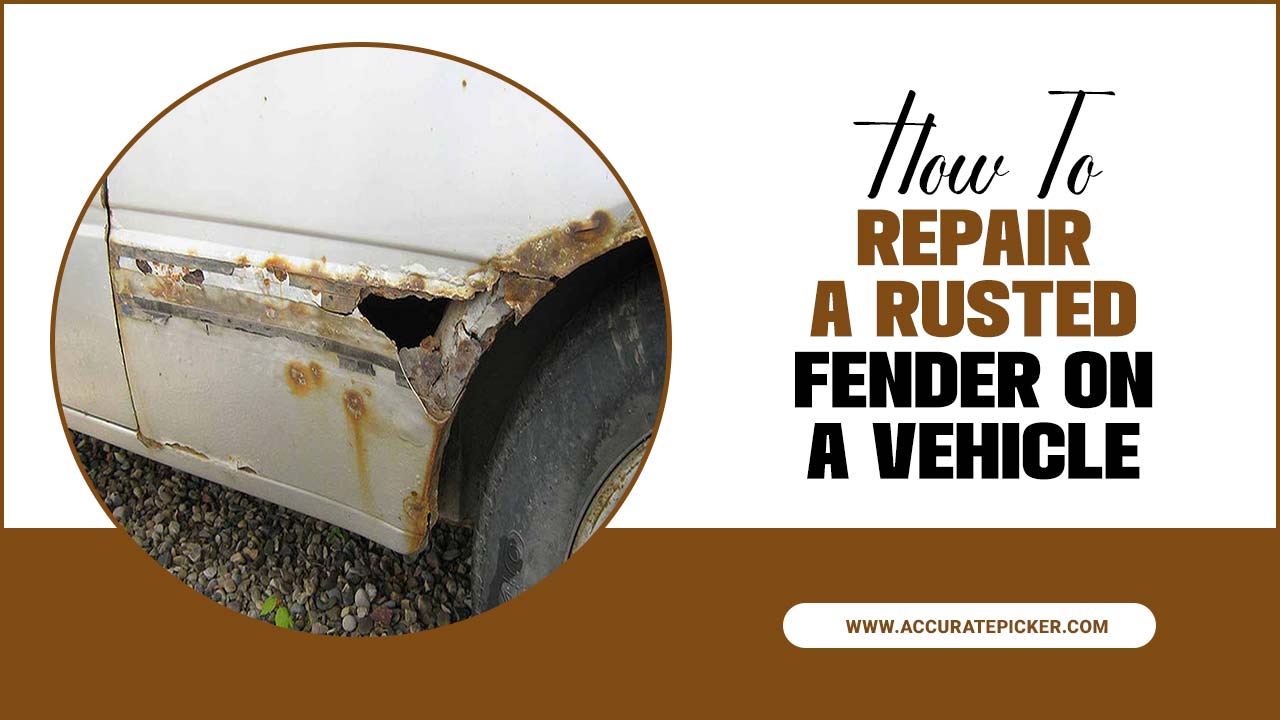
Installing aftermarket fenders on a motorcycle can be a daunting task without the right tools and knowledge. Fender brackets are a crucial component of any aftermarket fender installation, as they provide the necessary support and hold the fender in place.
In this article, we will provide a comprehensive guide on how to install motorcycle fender brackets for aftermarket fenders. We will cover the necessary tools, steps, and tips to ensure a successful installation. With this guide, you can rest assured that you will have a secure and reliable fender bracket installation. So, if you want to learn how to install motorcycle fender brackets for aftermarket fenders, keep reading to find out more!
Installing Motorcycle Fender Brackets
Before starting the main article on how to install motorcycle fender brackets for aftermarket fenders, it is important to understand the basics. Installing fender brackets for aftermarket fenders is a relatively simple process that requires a few tools and some basic knowledge of motorcycle parts.
It is important to make sure that the fender brackets are compatible with your motorcycle’s make and model before beginning. Additionally, make sure to wear safety gear and have the necessary tools on hand before beginning the installation process. Follow the instructions carefully to ensure a successful installation of your motorcycle fender brackets for aftermarket fenders.
Measure And Mark Fender
Accurately measure and mark your motorcycle fender for accurate mounting of the aftermarket fender brackets. This is the most important step in the process, and it will ensure a successful installation. Begin by measuring the fender from the mounting point to the highest part of the fender. Mark the spot with a pencil.
Then, measure and mark the mounting points of the aftermarket fender brackets, ensuring that the marks correspond to the marks already made on the fender. Once you have marked the mounting points, place the aftermarket fender brackets on the fender and ensure that the marks line up. If they do not line up, measure and mark the mounting points again until they do. Once you have finished marking the points, you are ready to begin the process of installing the motorcycle fender brackets.
1.Measure Fender
To install motorcycle fender brackets for aftermarket fenders, you need to know the dimensions of the fender. Using a tape measure, measure the length, width, and depth of the fender at the widest and longest points. Record these measurements and use them when selecting the appropriate fender bracket for your motorcycle model. Make sure to measure the distance from the mounting holes on the fender to the outside edge.
This will help you determine the length of the bracket needed to mount the fender. Additionally, you should also measure the distance between the mounting holes on the fender as this will help you select the correct size bracket.
2.Mark Fender
Mark Fender is a popular aftermarket fender manufacturer. They produce high-quality fenders that are made to fit on a variety of motorcycles. Installing fender brackets for Mark Fender fenders is quite straightforward and can be done with some basic tools.
The first step is to measure the length of the fender and the width of the fender bracket. Make sure that the bracket is the correct size for the fender, as you don’t want the bracket to be too small or too large. Next, carefully attach the bracket to the motorcycle frame using the included hardware. Make sure that the bracket is securely attached, as it will be bearing the weight of the fender.
Finally, attach the fender to the bracket using the provided screws. Make sure to use the right size screw for your specific fender. With these steps, you’ll be able to install a Mark Fender fender with ease.
Install Brackets
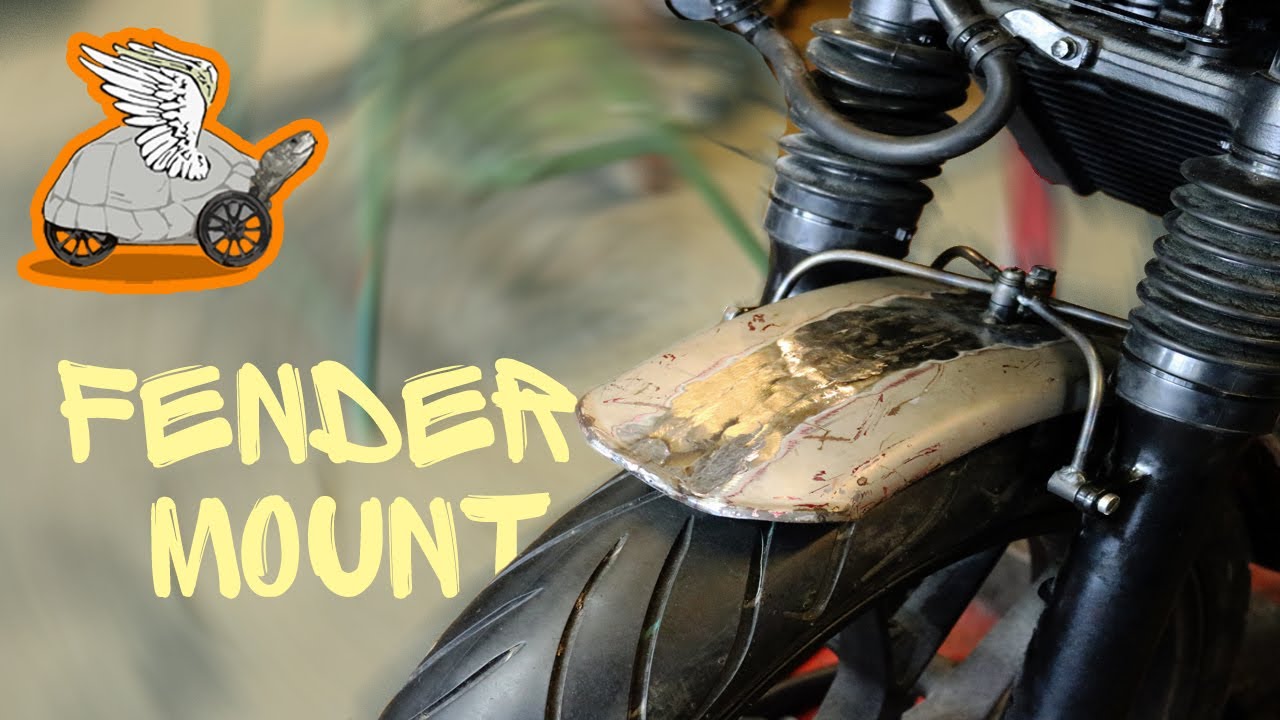
Installing motorcycle fender brackets for aftermarket fenders is an easy process. Begin by cleaning the area of the fender where the brackets will be installed. If possible, use a heat gun to soften any paint or decal residue. Next, use a drill to make pilot holes for the screws that will hold the brackets in place.
Place the brackets on the fender, and attach with screws. For added security, use a dab of adhesive sealant around the edges of the brackets. Make sure the screws are tight and the brackets are secure before riding your motorcycle.
Finally, you may want to paint the brackets to match the color of your motorcycle. With the right tools and some patience, you can easily install motorcycle fender brackets for aftermarket fenders.
1.Align Bracket
Aligning the fender brackets for aftermarket fenders can be a tricky task. The first step is to make sure that the bracket is properly aligned with the frame. To do this, you will need to loosen the two mounting bolts on the bracket. Next, use a spirit level to make sure that the bracket is level.
Once the bracket is aligned with the frame, you can use a ruler to measure the distance between the mounting holes on the bracket and the frame. Finally, tighten the two mounting bolts to secure the bracket in place. After the bracket is securely mounted, you can then install the aftermarket fenders.
Make sure that the fenders fit snugly onto the bracket and are aligned properly. After the fenders are installed, you can then take your motorcycle for a spin and enjoy the improved look.
2.Secure Bracket
Installing the bracket for an aftermarket fender on a motorcycle is not difficult, but it requires some precision. Begin by measuring the area where you plan to place the bracket. Mark the spot and then place the bracket on the motorcycle and see if it fits. If it does, you can use a drill and screws to secure it in place.
If it does not fit, you will need to adjust the bracket until it does. Make sure that the screws are tightened properly and that the bracket is firmly attached. Once the bracket is secure, you can then attach the fender to the bracket and further secure it with bolts. Finally, check that the bracket and fender are secure and functioning properly.
3.Test Fit Fender
Testing the fit of your aftermarket fender is the first step in installing motorcycle fender brackets. Before you start drilling any holes, you want to ensure the fender is fitting properly and that the brackets will be lined up correctly. Start by loosely bolting the bracket to the motorcycle frame so that you can adjust the fender with ease.
Once the bracket is in place, fit the fender to the bracket and check for any gaps or misalignment. If everything looks good, tighten the bolts on the bracket and you’re ready to start drilling. It’s important to make sure the fender is properly placed before you start drilling, as this will ensure a secure installation.
Finalize Installation
Once you have completed the installation of the new brackets, you should finalise the installation. Start by tightening the bolts and nuts with a wrench or socket set. To make sure the fender is securely attached, check that the mounting hardware is tight.
Once all the bolts and nuts are secure, you can check for any excess gaps between the fender and the bracket. If any gaps are present, use a rubber mallet to gently tap them closed. Finally, inspect the installation to make sure everything has been secured tightly and there are no loose parts. If everything looks good, you are finished and can enjoy your new fender installation.
1.Fasten Screws
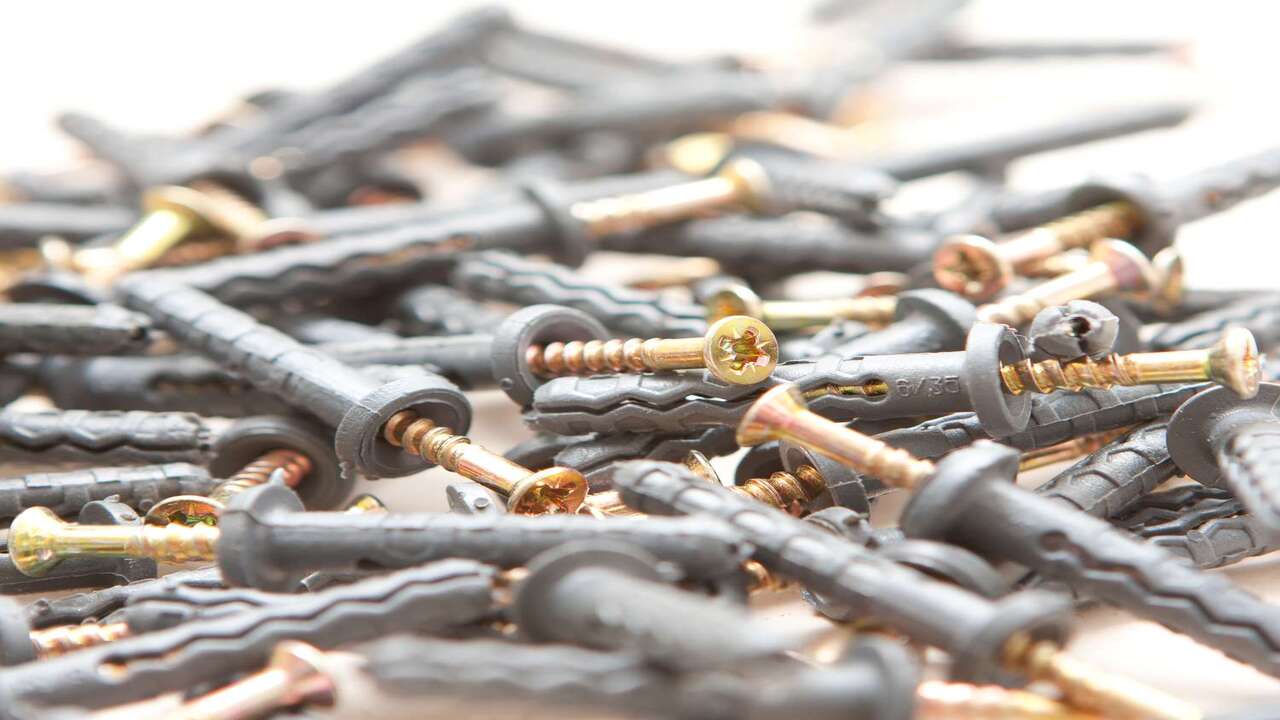
When installing your aftermarket fenders, the next step is to fasten the screws. Make sure to use the right tools for the job. A Phillips or flathead screwdriver should do the trick. Start with the longest screws first, and then work your way down to the shorter ones.
Secure them tightly, but be careful not to overtighten. The fender should fit snugly and be firmly attached. Be sure to use the appropriate washers and spacers, if included with your fender kit, to ensure a secure fit.
If you find that the screws are too long, don’t worry! You can always cut them down to size using a hacksaw or similar tool. Once the screws are all in place, your fender should be securely fastened and ready to take on the roads.
2.Check Fitment
Before you start the installation process, it is important to check fitment. Take some measurements of your motorcycle to make sure the fender brackets will fit properly. Measure the distance from the swing arm to the rear axle to see if the fender brackets are compatible with the size of your bike. Additionally, measure the width of the frame so that the fender can be securely mounted.
Be sure that the fender brackets are the right shape and size to fit your bike before you start the installation process. If the measurements are not compatible, then you will need to look for a different set of fender brackets.
Conclusion
Installing motorcycle fender brackets for aftermarket fenders is a great way to add style and protection to your ride. With the right tools and a few simple steps, you can easily install your own brackets and have your bike looking great in no time. First, measure the fender and mark where the brackets should be mounted.
Then, drill holes for the brackets, attach the brackets and use the provided bolts and nuts to secure them. Finally, check the brackets for proper alignment and make sure they are securely fastened. With a little bit of effort, you can have your aftermarket fenders mounted in no time!
FAQ’s
1.What Tools Are Needed To Install Motorcycle Fender Brackets?
Ans: To install motorcycle fender brackets, you will need a set of metric wrenches, a socket set, an adjustable wrench, a drill, drill bits, and a screwdriver. You may also need a torque wrench to ensure the brackets are properly tightened. Additionally, you may need a hammer and a masking tape to mark the position of the bracket before drilling. Lastly, you may need a lubricant to ease the installation of the brackets.
2.How Do I Know What Type Of Fender Bracket I Need For My Motorcycle?
Ans: The best way to determine the type of fender bracket you need for your motorcycle is to consult your motorcycle’s manual or the manufacturer’s website. They will usually provide the specific type of bracket that is compatible with your motorcycle model.
Additionally, you can bring your motorcycle to a local mechanic to get advice on the type of bracket you need. Finally, you can search online for fender brackets compatible with your motorcycle model.
3.What Size Bolts Should I Use To Attach The Fender Brackets To My Motorcycle?
Ans: It depends on the make and model of your motorcycle. Generally, bolts that are 8mm in diameter and 25mm in length are suitable for most motorcycles. You can check your motorcycle’s manual for the recommended size and type of bolts to use. If you don’t have the manual, you can ask a mechanic or look up the specifications online.
4.How Do I Ensure The Fender Brackets Are Correctly Positioned On The Motorcycle?
Ans: To ensure that the fender brackets are correctly positioned on the motorcycle, begin by consulting the owner’s manual to determine the exact location of the brackets. Then, hold the bracket up to the motorcycle and mark the location of the mounting holes.
Finally, use a drill to make the necessary holes and secure the brackets in place with bolts and nuts. Once the brackets are installed, double check that they are securely fastened and that the fender is properly aligned.
5.Are There Any Specific Instructions For Installing Aftermarket Fenders On My Motorcycle?
Ans: Yes, there are specific instructions for installing aftermarket fenders on a motorcycle. It is important to make sure that the fender is properly fitted and aligned to the frame of the motorcycle. The fenders should also be securely bolted to the frame of the motorcycle. It is also important to check the fender hardware for any signs of corrosion prior to installation.


