
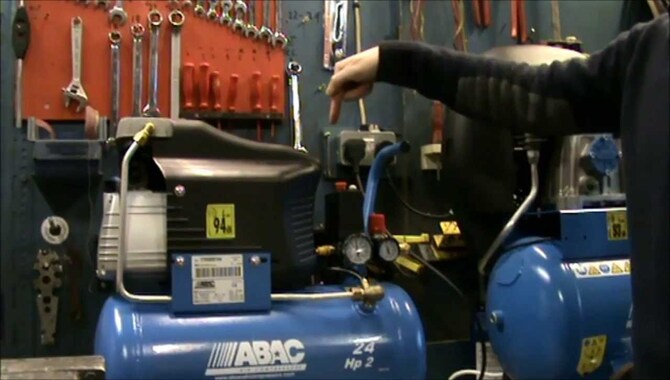
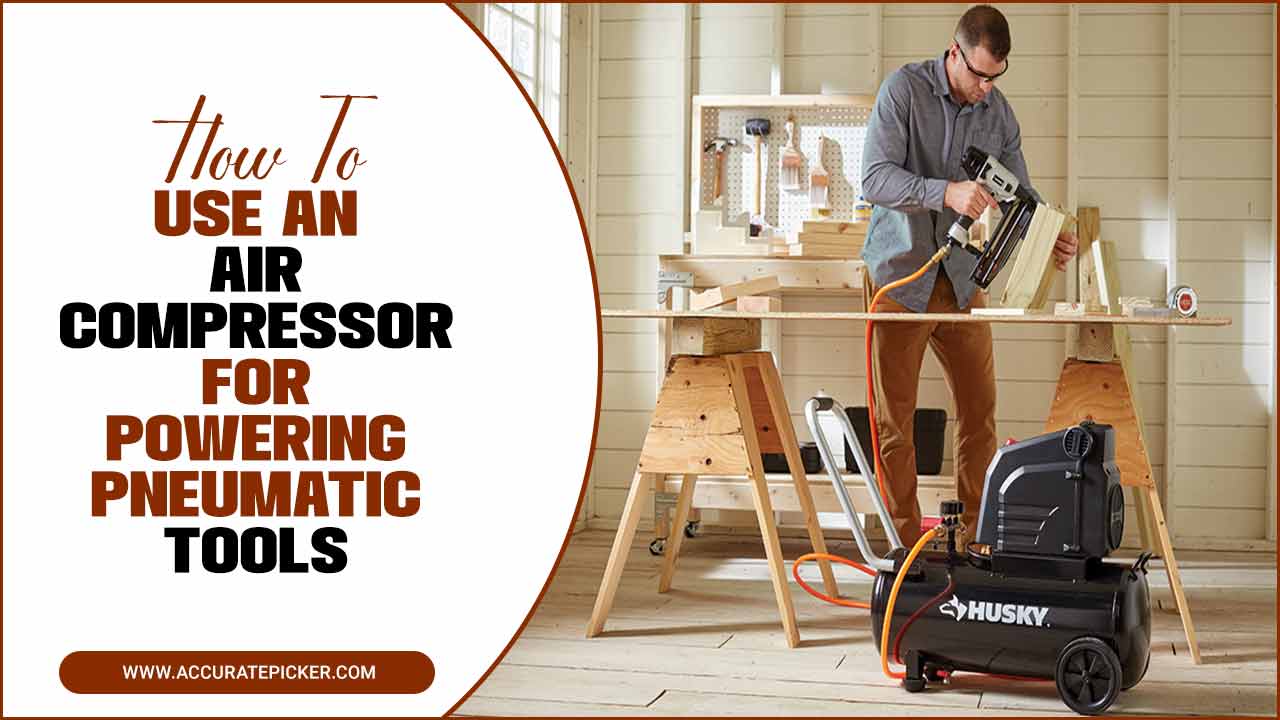
An air compressor is a tool that converts power into compressed air, which is stored in a tank. It is frequently used in spray painting to maintain a steady flow of compressed air to the paint gun.
Air compressors come in different sizes and capacities, depending on their intended purpose, and typically include features like pressure regulators and gauges. If you are an aspiring DIY enthusiast looking to master the art of spray painting. If so, you’ve come to the right place.
Here we will guide a step-by-step tutorial on how to use an air compressor for spray painting, we’ve got you covered. Additionally, we’ll share tips on cleaning and maintaining your air compressor for long-lasting performance. Get ready to take your spray painting skills to the next level with our comprehensive guide. Let’s dive in.

How To Use An Air Compressor For Spray Painting Step By Step Process
sing an air compressor for spray painting provides several advantages. It ensures consistent and even paint application, resulting in a uniform finish. It allows for greater control over the flow and pressure of the paint, enabling precise detailing and customization.
Additionally, using an air compressor can significantly speed up the process of covering larger areas compared to traditional brush painting methods. Here we provide step-by-step guidelines on how to use an air compressor for spray painting.
1. Setting Up The Compressor
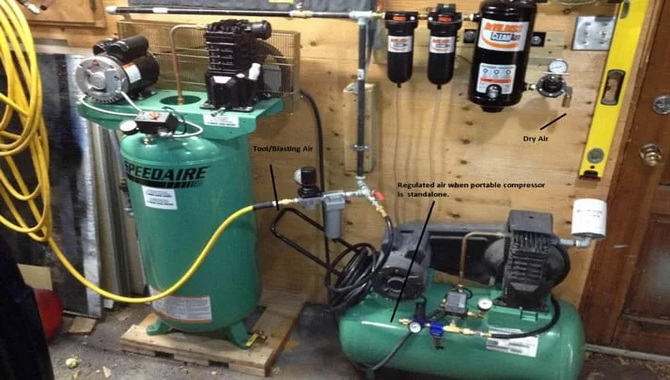
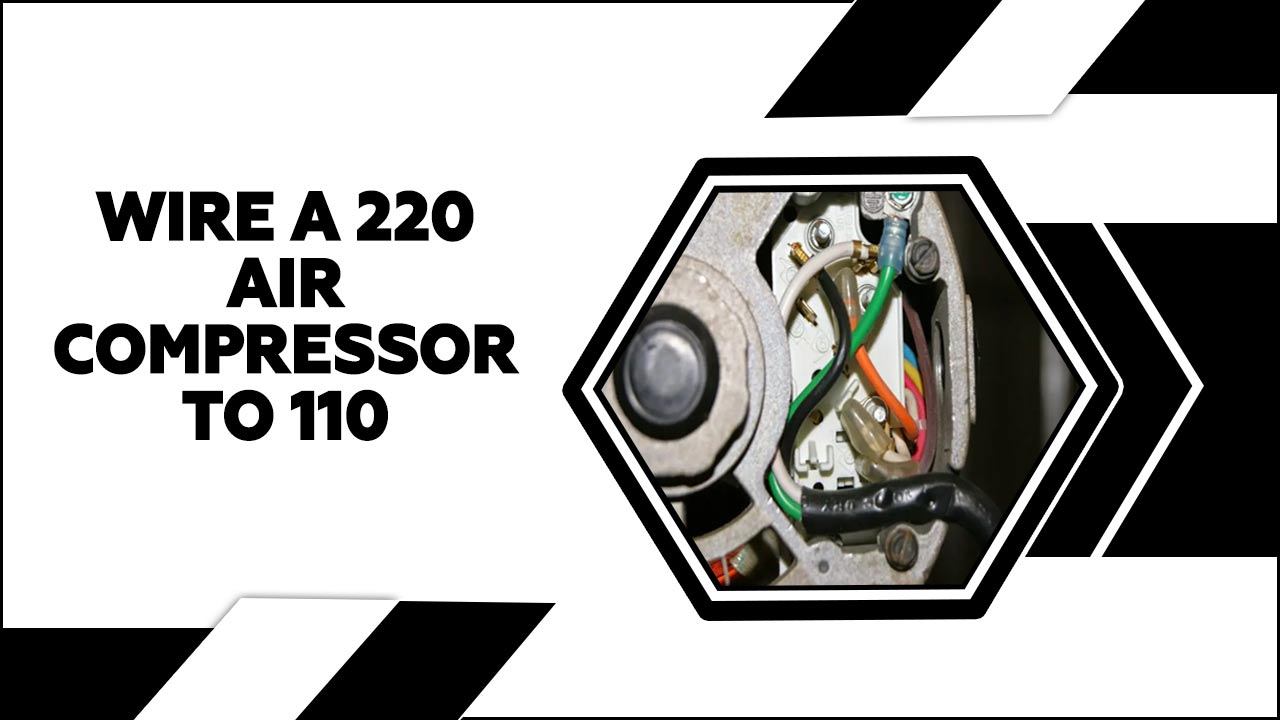
To set up the compressor for your spray painting project, start by finding a suitable location for it. Ensure that the air compressor is positioned on a stable surface with enough space for proper ventilation. Connect the compressor to a power source and turn it on, allowing it to build up pressure until the desired level is reached.
Attach the air hose securely to the compressor’s outlet, and if necessary, connect any additional accessories or tools like a spray gun or inflator. To achieve the right air pressure for your specific task, adjust the regulator on the compressor. The ideal pressure may vary depending on the tool you are using, so consult the instructions or guidelines provided. Finally, open any necessary valves or switches on your tool or accessory to allow airflow through the system.
2. Connecting The Compressor To The Air Hose
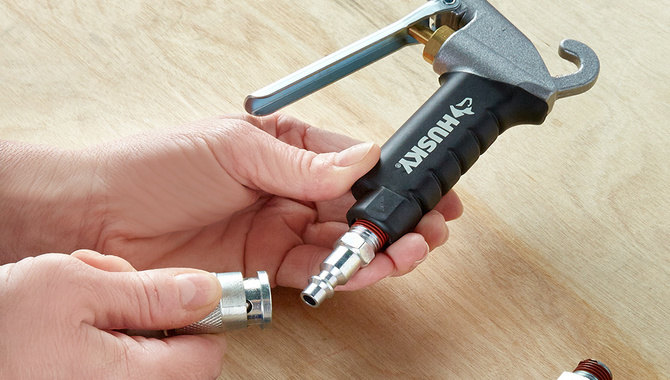
To connect the air compressor to the air hose, start by ensuring that the compressor is on a stable surface and plugged into a power source. Attach one end of the air hose to the outlet port of the compressor. Make sure the other end of the air hose has a suitable connector for your spray gun or air tool.
Firmly push the connector onto the hose until it locks into place. If needed, use a wrench to tighten all connections to ensure they are secure and airtight. Once everything is connected, open the valve on the air tank to allow compressed air to flow into the hose. This will provide the necessary air pressure for your spray painting project.
3. Turning On The Compressor
Before you begin using the air compressor for spray painting, it’s important to know how to turn it on properly. Start by ensuring that the compressor is securely connected to a power source and that the pressure regulator is set to your desired level. Locate the on/off switch or button on the compressor and turn it to the “on” position. Allow the compressor to build up pressure until it reaches the desired level, which can be monitored using the pressure gauge.
Once the desired pressure is reached, you can confidently use the air compressor for your spray painting project. Always remember to follow safety guidelines such as wearing goggles and gloves, as well as ensuring proper ventilation in your workspace.
4. Adjusting The Compressor’s Pressure And Airflow
To ensure a smooth spray painting process, start by connecting the air compressor to a power source and turning it on. Then, adjust the pressure regulator knob on the compressor to your desired pressure level for the specific painting project.
You can use a pressure gauge to accurately measure the pressure if needed. Attach the air hose to the compressor’s outlet valve and tighten any connections to prevent air leaks. Make sure the spray gun or paint sprayer is securely fastened to the other end of the air hose.
Finally, use the airflow control knob on the spray gun or paint sprayer to regulate the amount of paint being sprayed. This will give you better control over the spray pattern and help achieve an even coat of paint.
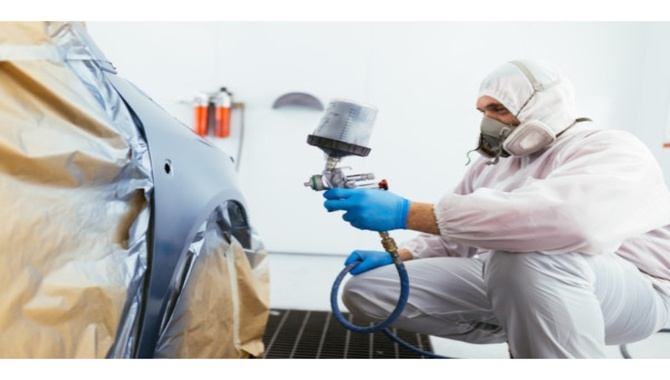
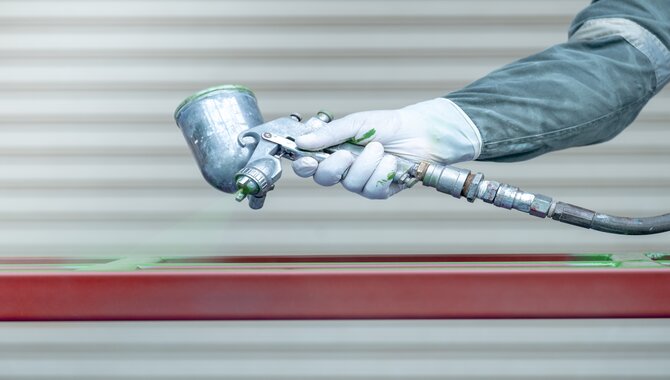
5. Painting With An Air Compressor

When it comes to painting with an air compressor, there are a few steps you need to follow to ensure a successful project. First, make sure to connect the air compressor to a power source and ensure it is properly grounded. Then, attach the air hose to the compressor and tighten any connections. Next, adjust the pressure regulator on the compressor to the desired level for your spray painting project.
Once that is done, you can connect the spray gun or paint sprayer to the air hose using the appropriate connectors. Fill the paint container or cup with your desired paint or coating, and adjust the nozzle or settings on your spray gun for the desired spray pattern and flow rate. By following these steps, you’ll be able to achieve an even coat of paint with the help of your air compressor.
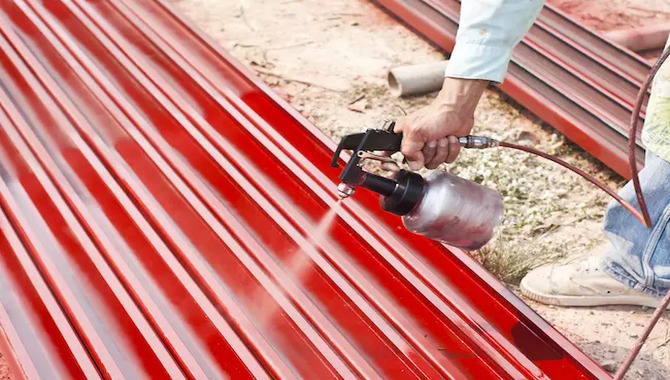
6. Setting The Pressure And Flow Rate
Setting the pressure and flow rate is crucial when using an air compressor for spray painting. Begin by consulting the manufacturer’s recommendations for your specific spray gun to ensure the correct settings.
Adjust the pressure regulator on the air compressor to match the recommended pressure for the spray gun. Some air compressors also allow for adjustment of the flow rate, which controls the amount of air released when you activate the spray gun.
Finding the right balance between pressure and flow rate is essential for achieving an even and smooth application of paint. Don’t be afraid to experiment with different settings until you achieve the desired results. And always remember to prioritize safety by wearing goggles and a respirator while working with an air compressor for spray painting.
What Tools Do You Need To Use An Air Compressor For Spray Painting?
You will need a spray gun to connect to the air compressor and spray the paint, an air hose to connect the spray gun to the compressor, an air regulator to control the pressure of the compressed air, and a respirator mask to protect yourself from inhaling paint fumes and particles.
Safety Precautions When Using An Air Compressor

To ensure your safety when using an air compressor, it is important to follow certain precautions. Always read and adhere to the manufacturer’s instructions and safety guidelines before operating the equipment. Wear the necessary safety gear, such as safety goggles and ear protection, to protect yourself from potential hazards. Place the air compressor on a stable surface and ensure that it is securely connected to a power source. Before use, inspect the air compressor for any visible damage or leaks. It is crucial to never exceed the maximum pressure rating of the compressor during operation. Additionally, use the appropriate air hose and attachments for your specific task, ensuring that they are securely connected. These measures will help ensure a safe and productive experience while using the air compressor for spray painting.
Cleaning And Maintaining An Air Compressor
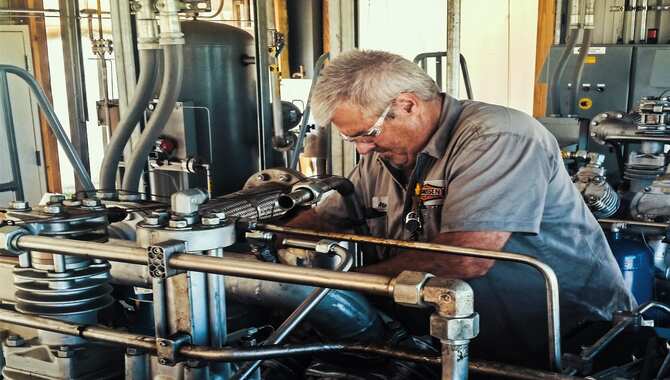
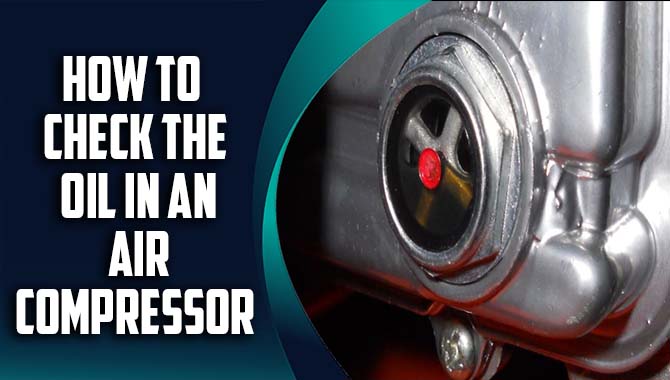
Regularly cleaning and inspecting the air compressor is crucial for maintaining its optimal performance. It’s important to check and replace the air filter as needed to prevent any dust or debris from entering the compressor. Additionally, draining the moisture from the air tank on a regular basis helps prevent rust and potential damage to the compressor.
Proper lubrication of moving parts according to the manufacturer’s instructions ensures that the compressor runs smoothly. When not in use, it’s best to store the air compressor in a clean and dry area to prolong its lifespan. By following these maintenance practices, you can ensure that your air compressor remains in top condition and continues to provide reliable performance for your spray painting projects.
Tips For Using An Air Compressor For Spray Painting
When using an air compressor for spray painting, remember these important tips. Choose the right air compressor by considering factors like tank size and horsepower. Adjust the air pressure for different paints and surfaces.
Clean and maintain your compressor regularly for optimal performance. Use the correct spray gun and nozzle size for desired coverage. Lastly, practice safety precautions such as wearing protective gear and working in a well-ventilated area. Follow manufacturer’s instructions for safe operation to achieve professional results.
Conclusion
Using an air compressor for spray painting offers numerous advantages, such as improved work quality and efficiency. It enables you to achieve a smooth and even application, giving your projects a professional finish. However, it is crucial to prioritize safety and familiarize yourself with the correct usage of an air compressor.
By following a step-by-step process on how to use an air compressor for spray painting and flow rate and having the necessary tools, you can become proficient in spray painting with an air compressor. Additionally, regular cleaning and maintenance of your air compressor will ensure its longevity and optimal performance. Hope the above outline will help you to use an air compressor.
Frequently Asked Questions
1.What Is The Correct Pressure For Spray Painting?
Ans: The appropriate pressure for spray painting varies based on the paint and equipment used. In general, a recommended range is 20-30 PSI (pounds per square inch).
2.What Kind Of Paint Do You Use In An Air Compressor Paint Sprayer?
Ans: Air compressor paint sprayers are compatible with different types of paint such as latex, oil-based, and acrylic. Select a paint that suits the surface you’re painting. If needed, thin the paint with water or a paint thinner.
3.What Size Air Compressor Do I Need To Run A Paint Gun?
Ans: The size of the air compressor necessary to operate a paint gun varies based on the paint gun’s individual needs. Typically, a paint gun will have a suggested CFM (cubic feet per minute) requirement.
4.What Is The Best Spray Gun For An Air Compressor?
Ans: Choosing the best spray gun for an air compressor depends on your individual requirements. HVLP spray guns are efficient and minimize overspray, while gravity feed spray guns are ideal for detailed work. Consider factors like project type, desired finish, and budget to make the right choice.
5.What Size Air Compressor Should Be Used To Paint A Car?
Ans: The air compressor size for painting a car varies depending on your paint gun’s requirements. Most automotive paint guns need at least a 10-12 CFM rating. Always refer to the manufacturer’s recommendations to ensure you have the appropriate air compressor size for your specific paint gun.