
Trucks are a reliable and efficient means of transportation, but like all vehicles, they are prone to damage. A damaged truck fender can be unsightly, and can affect the performance and safety of the vehicle. Replacing a damaged truck fender is a straightforward process, but it does require some technical know-how and a few specialized tools.
In this article, we’ll explore the process of removing and replacing a damaged truck fender, so you can get your vehicle back on the road in no time. Read on to learn how to safely and effectively remove and replace a damaged truck fender.

Replacing A Damaged Truck Fender: A How-To Guide

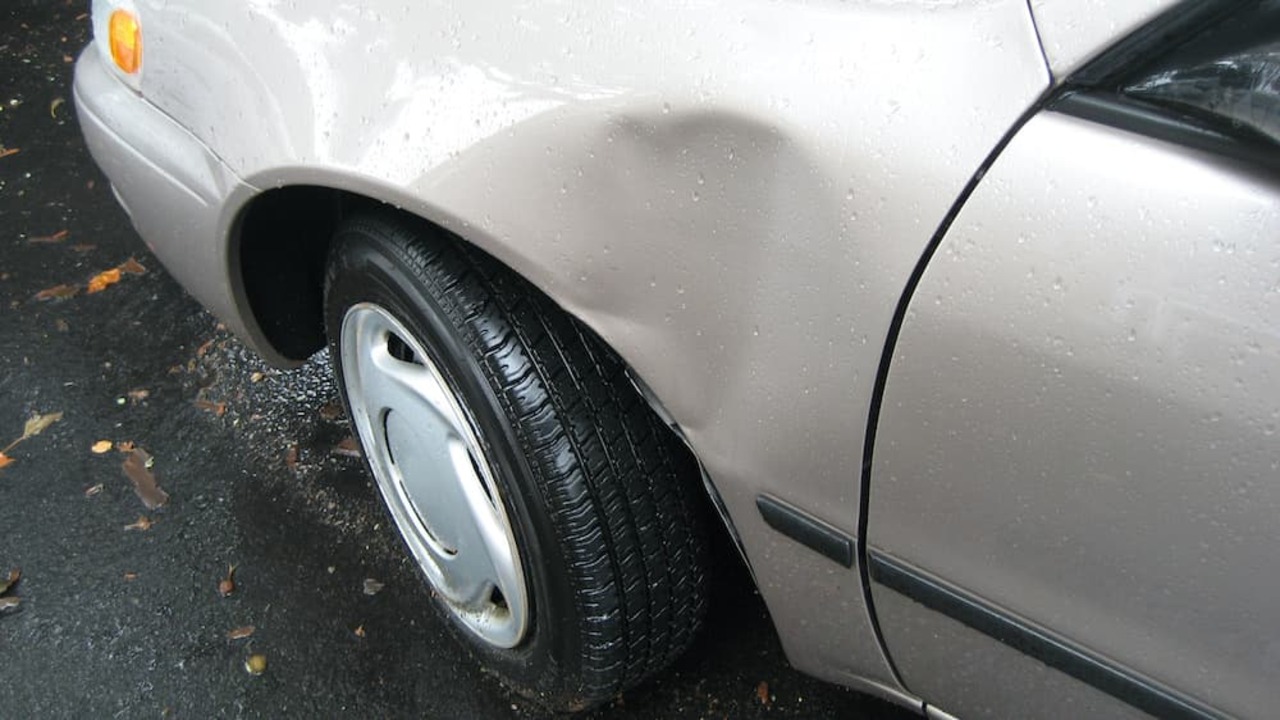
In this article, we will discuss how to remove and replace a damaged truck fender. Fender damage can occur due to a variety of causes, such as a collision, rust, or wear and tear. Replacing a damaged fender on a truck is a relatively simple process and can be done with minimal tools and supplies.
We will discuss the steps involved in removing and replacing a truck fender, as well as the materials and tools you will need for the job. We will also discuss how to properly inspect the fender for damage and how to properly prepare the area for the replacement.
Finally, we will discuss the steps to take after the replacement is complete. So, if you have a damaged truck fender and are looking to replace it, follow along as we discuss how to remove and replace a damaged truck fender.
Preparing To Replace
Replacing a damaged truck fender is a task that can be done with relative ease. It is important to prepare for the task by gathering the necessary tools and parts. First, you will need to gather a set of screwdrivers, a hammer, and a pair of pliers.
Additionally, you may need to purchase the new fender and accompanying hardware. Once you have all of the necessary supplies, you can begin the process of removing the old fender. Carefully remove the screws that hold the fender in place, and then carefully pry the fender away from the truck. After the fender has been removed, you can begin to install the new one.
Take care to line up the new fender correctly before tightening the screws. Finally, reattach any hardware or trim that may have been removed with the old fender. With the right tools and knowledge, the process of replacing a damaged truck fender can be completed with ease.
Gather Tools
Gathering the necessary tools to complete the job is the first step. You will need a drill with multiple drill bits, a socket set, a pair of pliers, a flat-head screwdriver, an adjustable wrench, a hammer, and a pair of safety glasses.
Additionally, you may also need a collection of sheet metal screws, a few wire cutters, and a file. Before beginning the repair process, be sure you have all of these tools available. Taking the time to gather all the necessary tools will help ensure the job is done correctly and efficiently.
Raise Vehicle
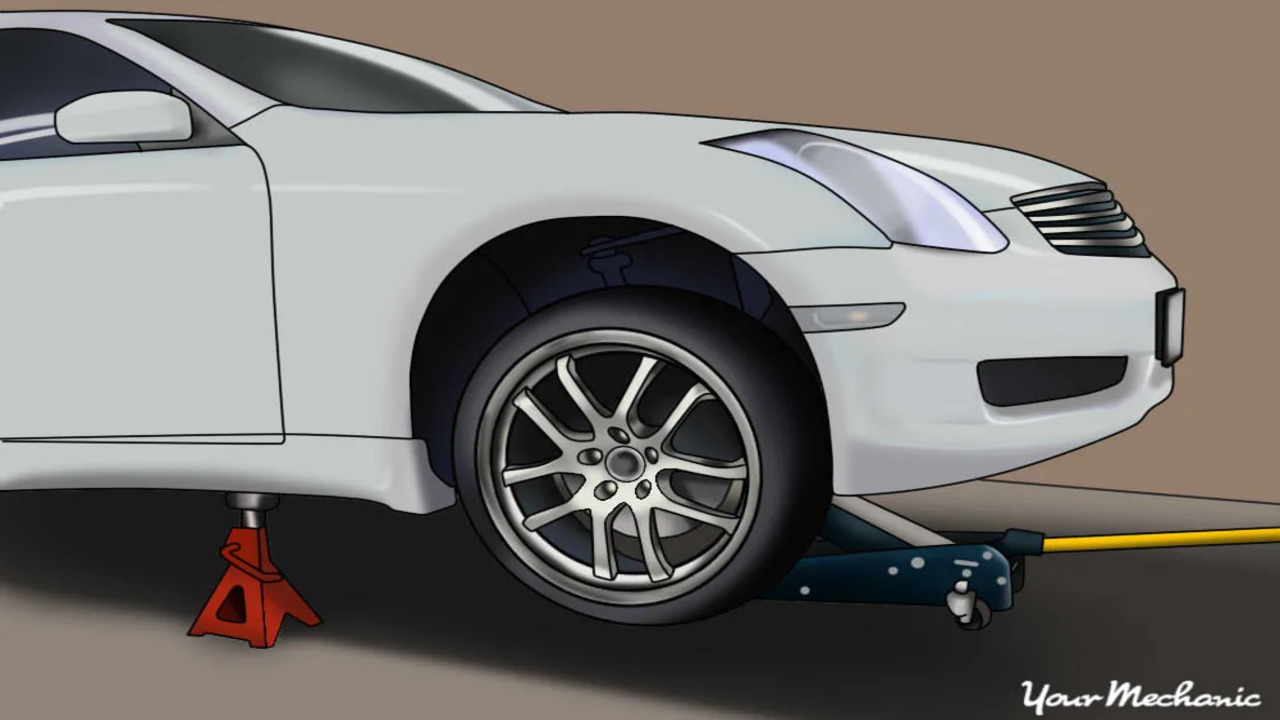
Raising your vehicle is an essential step for replacing a damaged truck fender. It is important to do this in a safe and secure way. To raise your vehicle, you’ll need a jack and a pair of jack stands. You will also need a vehicle-specific repair manual to ensure you are following the correct steps.
Start by jacking up the vehicle and placing the jack stands at the manufacturer recommended locations. Make sure the vehicle is completely secure before you begin to work. Once the vehicle is safely raised, you can begin to remove and replace the damaged fender.
Remove Fender
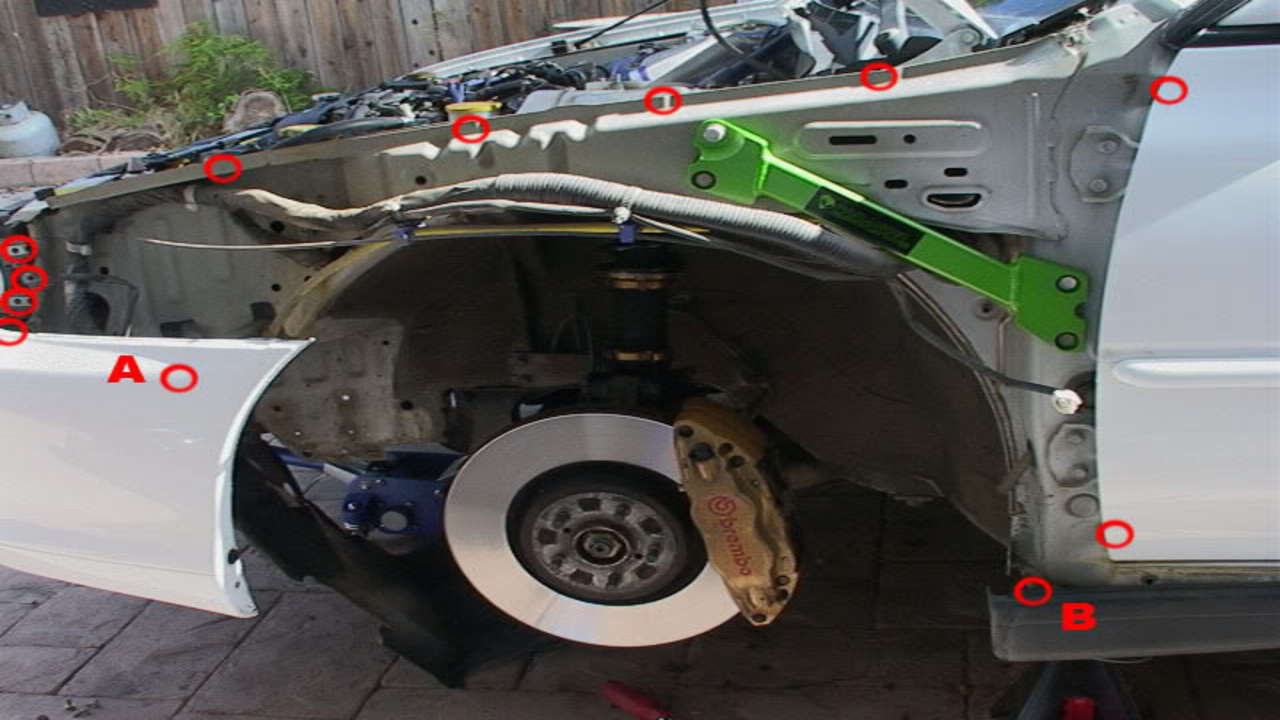
Removing a damaged fender from a truck can be a difficult task. It requires the right tools and a lot of patience. Before attempting the job, make sure you have the right equipment and the necessary safety precautions in place.
Start by loosening the bolts that hold the fender in place. Take your time to ensure that each bolt is loosened completely. Once you have all the bolts loose, carefully lift the fender off the truck. Make sure that any wires or hoses connected to the fender are also disconnected.
Once the fender is free from the truck, you can set it aside and start to work on the new fender. Place the new fender in the correct position and align it with the other fenders. Attach the bolts that came with the new fender and tighten them.
If you are using a universal fender, you may need to drill holes for the bolts. When all the bolts are in place, check the alignment of the fender and make sure it is secure. Finally, attach any wires or hoses and you’re done. With a bit of patience and the proper tools, you can successfully remove and replace a damaged truck fender.
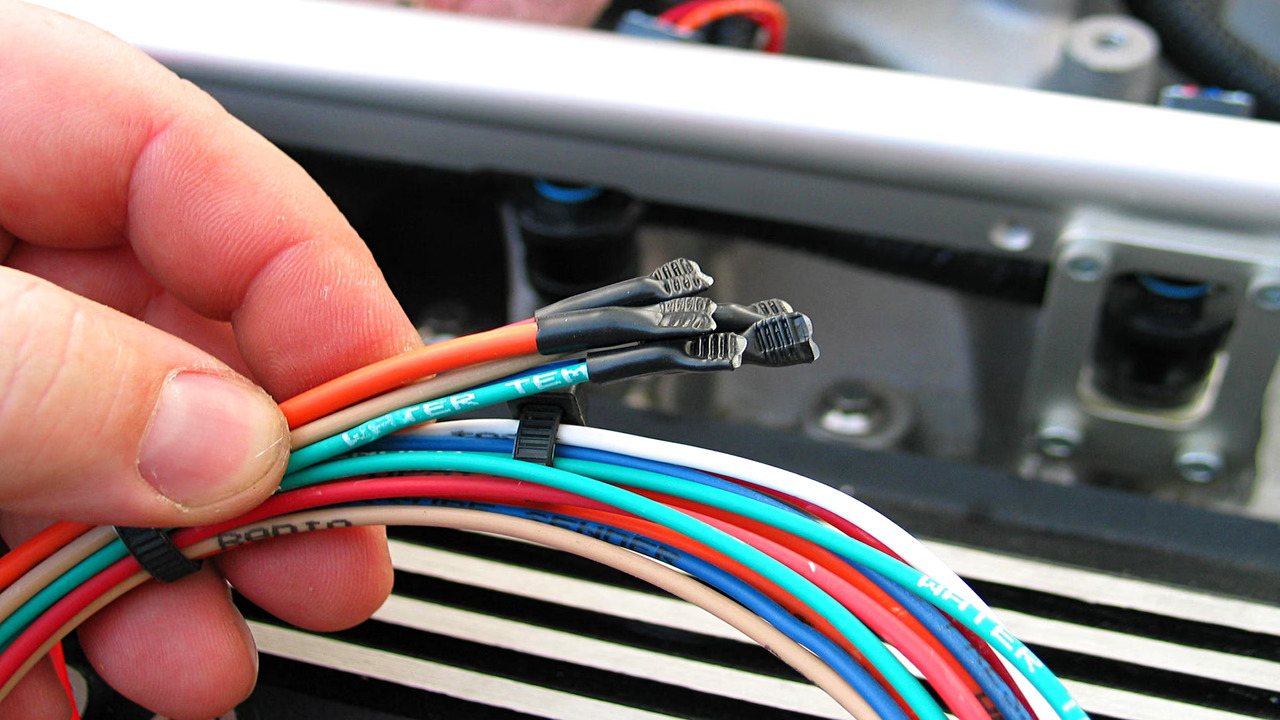
Disconnect Wiring
If the truck fender you are replacing is equipped with any wiring, it is important to disconnect it. Start by turning off the vehicle’s power and removing the negative battery cable. Once the power is off, locate the wiring connected to the fender. There are usually several wires connected to the fender.
Carefully disconnect each one. To ensure the wiring is safe, wrap each of the wires in electrical tape to prevent them from coming in contact with metal parts. Once all the wires are disconnected, you can remove the fender from the vehicle.
Installing New Fender

Replacing a damaged truck fender is a relatively simple task that anyone can do with the right tools and a bit of patience. First, you’ll need to remove the old fender. To do this, you’ll need to disconnect the wiring harness, unscrew the mounting hardware, and remove the fender itself.
On some models, you may need to remove a few screws to get access to the mounting hardware. After the fender is removed, you’ll need to install the new one. Start by connecting the wiring harness, then secure the mounting hardware with the screws. Next, line up the new fender and use the mounting hardware to attach it to the truck.
Finally, adjust the fender to ensure it is properly aligned. With the new fender in place, you can now enjoy the peace of mind that comes with knowing your truck is looking better than ever.
Connect Wiring
Once you have the new fender connected, the next step is to connect the wiring. This can be a tricky process, so it’s important to pay close attention. Start by locating the wiring harness on the vehicle. Follow the wiring harness up to the fender and disconnect it.
Once the wiring harness is disconnected, you can now remove the old fender. Carefully remove the old wiring harness and install it into the new fender. Make sure to connect each wire correctly and securely before moving on.
Once all the wires are connected, you can now mount the new fender to the truck. After the fender is secured, you can now reattach the wiring harness to the new fender. Make sure all the connections are secure and the wiring is in good condition. Finally, test the new wiring to make sure everything is functioning properly.
Install Fender
Installing a new fender on your truck is a relatively easy task that can be done in just a few steps. Firstly, you’ll need to remove the old fender. To do this, you’ll need to disconnect any wiring that is connected to the fender, such as turn signal and lighting wires. Then, you’ll need to unscrew any bolts that are holding the fender in place.
Once all of the bolts have been removed, you can carefully take the fender off of the truck. Next, you will need to prepare the new fender for installation. You’ll need to clean any dirt and debris off the fender, so that it can sit snugly against the body of the truck.
You’ll also need to check the alignment of the fender, to make sure it fits correctly. If needed, you can make simple adjustments using a screwdriver or a wrench. Finally, you can begin the installation process. You’ll need to start by connecting any wiring that was disconnected, and then attaching the fender to the body of the truck with bolts.
Hand-tighten the bolts, and then use a wrench to ensure that they are firmly secured in place. Once the fender is securely attached, you can give it a final check to make sure that everything is in its proper place.
Secure Fender
Once you have removed the old, damaged fender from your truck, it is time to secure the replacement fender. The first step is to ensure that the new fender is firmly secured to the vehicle. If necessary, use clamps to hold the fender in place. Once secure, use a screwdriver to attach the screws that will hold the fender in place. Make sure to tighten the screws to ensure that the fender is secured properly.
If you are using a rivet gun, make sure to use the proper rivets to ensure that the fender is firmly attached to the vehicle. Finally, use a small amount of sealant or wax to ensure that the fender is properly sealed against the elements. Your truck is now ready to hit the road with a new, secure fender.
Lower Vehicle
Before you can begin to replace a damaged truck fender, it is necessary to first lower the vehicle. Park the truck in a safe area and engage the parking brake. Then, raise the hood and disconnect the negative cable from the battery.
This will prevent any electrical shocks or electrical system damage. To lower the vehicle, jack it up and place a jack stand under the designated jacking points. Once the vehicle is securely raised, remove the wheel and tire and set it aside. You can now access the fender and begin the process of replacement.
Conclusion
This article provides a step-by-step guide on how to remove and replace a damaged truck fender. It explains the necessary tools and materials needed, as well as the steps to take to remove the old fender and install the new one. With the help of this article, you should be able to replace your truck fender quickly and safely.
FAQ’s
1.What Tools Will I Need To Remove And Replace A Damaged Truck Fender?
Ans: To remove and replace a damaged truck fender, you will need a set of wrenches, a flathead screwdriver, a ratchet set, a pair of pliers, and a socket set. You may also need a jack and jack stands to lift the truck and provide extra space to access the fender. You may also need some wire cutters to cut off any rusted bolts or trim pieces. Finally, you may need some body filler and paint to finish the repair.
2.Is It Difficult To Remove And Replace A Damaged Truck Fender?
Ans: Yes, it can be difficult to remove and replace a damaged truck fender. Depending on the extent of the damage, it may require specialized tools, and the process can be labor intensive. It is important to be familiar with the specific make and model of the truck to ensure that the proper replacement part is chosen. It is also important to follow safety protocols when performing the work.
3.What Are The Steps Involved In Removing And Replacing A Damaged Truck Fender?
Ans: First, the screws and bolts that secure the fender to the chassis should be removed. 2. Next, the damaged fender should be carefully taken off the vehicle. 3. The new fender should then be lined up and secured to the chassis with screws and bolts. 4. Finally, the replacement fender should be tested to ensure it is securely in place.
4.What Do I Need To Do To Prepare My Truck For Removing And Replacing The Fender?
Ans: To prepare your truck for removing and replacing the fender, you should first take off any accessories or trim pieces that may be in the way. Then, you should unscrew and remove any bolts or clips that are securing the fender in place.
After the fender is removed, you can then clean the area and apply a thin layer of grease over any exposed metal surfaces. Finally, you can use a sandpaper to smooth and prepare the area for the new fender.
5.How Can I Ensure That The New Fender Will Fit Correctly On My Truck?
Ans: To ensure that the new fender will fit correctly on your truck, you should take measurements of the existing fender and compare them to the size of the new fender. Additionally, you should bring the measurements and the new fender to a professional mechanic to verify that it is the correct size and will fit correctly.
If you are not able to bring the measurements and the fender to a mechanic, you can also compare your existing fender to pictures of the new fender online. Finally, double check the measurements and fit of the fender before drilling any holes or making any permanent changes to your truck.


