
Installing a skateboard fender is an effective way to reduce the risk of wheel bite, a common issue for skateboarders. Wheel bite occurs when the skateboard’s wheels contact the deck, resulting in a sudden stop that can cause the rider to lose control.
Installing a skateboard fender is a simple process that requires a few basic tools and a few minutes of time. With the right approach, it can be a great way to improve the safety and performance of your skateboard. In this article, we’ll discuss the steps necessary to install a skateboard fender and how it can help protect your board from wheel bite.

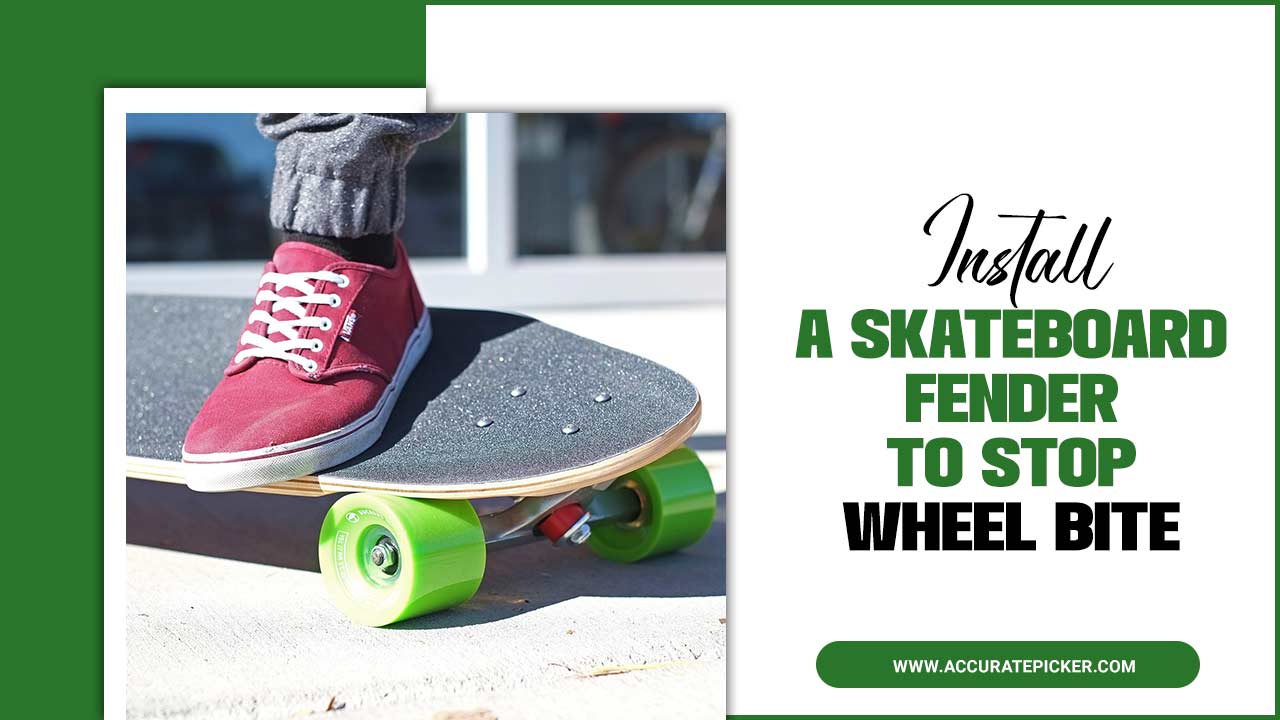
Installing A Skateboard Fender – Very Easy Ways
Installing a skateboard fender is a great way to reduce wheel bite and improve your ride. Wheel bite occurs when the wheels of your skateboard rub against the deck, making it difficult to control and potentially dangerous. Fortunately, installing a fender is an easy and affordable way to prevent this from happening.
In this article, we’ll explain how to install a skateboard fender and provide tips on how to get the best results. We’ll also discuss the different types of fenders available and how to choose the right one for your board. So, let’s get started and learn how to install a skateboard fender to reduce wheel bite.
Gather Materials
Before attempting to install a skateboard fender, it is important to make sure you have all the necessary materials. Gather the fender, a screwdriver, and a wrench. The fender should come with the necessary screws, but if it does not, you will need to make sure you have the right size and type of screws.
Additionally, you may need a drill and a drill bit depending on the type of fender you are installing. Make sure you have a clean surface to work on, as well as a clean cloth to wipe away any dirt or debris. Lastly, you will need an allen key for adjusting the fender. Having all the necessary materials will make the installation process much easier and quicker.
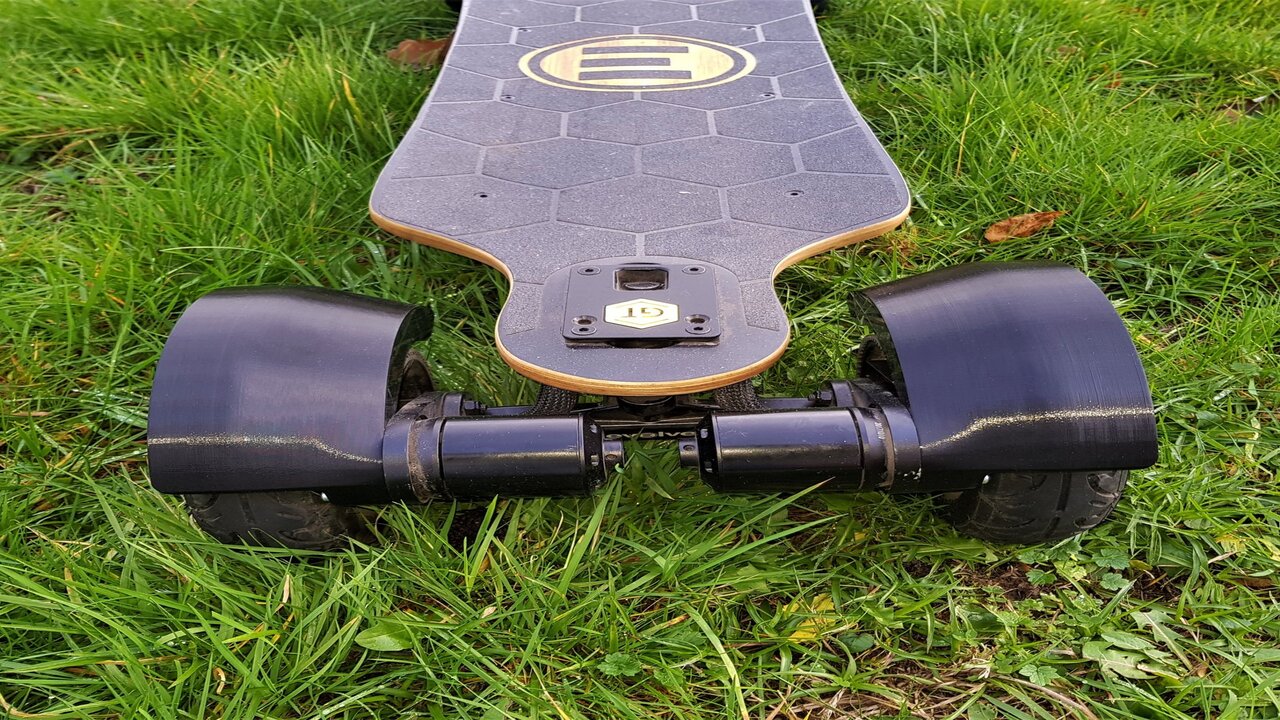
Skateboard Fender

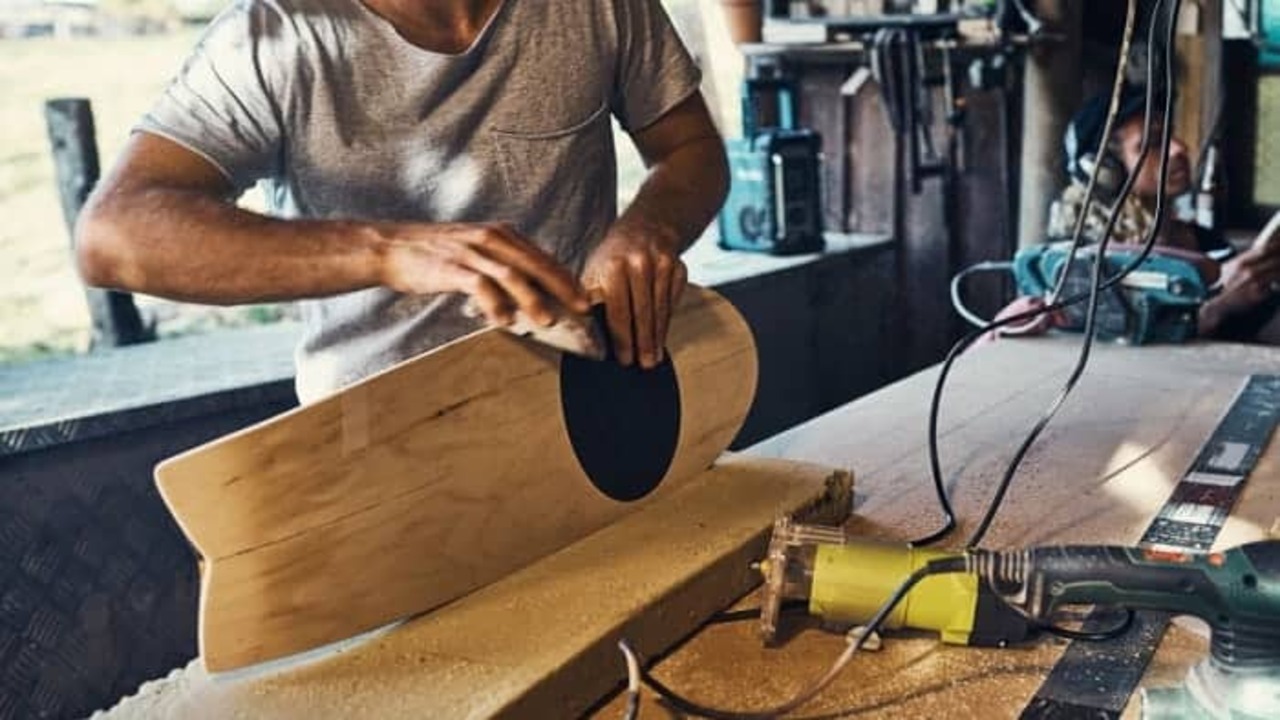
Skateboard fenders provide a great way to reduce wheel bite and add extra protection when skateboarding. Installing a skateboard fender is simple and only requires a few basic tools. First, you will need to find a fender that fits the shape and size of your skateboard.
You will also need a drill, screws, and a screwdriver. Begin by drilling two holes in the fender, one at either end. Make sure the holes are centered, and that they line up with the holes on your skateboard. Now, place the fender in the desired location and use the screws to secure it in place.
If you need additional support, you can use additional screws or add a few layers of tape to the underneath side of the fender. Once the fender is secure, you are ready to hit the skate park and enjoy the extra protection that a skateboard fender provides.
Phillips Head Screwdriver
A Phillips head screwdriver is essential for installing a skateboard fender. To begin, you should measure the width of the gap between the wheel and the deck. This will help you determine the length of screws needed for the installation.
Once you have the correct length screws, you will need the Phillips head screwdriver to secure the fender in place. You may need to adjust the screws to ensure the fender is positioned correctly. It is important to make sure the screw head is flush against the surface of the fender and the deck when tightening. Once the screws are secure, you can now enjoy your ride without worrying about wheel bite.
Mounting Screws
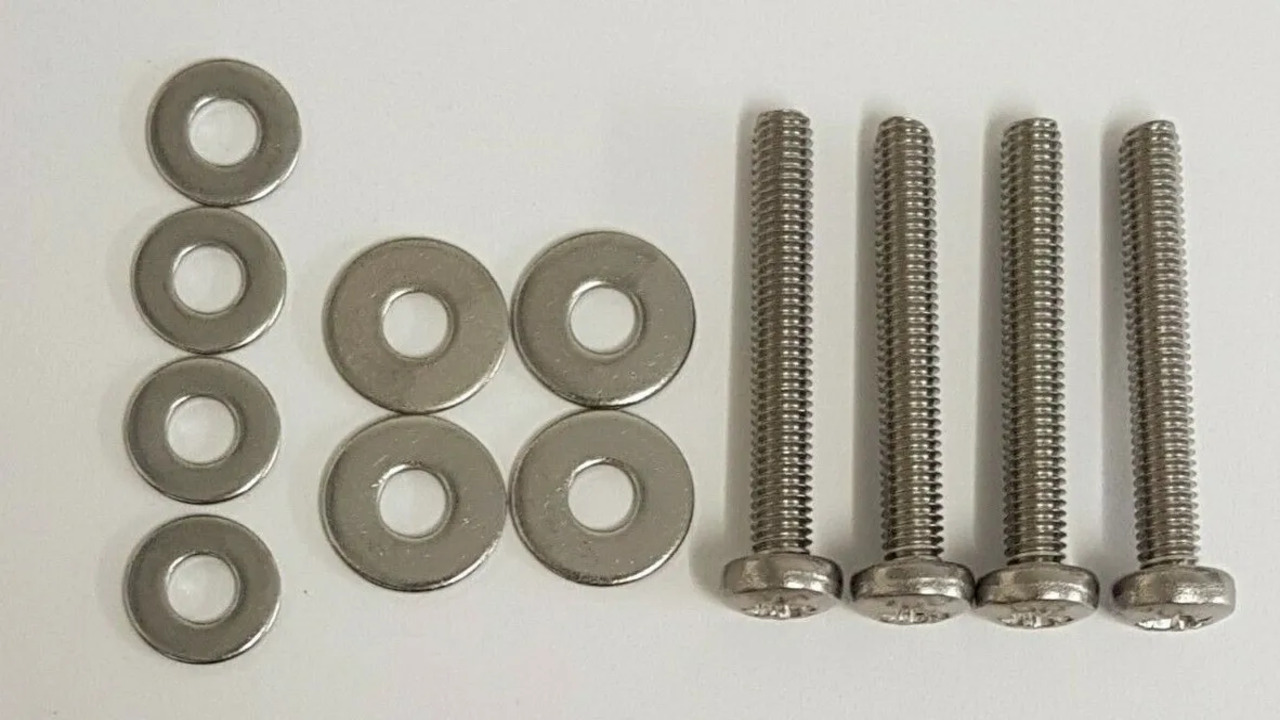
When it comes to installing a skateboard fender, the most important part of the process is the mounting screws. These screws help hold the fender in place and provide a tight fit without any wiggle room. It’s important to use the correct type of screws for the job, as a regular screw won’t be able to withstand the pressures of riding. Skateboard fenders are usually made of metal, so you’ll need to use a metal screw that can handle the weight and vibrations.
If you’re unsure about which screws to use, ask your local skate shop for advice. Once you’ve got the right screws, it’s time to attach the fender to the skateboard. Before you do, make sure that you’ve properly measured and marked where the screws will go.
This will ensure that the fender is securely attached and can provide the protection it’s designed for. Take your time and be careful when securing the screws, as it’s easy to strip them, which could lead to an unsafe ride. Once the screws are in place, your skateboard fender is ready to go and you’ll be able to enjoy a worry-free ride.
Wrench (Optional)
If you have a wrench, it can be helpful when installing a skateboard fender. Tightening the fender with a wrench allows for greater flexibility and easier adjustment of the fender. Make sure that the fender is tightened securely enough that it won’t move when you ride, but not so tight that it restricts the turning of the skateboard.
If you don’t have a wrench, you can tighten the fender with your fingers, but this will be much harder and less precise. Adjusting the fender with a wrench allows for greater precision and accuracy of the fender position. Additionally, a wrench can help to make sure that the fender is secure and won’t come loose when you’re riding.
Prepare Skateboard
Before installing your skateboard fender, you need to prepare the board. First, remove the existing wheels and trucks from the board. Make sure to keep the hardware for reinstallation after the fender installation. Once the wheels and trucks are off, unscrew the existing risers from underneath the board.
Make sure to save the screws for later use. Finally, clean the board surface to remove any dirt, dust, and debris. This will ensure a secure installation of the fender. Once you have prepped the board, you are ready to install the skateboard fender.
Remove Old Fender
Before you can install a skateboard fender to reduce wheel bite, you need to remove the old fender if it is already attached. To remove the fender, you will need a skate tool or a flathead screwdriver. Begin by unscrewing the bolts that attach the fender to the skateboard deck. Once all the bolts are loose, the fender should come off easily.
Be sure to keep the bolts and screws in a safe place as you will need them to reattach the new fender. If the bolts have been damaged or stripped, you may need to replace them with new ones. Once the old fender is removed, you can begin the process of installing the new fender.
Clean Deck
A clean skateboard deck is essential for installing a fender correctly. Before you begin, make sure the surface is clear of any dirt, debris, or residue. Start by wiping down the area with a damp cloth, then use a dry cloth to soak up any excess moisture.
If there are any scratches or dents on the deck surface, fill them in with a skateboard wax or epoxy. Once the deck is clean and dry, you are ready to begin the installation process.
Measure Fender Placement
When installing a skateboard fender, it is important to measure the placement of the fender to ensure it is positioned correctly. Start by measuring the distance between the axle and the edge of the deck. This measurement will help you determine the placement of the fender.
If the distance is too small, the fender will not provide enough protection from wheel bite. If the distance is too large, the fender may rub against the wheel and create noise. Take your time and make sure the measurements are accurate. Once you have the measurements, you can mark the placement of the fender on the deck and prepare to install it.
Install New Fender
Installing a new skateboard fender can help reduce wheel bite and improve your ride. To start, make sure the fender you choose is the right size for your skateboard. If it’s too big, it won’t fit.
Before you begin, gather all the required tools and materials, such as a drill, screwdriver, screws, and the fender. Next, find a place to mount the fender to the board. The most common place to mount the fender is directly behind the rear truck, but you can also mount it to the side of the board. Once you’ve decided where to mount it, carefully mark the spot with a pencil.
Then, drill holes into the board and use the screws to attach the fender. Finally, tighten the screws and double-check to make sure the fender is secure and won’t move. Now you can enjoy a smoother ride with less wheel bite.
Place Fender
The next step in installing your skateboard fender is to place it in the correct position on your skateboard. The fender should be placed so that it lines up with the edges of your wheels. Make sure that the fender does not interfere with the bearing or axle.
If the fender is too close, it may cause wheel bite when you turn. It is also important to make sure that the fender does not cover up any of the trucks or the baseplate. You can adjust the placement of the fender until it fits your setup properly. You may need to use shims or spacers to make sure that the fender is in the right position. A properly installed fender should reduce wheel bite and prevent your skateboard from skidding out during sharp turns.
Secure With Screws
When it comes to securing the skateboard fender, screws are the way to go. Start by pre-drilling holes into the deck and the fender. This will prevent the wood from splitting and the screws from coming loose. Use a drill bit that is the same size as the screws.
Once the holes are pre-drilled, use a screwdriver to attach the fender to the deck. Make sure to start the screws by hand, as this will help to keep them from stripping. When the screws are all in, use a wrench to tighten them until the fender is securely attached.
Finally, use sandpaper to remove any rough edges from the fender or deck around the screws. By following these steps, your skateboard fender will be securely installed and ready to protect your board from wheel bite.
Tighten Bolts (Optional)
If you would like to further secure the fender, you can tighten the bolts with a wrench. Tightening the bolts will ensure that the fender and board don’t separate. It’s an optional step, so if you don’t want to do it, you can skip this step.
To do this, start by turning the wrench counter-clockwise to loosen the bolt. Make sure the fender is aligned properly, and then start to turn the wrench clockwise to tighten the bolt securely. Keep tightening until the bolt is secure. Do this for all the bolts. Once done, your skateboard fender is installed and ready to use.
Test Fender
Testing your fender is a crucial step before installation. To make sure it fits properly, you should test the fender on your skateboard without actually affixing it. Place the fender on the skateboard and roll the wheels several times to see if the fender is interfering with the wheels.
If the fender is too close to the wheels, it can cause the wheels to bite, which can be dangerous. Make sure that the fender is not blocking the wheels and is properly aligned with the board. Once you are satisfied with the fit, you can move on to the next step of installation.
Ride Skateboard
Skateboarding is an increasingly popular activity for people of all ages. While some people choose to ride without any protection, it is important to install a skateboard fender to reduce wheel bite, especially when riding at higher speeds. Wheel bite can cause serious injury if you don’t take the necessary precautions.
Installing a fender is relatively easy and only takes a few steps. First, you should measure the height of your skateboard’s wheel wells. This will give you an idea of the size of fender you need. Second, install the fenders by screwing them onto the underside of your skateboard.
Make sure to use screws that are long enough to secure the fenders but not too long to damage the structure of the board. Lastly, check that the fenders are firmly secured and not loose. With these simple steps, you can ensure a safer and more enjoyable ride.
Inspect For Wheel Bite
Before installing a skateboard fender, it is important to inspect your skateboard for wheel bite. To do this, start by placing your skateboard on a level surface and pushing it forward. If your wheels rub against the deck, you have wheel bite.
This can be caused by the wrong wheel size, a loose truck, or a worn out bushings. To fix wheel bite, tighten your trucks, swap out your wheels, or replace your bushings. Once you have addressed the wheel bite issue, you are ready to install a skateboard fender.
Make Adjustments As Needed
Once you have installed the fender, it is important to make sure that it fits properly. If the fender is too low, it will not prevent wheel bite. If it is too high, it can cause you to lose balance while riding. Make sure to adjust the fender so that it is at the right height for your skateboard.
Make sure there is an appropriate distance between the fender and the wheel to ensure that the fender is effective. If the fender is too close to the wheel, it might not be able to provide enough protection. Finally, make sure the fender is secured firmly in place so it does not get moved while riding.
Tighten the screws, bolts, and nuts if necessary to ensure the fender is secure. With the right adjustments, you can enjoy riding with the peace of mind that your fender provides the protection you need.
Conclusion
Installing a skateboard fender is a great way to reduce wheel bite and improve your overall skateboarding experience. It’s a simple process that requires a few basic tools and supplies. First, you’ll need to measure the area where the fender will be installed and choose the right size.
Then, mark the area with a pencil and drill holes for the screws. Finally, attach the fender with the screws and secure with nuts. With a few simple steps, you can install a skateboard fender and enjoy a smoother ride.
FAQ’s
1.What Tools Do I Need To Install A Skateboard Fender?
Ans: To install a skateboard fender, you will need a few basic tools: a Phillips screwdriver, a flathead screwdriver, and a ruler. You may also need a drill with a drill bit if you are installing the fender with screws. Additionally, you will need a skate tool to adjust the trucks and wheels of the skateboard. Finally, you may want to use a skate wax to lubricate the wheels and trucks for a smoother ride.
2.How Do I Ensure The Skateboard Fender Is Securely Attached To The Board?
Ans: To ensure the skateboard fender is securely attached to the board, make sure to use screws and bolts that are the correct size for the fender and skateboard. Additionally, use a drill and screwdriver to make sure the screws are securely fastened. Also, use a wrench to make sure the bolts are tightly fastened. Finally, check that all screws and bolts are fully tightened before using the skateboard.
3.Is It Necessary To Use Screws Or Can I Attach The Fender With Other Materials?
Ans: It depends on the specific application and materials you are using. Generally, screws are the most common and reliable way to attach a fender, as they are strong and provide a secure connection. However, it is possible to use other materials, such as zip ties, rivets, or adhesives, depending on the specific requirements. Ultimately, it is best to follow the instructions provided with the fender for the best results.
4.Are There Any Tricks Or Tips To Make The Installation Process Easier?
Ans: Yes, there are some tricks and tips that can make the installation process easier. First, make sure to read the installation instructions carefully before beginning. It is also helpful to have all the necessary tools and materials handy. Additionally, it helps to take your time and double-check everything before finishing. Finally, if you are feeling overwhelmed, consider hiring a professional to help with the installation.
5.Will The Skateboard Fender Affect The Performance Of The Skateboard?
Ans: Yes, the skateboard fender can affect the performance of the skateboard. If it is of a good quality, it can provide more stability to the board, which in turn can help the rider to perform better. On the other hand, if the fender is of poor quality it can reduce the performance of the board by creating drag. Therefore, the quality of the fender is an important factor when considering the performance of the skateboard.


