
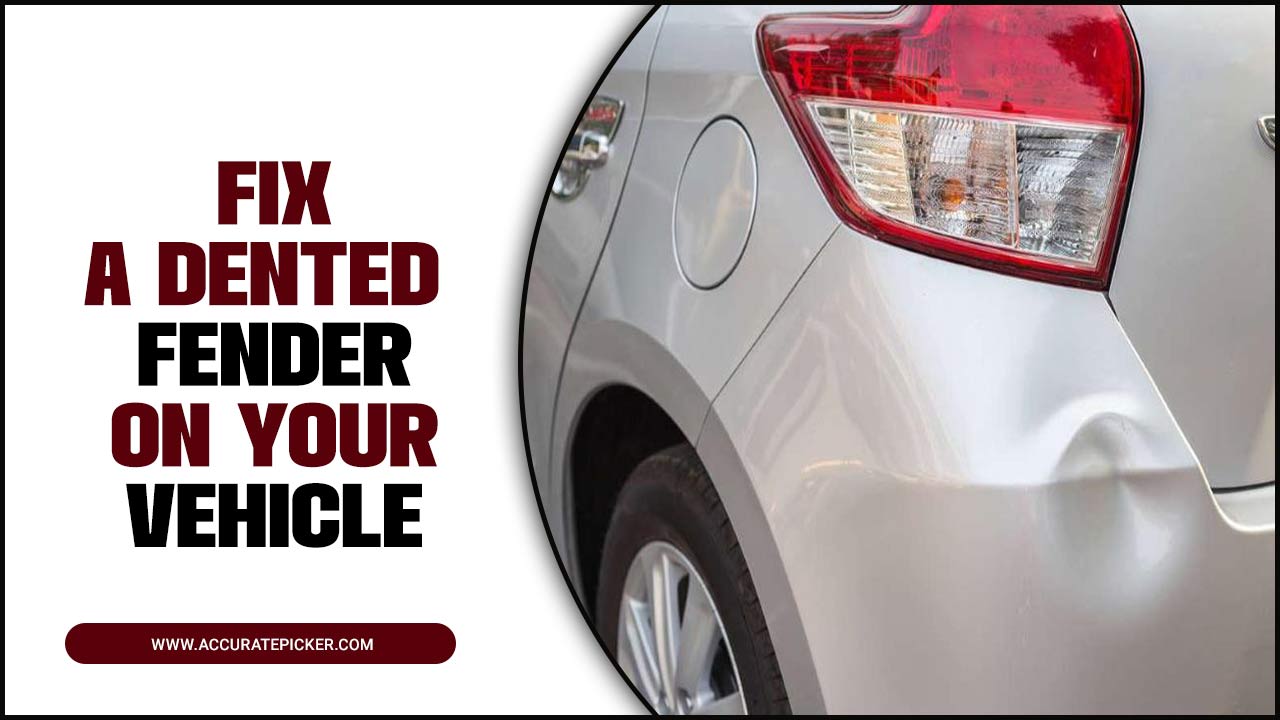
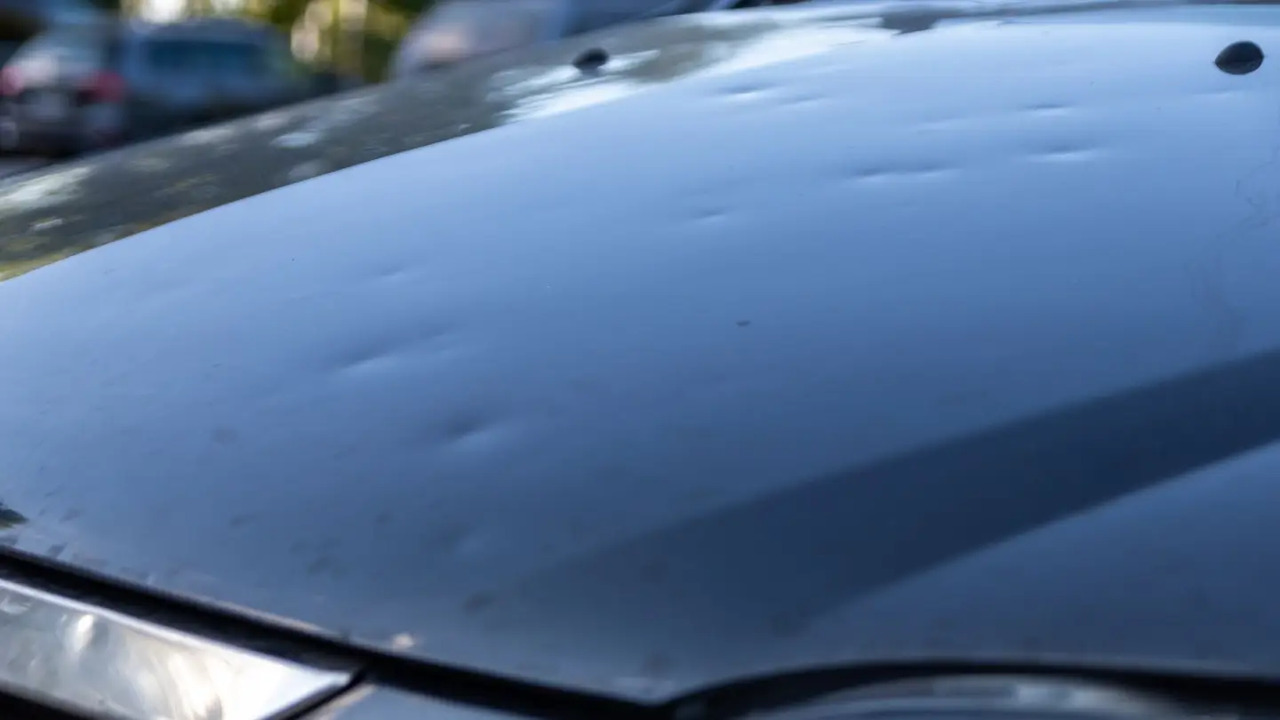
The fender of a vehicle is an important part of its exterior, and a dented fender can be a source of embarrassment and frustration. Fortunately, fixing a dented fender is not difficult and can be done with basic tools and supplies.
This article will discuss the steps necessary to repair a dented fender on a vehicle, from preparing the surface to applying the finishing touches. With the right approach, anyone can restore their vehicle’s fender to its original condition. So, if you’re ready to learn how to fix a dented fender on a vehicle, keep reading!

Fixing A Dented Fender: A How-To Guide

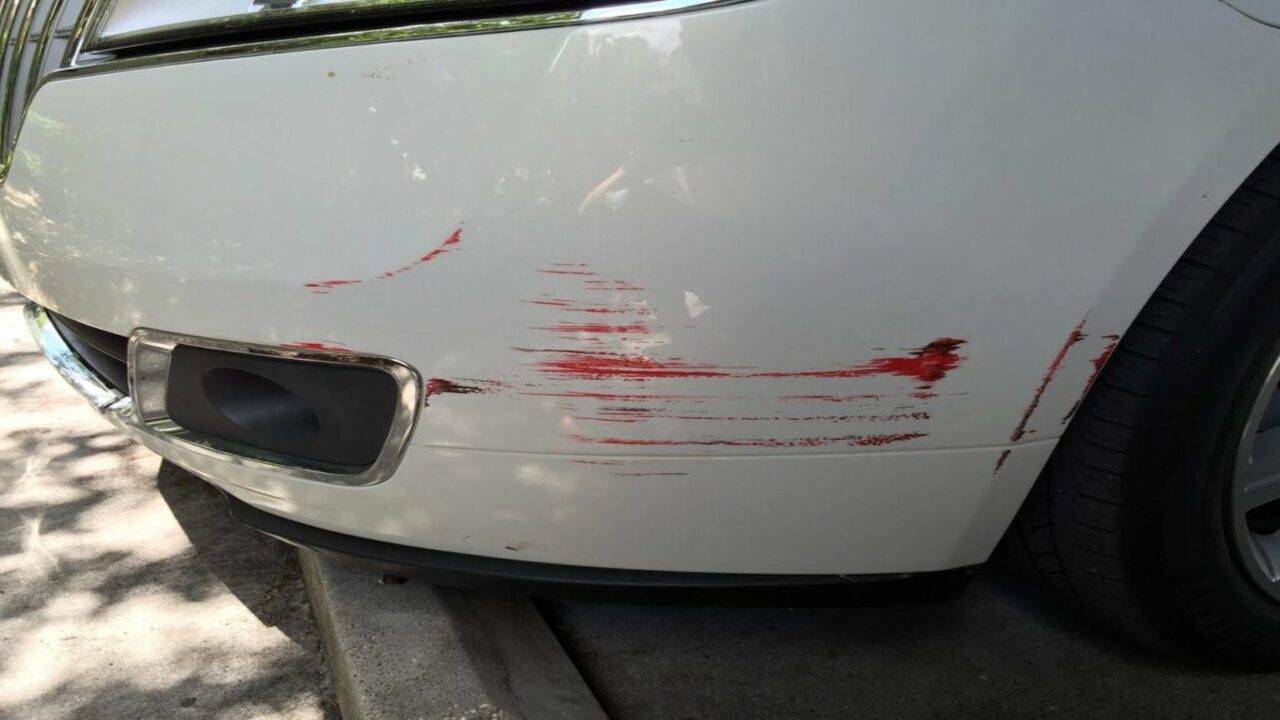
Before you start to learn how to fix a dented fender on a vehicle, you should be aware of the risks and safety precautions involved. Dents in the fender can be caused by a variety of things, from road debris to an accident.
Depending on the size and location of the dent, the repair process may require specialized tools and techniques. Make sure you are familiar with the tools you will need and take the necessary safety precautions before starting the repair. Additionally, it is important to consider the cost of the repair and the type of paint job that may be required. With the right preparation and know-how, you can successfully fix a dented fender on a vehicle.
Materials Needed
When it comes to fixing a dented fender on a vehicle, there are a few materials needed. First, you will need a few basic tools such as a jack stand, a ratchet set, and a screwdriver. You should also have a rubber mallet and some sandpaper on hand.
In addition, you will need a few items to repair the dented area, such as a sheet of metal to patch the damaged area, a pair of pliers, and some welding equipment. Finally, you will need some body filler to cover the dented area and a few cans of spray paint to finish the job. With these materials, you should be able to fix your dented fender and make your car look as good as new.
Hammer
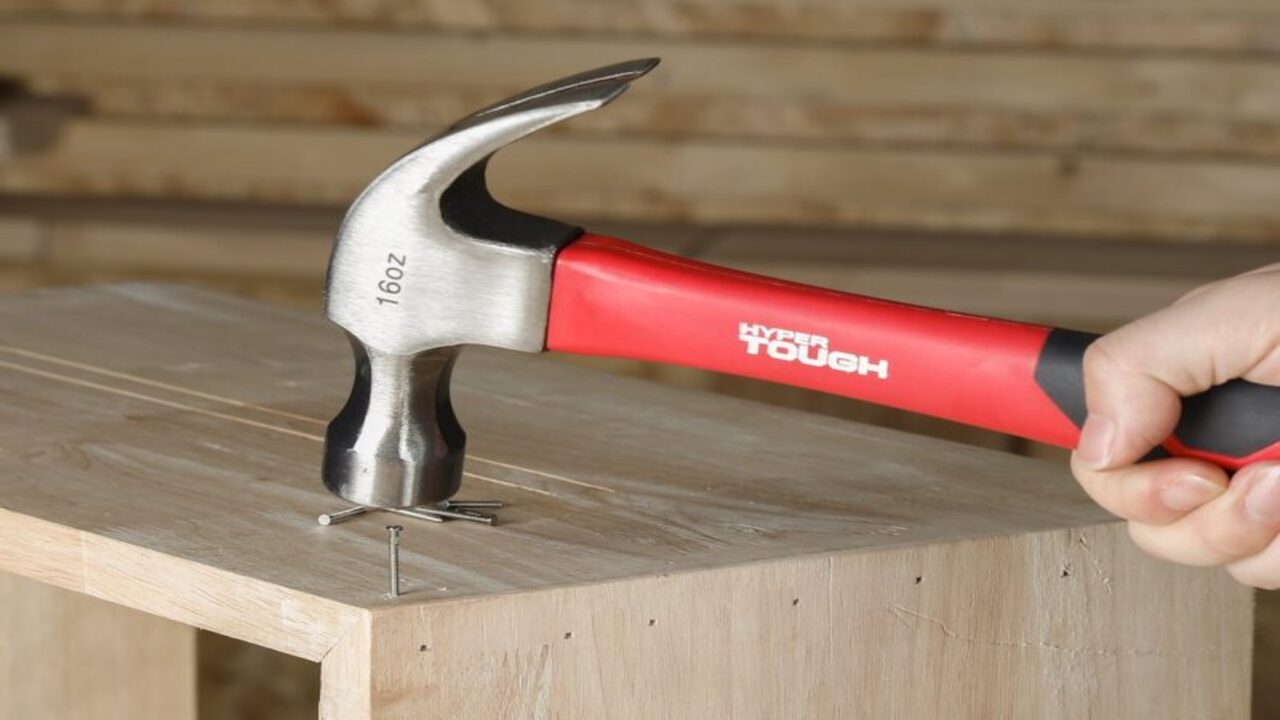
A hammer is an essential tool when it comes to fixing a dented fender. The first step is to use a dolly and place it on the backside of the fender. This will act as a counterweight to the pressure the hammer will be applying. Then, use a ball peen hammer, small sledgehammer, or a body hammer and tap the area lightly to remove the dent.
Keep in mind that the goal is to remove the dent, not to damage the fender more. If the dent is stubborn, use a heavier hammer, but be careful not to put too much force on the fender. If needed, use a rubber mallet to further reduce the dent.
Finally, use a sandpaper to remove the scratches and make the surface smooth. With a bit of effort and the right tools, you can easily fix a dented fender on your vehicle.
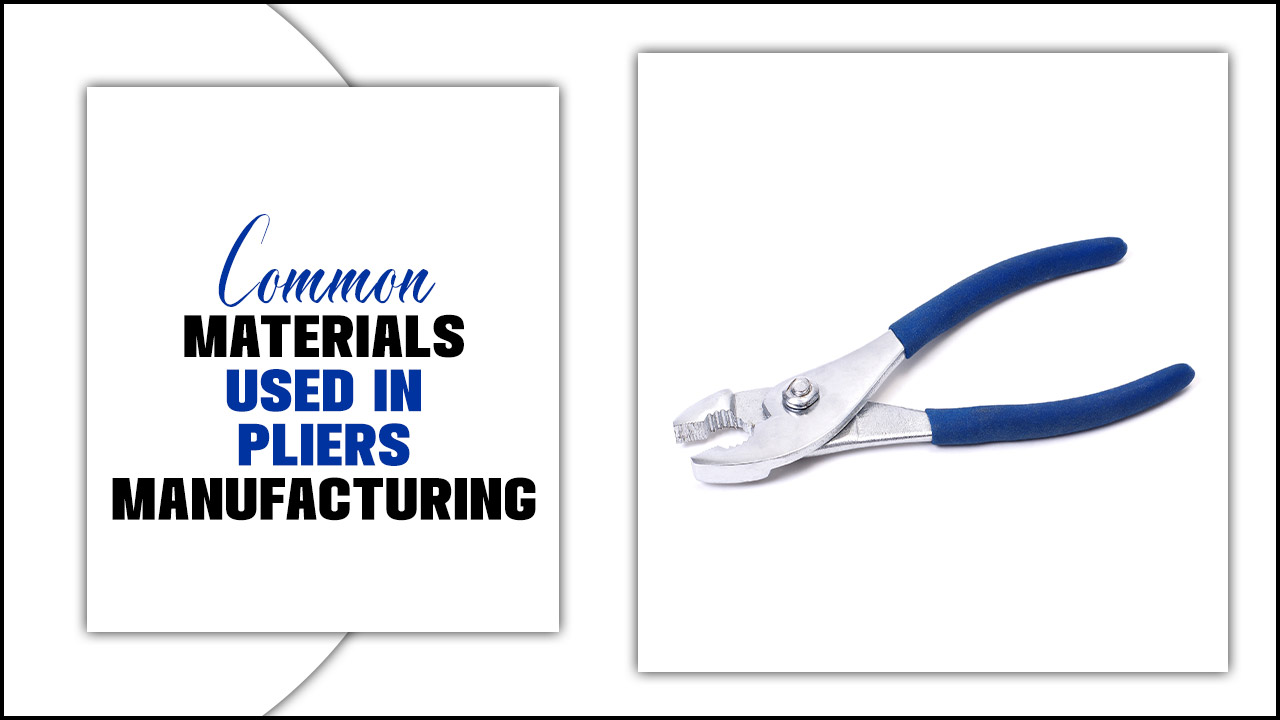
Pliers
Pliers are a handy tool that can be used to fix a dented fender. Start by positioning the pliers around the edge of the dent and gently pushing the metal back into place. If the dent is too deep, use the pliers to pull the dent out. Be careful not to pull too hard, as metal can be easily damaged.
If the dent is still noticeable, a hammer can be used to further flatten the metal. Take the hammer and carefully tap around the edges of the dent. If the dent is still visible, use a body filler to fill in the dip and sand it down until the surface is smooth.
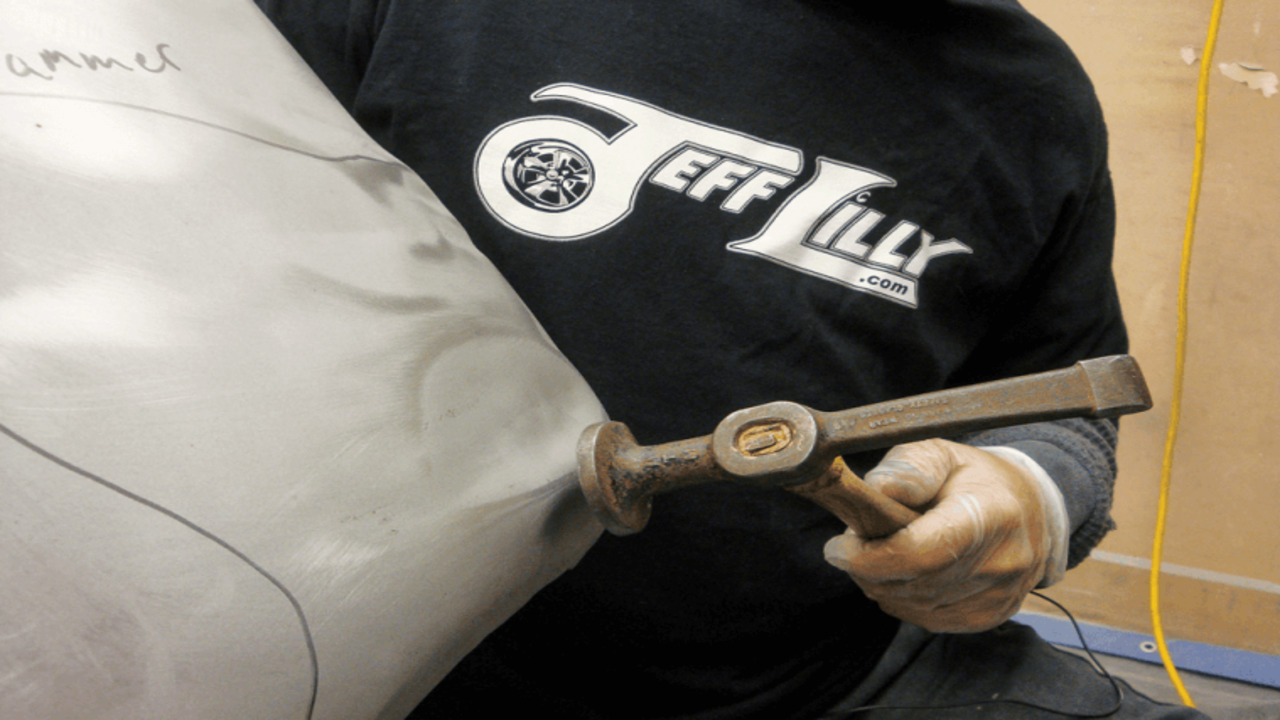
Dollies
Dollies are an essential tool when it comes to fixing a dented fender on a vehicle. They help support the part of the vehicle that needs to be worked on and provide an even surface when hammering out dents. They come in multiple sizes and shapes so you can choose the right one for the job.
When using a dolly, make sure to pad it with a soft material such as a towel or a cloth to prevent any additional damage to the vehicle. To ensure the highest level of safety, always wear safety goggles and gloves when working with a dolly.
Body Filler
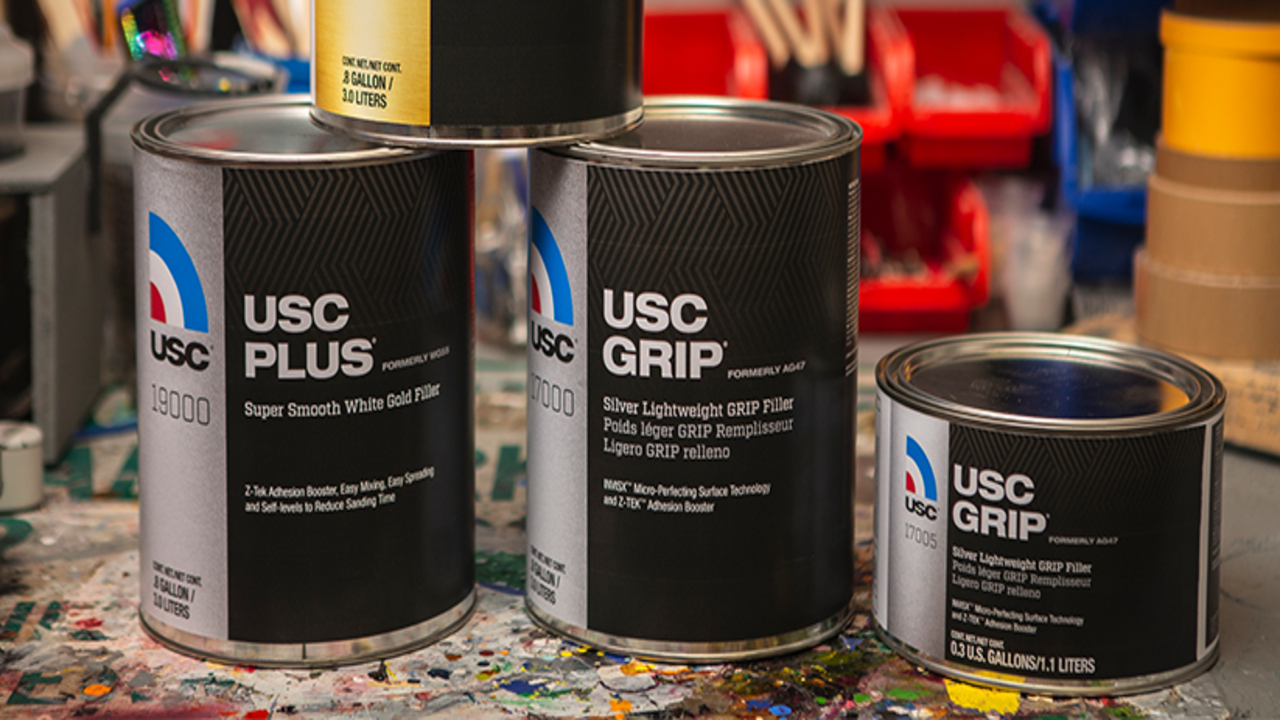
Body filler is a common method of repairing dents in a vehicle’s fender. It is a quick, inexpensive way to repair minor dents. To begin the repair process, the area must be thoroughly cleaned and all rust must be removed. This is typically done with a wire brush and some sandpaper.
Once the surface is clean and dry, a body filler must be applied to the dent. It is important to use a name brand body filler that is designed specifically for automotive applications. The filler should be mixed according to the product directions and then applied liberally to the dented area.
Once the body filler has dried, it can be sanded down to a smooth finish. Once the area has been sanded, a primer should be applied and then a coat of matching paint. When completed, the area should be indistinguishable from the rest of the fender.
Steps
To fix a dented fender on a vehicle, you need to have the right tools and supplies. First, clean the area around the dent with a cloth and some car soap. Then, use a heat gun to heat the area around the dent.
This will help make the metal more malleable and allow you to push the dent back into place. Once the dent is pushed back into place, use a mallet and dolly to help shape the metal so it looks as good as new. Finally, use a sanding block to smooth out the area and then apply some paint to the damaged area to make it match the rest of the car. With these steps, you can fix a dented fender on your vehicle easily and quickly.
Remove Paint
Once the dent has been repaired, the next step is to remove any paint that has been chipped off in the process. A wire brush can be used to remove any loose paint, followed by a chemical stripper to soften and remove any remaining paint. It’s important to use the appropriate protective gear when using chemical strippers, such as goggles and gloves.
If the paint is in good condition, it can be lightly sanded to create a smooth surface for priming and painting. For more stubborn areas, a sanding disc or sandpaper may be needed. Once the paint is removed, clean the area thoroughly with a rag and a mild detergent before proceeding with the next step.
Pull Out The Dent
If you have a dented fender on your vehicle, it can be fixed without replacing the entire fender. One way to repair the dent is by using a process called “pulling out the dent. ” This process involves applying a pulling device such as a slide hammer to the outside of the dent.
This applies pressure which gradually pulls the dent out. It may take a few attempts to fix the dent, but it is a less expensive and less time-consuming option than replacing the fender. To begin the process, the area around the dent must be cleaned and dried. Then, a suitable pulling device should be chosen.
This device could be a slide hammer, a slide puller, a dent puller, or a combination puller. The device should be secured to the dent, and then pulled outwards, releasing the pressure and pulling the dent out. If the dent is not removed after the first pull, the process may need to be repeated until the dent is gone.
The pulling out the dent process is an effective way to remove a dent from a fender without having to replace the entire panel. It is an inexpensive option that can be done in a relatively short amount of time. However, if the dent is too large or too deep, the process may not be successful. In this case, it is best to consult a professional to repair the fender.
Repair And Sand
In order to fix a dented fender on a vehicle, you must first repair the dent. This can be done by using a rubber mallet to push the dent back into its original shape. You may also need to use a hammer and dolly to completely smooth out the surface.
Once the dent is repaired, you will need to sand the area to prepare it for painting. Use a coarse sandpaper to remove any rust and to make sure the surface is even. Then use a finer sandpaper to create a smooth surface for the paint to adhere to. Once this is done, you can begin painting the fender.
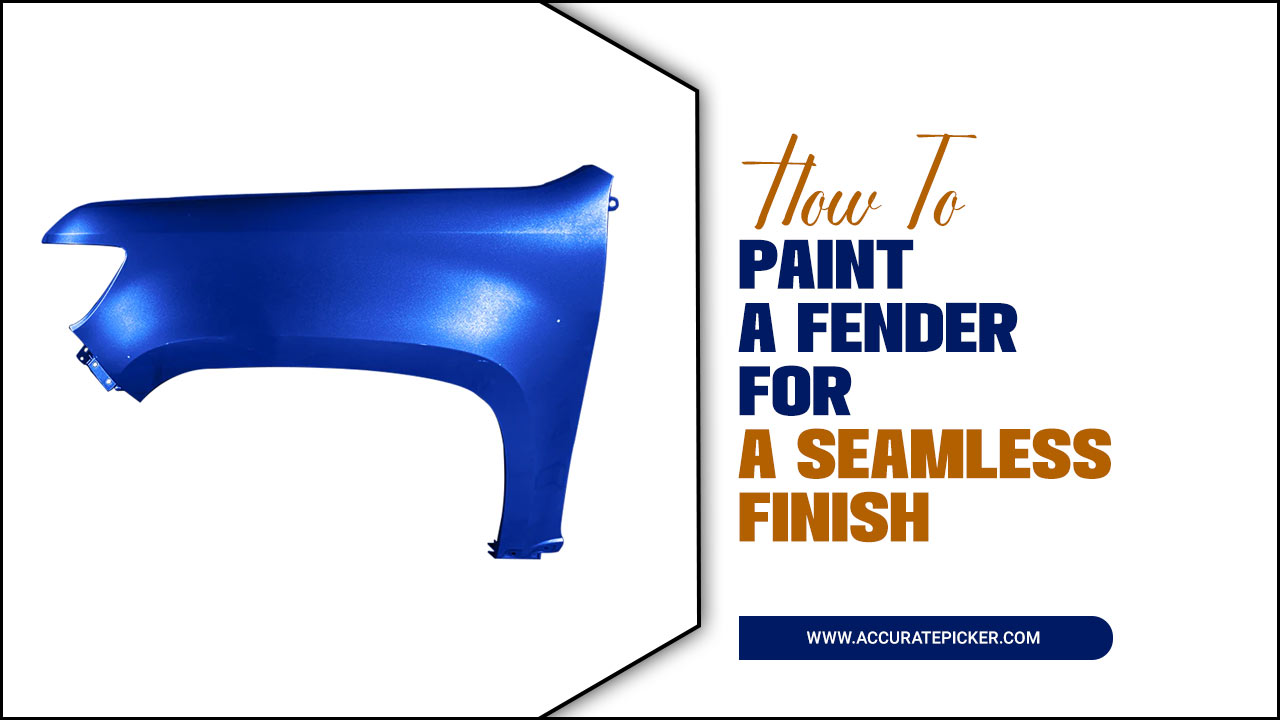
Paint And Prime
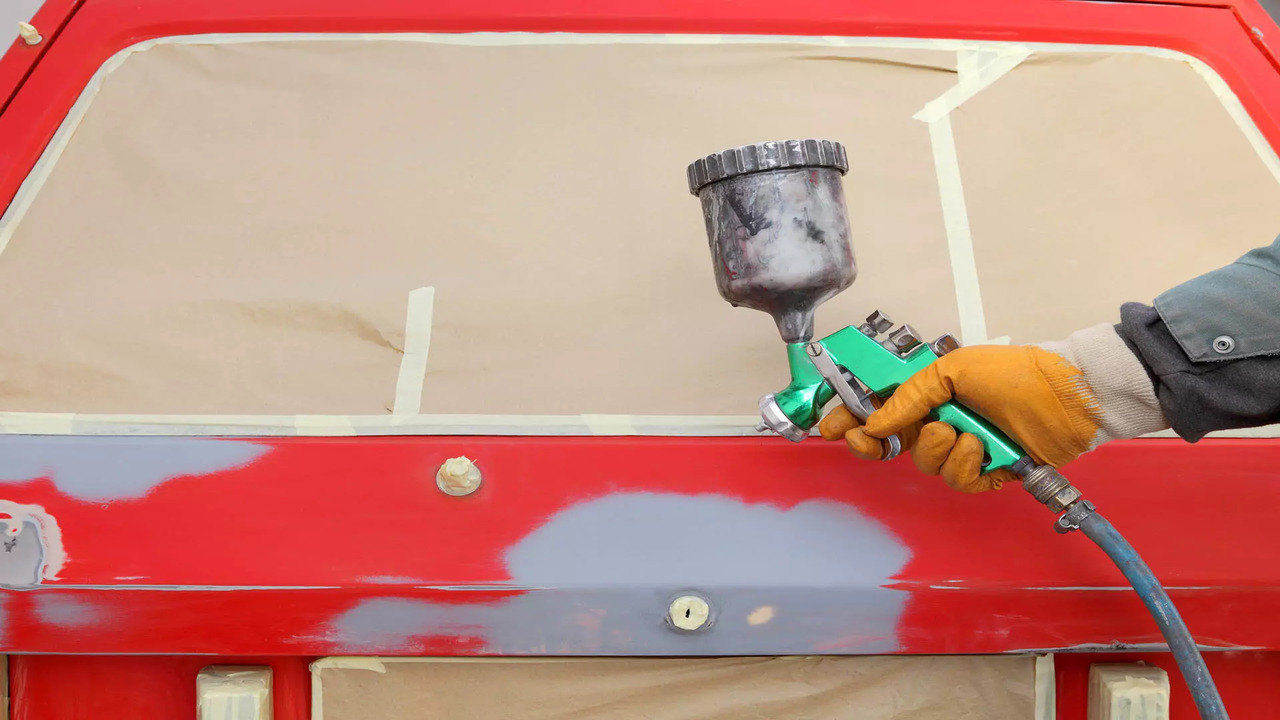
Once the dented fender has been repaired, it is time to paint and prime it. To ensure the best finish, use a primer specifically made for automobile use, followed by a coat of paint. Sand down any rough areas and remember to clean off the fender before painting. After the paint dries, apply a clear coat to protect the fender and give it a glossy finish.
It is important to use several light coats of paint, rather than one thick coat, to ensure that the paint adheres properly to the fender and that the color is even throughout. You may also need to sand the fender again after it has been painted and primed. Finally, inspect the fender for any flaws and make sure that any imperfections have been corrected before you move on to the next step.
Conclusion
This article provides a step-by-step guide to fixing a dented fender on a vehicle. First, determine if the damage requires a professional repair or if it can be done as a DIY project. If it’s a DIY project, gather the necessary tools and materials, such as a hammer, dolly, sheet metal, and body filler. Next, use the dolly to push out the dent.
Once the dent is removed, use the sheet metal to fill any gaps. Finally, apply the body filler to the area and sand it down until it is smooth. With these steps, you can easily repair a dented fender on your vehicle.
FAQ’s
1.What Tools Are Needed To Fix A Dented Fender?
Ans: To fix a dented fender, you’ll need a few tools, including a dolly, a hammer, a metal file, an adjustable wrench, a socket and ratchet set, and sandpaper or an electric sander. You may also need some body filler and primer, depending on the extent of the damage. To protect yourself, you should also wear safety glasses and gloves while working.
2.What Steps Are Involved In Fixing A Dented Fender?
Ans: The first step in fixing a dented fender is to assess the damage and decide whether the fender can be repaired or needs to be replaced. If the damage is fixable, the next step is to use a rubber mallet to gently push the dent back into place. After the dent is pushed back, use a body filler to fill in any gaps or divots. Finally, sand down the filler and apply paint or primer to match the existing fender.
3.How Long Does It Usually Take To Fix A Dented Fender?
Ans: It depends on the severity of the dent and whether it needs to be repaired or replaced. Generally speaking, a professional repairperson can fix a minor dent in a fender in an hour or two. If the dent is more severe, it may take several hours or even a full day to repair or replace the fender.
4.Is It More Cost-Effective To Fix A Dented Fender Or Replace It?
Ans: In most cases, it is more cost-effective to fix a dented fender than to replace it. This is because the cost of labor and parts to repair the fender is usually much less than the cost of a new one.
However, the severity of the damage should be taken into consideration when making this decision, as a severely damaged fender may need to be replaced. Additionally, the cost of paint and other materials may influence the decision to fix or replace the fender.
5.Are There Any Risks Associated With Attempting To Fix A Dented Fender?
Ans: Yes, there are risks associated with attempting to fix a dented fender. If the repair is done incorrectly, it could cause further damage or even make the fender unsafe. Additionally, if the repair requires specialized tools or skills, there is a risk of injury if the repair is attempted without the proper knowledge. Lastly, if the repair is done improperly, it could result in more costs if a professional needs to be hired to fix the issue.
![9 Best Fender Covers [Reviews With Buying Guide]](https://accuratepicker.com/wp-content/uploads/2022/03/Best-fender-covers.jpg)