

Replacing a damaged motorcycle fender can be a daunting task for a novice rider. However, with the right tools and knowledge, it is a relatively simple process. This article will provide a detailed guide on how to replace a damaged motorcycle fender, from the removal of the old fender to the installation of the new one.
It will also discuss the various materials and tools required for the job, as well as the safety considerations that should be taken into account. With this article, you should be able to safely and confidently replace a damaged motorcycle fender. So, if you’re ready to get started, keep reading to find out how to replace a damaged motorcycle fender.

Replacing A Damaged Motorcycle Fender: Simple Ways

Replacing a damaged motorcycle fender can be a daunting task, but with the right tools and a bit of patience it is possible to get your motorcycle back on the road. In this article, we will discuss how to replace a damaged motorcycle fender, from assessing the damage to finding the right replacement part and finally installing the new fender.
We will also provide tips on how to ensure a secure fit and prevent further damage to your motorcycle. So, if you’re ready to get started on replacing your damaged motorcycle fender, read on!
Gather Materials
Before replacing a damaged motorcycle fender, it is important to gather the necessary materials. You will need a new fender, screws and bolts, a screwdriver, and a wrench. The size and type of screws and bolts will vary depending on your motorcycle’s make and model. Once you have the materials, you are ready to begin the replacement process. Make sure to have a pair of gloves on hand, as some parts may be sharp and you don’t want to injure yourself.
Order Fender
If you have a damaged motorcycle fender, it’s important to replace it promptly to ensure the safety of both the bike and the rider. Fortunately, ordering a new fender is easy and straightforward. Start by researching the make and model of your bike to determine the exact type of fender you need.
If you’re not sure, contact a motorcycle parts dealer or take your bike to a trusted mechanic. Once you’ve identified the right part, you can begin the ordering process. There are many online stores that offer a wide variety of fenders, so you’re sure to find one that fits your bike. Additionally, you can search local retailers, as many offer parts for purchase in-store.
When ordering online, be sure to carefully read the product description to ensure that the fender you choose is compatible with your bike. Finally, double-check the shipping information to ensure you receive your part in a timely manner.
Gather Tools
Having the necessary tools to complete a task is essential for success. When replacing a damaged motorcycle fender, it is important to gather the appropriate tools before beginning the job. Begin by getting an adjustable wrench, a flathead screwdriver, and a Phillips head screwdriver. You should also have a small container to hold all the screws and bolts.
Once you have those items, you should also obtain the fender you need to replace. It is important to make sure that the fender you purchase is the correct size and shape for your motorcycle. Finally, make sure to get a pair of safety glasses.
This will protect your eyes from any debris that might fly up while you are working. With all of these tools in hand, you are ready to begin replacing the damaged fender.
Prepare Bike
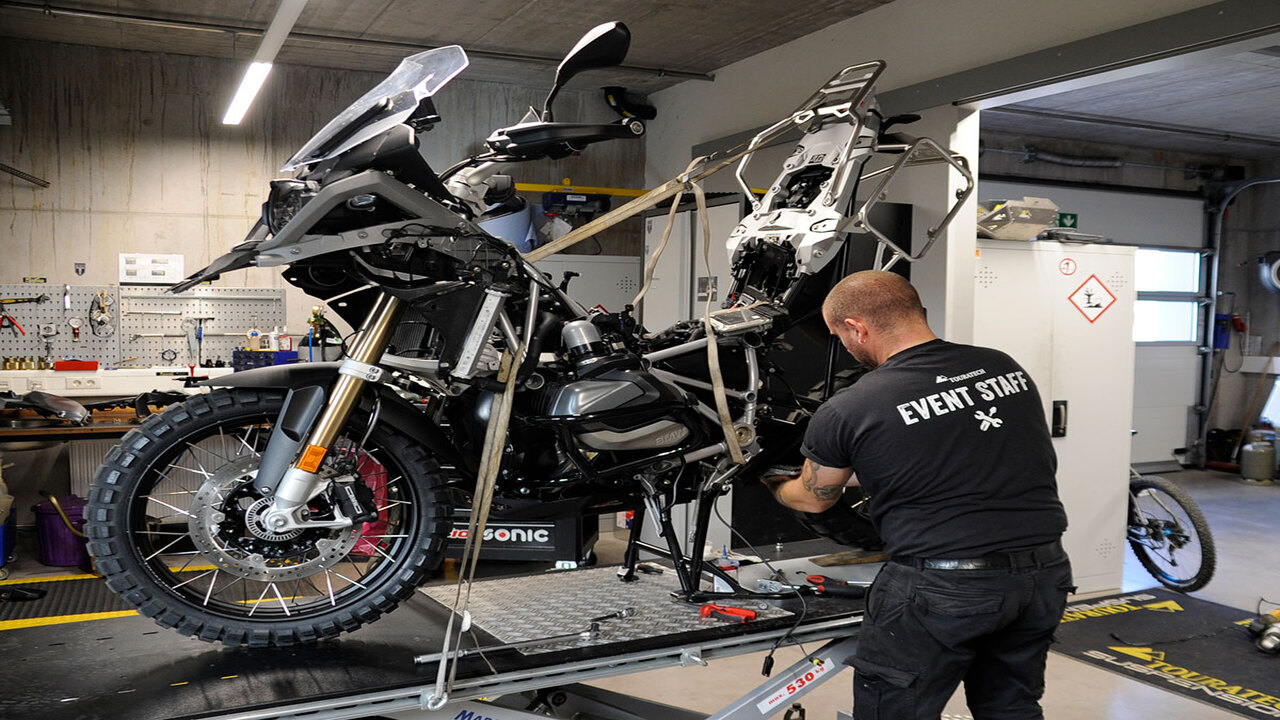
Before you begin to replace a damaged motorcycle fender, it is important to prepare the bike. First, make sure you have the right tools and replacement fender. Most motorcycles require a socket set, a wrench set, and a screwdriver. Make sure you have the right size of socket and wrench head for the bolts and screws you will be removing.
Next, park the bike on a flat, stable surface. If you need to work on the ground, use a piece of wood or other material to raise the bike up slightly to prevent it from sinking into the ground. Make sure the bike is secure and won’t move while you are working on it. Finally, clean the area around the fender so that you can see the bolts and screws clearly. This will make the job of replacing the fender much easier.
Remove Damaged Fender
Removing the damaged fender from your motorcycle can be a tricky process. However, once you understand the steps, it should be achievable. Begin by taking out any screws or bolts that are securing the fender in place. Then, carefully remove the fender from the bike.
If the fender is held up by a wire, you may need to cut it to detach the fender. Additionally, if the fender is too heavy to hold up, you may need to get assistance from another person. Once you have the fender off the bike, make sure to check for any remaining screws, bolts, or wires that may have been attached and remove those as well.
Drain Fluid
Once you have removed the damaged motorcycle fender, you will need to drain any fluid that may have collected inside. Disconnect the drain hose from the bottom of the fender and place a drain pan underneath it, then open the hose to allow the fluid to drain.
Make sure to wear gloves and eye protection while doing so, as the fluid may be hazardous.Once it has drained completely, wipe away any excess fluid and then reconnect the hose. You may also need to replace the fluid if it is no longer in good condition.
Remove Existing Fender
Before you can install the new fender, you must first remove the existing damaged one. To do this, begin by removing any screws or clips that may be holding the fender in place. If the fender is held on by plastic clips, you may need to use a flathead screwdriver to carefully pry them off, being careful not to break them. Once all fasteners have been removed, the fender should pull away from the motorcycle.
If it does not, you may need to gently tap a rubber mallet around the sides of the fender to loosen it and remove it. Finally, inspect the area to ensure all screws and other fasteners have been removed, and the fender is ready to be replaced.
Disconnect Wiring
Before removing a damaged motorcycle fender, it is important to disconnect any wiring that may be connected to it. To do this, locate the wiring harness and disconnect any clips or plugs that are connected to it. Be sure to safely store the wiring in a safe place to avoid any accidental damage.
Next, use a wrench to remove any screws or bolts that are holding the fender in place. Once the fender is removed, inspect the area for any other damages that may have occurred. If any other damages are found, these should be repaired prior to installing a new fender.
Install New Fender

Installing a new fender on a motorcycle is not as intimidating as it may seem. To get started, you need to obtain a new fender that is the correct size and shape for your motorcycle. Once you have the new fender, you can begin the installation process.
First, you will need to remove the old fender. This is usually done by unscrewing the bolts that hold it in place. You will then need to remove the old fender, along with any hardware that was used to attach it. After that, you can install the new fender.
This involves aligning it with the frame and securing it with bolts. Once the new fender is in place, you can attach the hardware that was used for the old fender. Finally, you will need to make sure the new fender is secure and properly aligned. With these steps, you can easily replace a damaged motorcycle fender.
Place Fender
The next step in replacing a damaged motorcycle fender is to place the new one. This process should be done carefully to ensure a secure fit. Start by aligning the new fender with the existing mounting points on the motorcycle.
Once you have the new fender in the correct position, secure it with bolts and nuts. Make sure the bolts are tightened properly so the fender won’t move around. If you are using screws, use a screwdriver to ensure the screws are tightened securely. It’s also a good idea to use a bit of sealant to ensure a water-tight fit.
Finally, double-check that the fender is securely attached to the bike and that it won’t interfere with the operation of the bike. Now you can enjoy riding your bike with a brand-new fender.
Secure Fasteners
Once you have the replacement fender secured in place, it’s time to secure the fasteners. Safety should be the primary concern when replacing a fender, so make sure to use the correct fasteners. Start by attaching the long screws that hold the fender to the frame. Use a torque wrench to ensure that the screws are tightened to the recommended torque.
Once the screws are in place, use a screwdriver to attach the smaller screws, and then use a wrench to secure the nuts. Finally, use a second wrench to hold the nuts while you tighten them. Once the fender is secure, check the fasteners once more to make sure that they are tight and won’t come loose.
Reconnect Wiring

Once the new fender is in place, it’s time to reconnect the wiring. Start by disconnecting the negative cable from the battery and then the positive cable. If the wiring harness has a cover, remove it to make it easier to access the wiring. Then, carefully disconnect the wiring from the old fender and reconnect it to the new one.
Make sure to match the corresponding colors of the wires and fasten any clips or brackets that were connected to the old fender. Finally, reconnect the negative and positive cables to the battery and test the lights and horn to make sure they are working properly.
Conclusion
This article provides an overview of how to replace a damaged motorcycle fender. It covers the necessary tools and materials, the steps to remove the old fender, and tips for installing the new one. Additionally, the article includes advice on how to ensure a secure fit and prevent future damage. With the right preparation and care, replacing a damaged motorcycle fender can be a simple and straightforward process.
FAQ’s
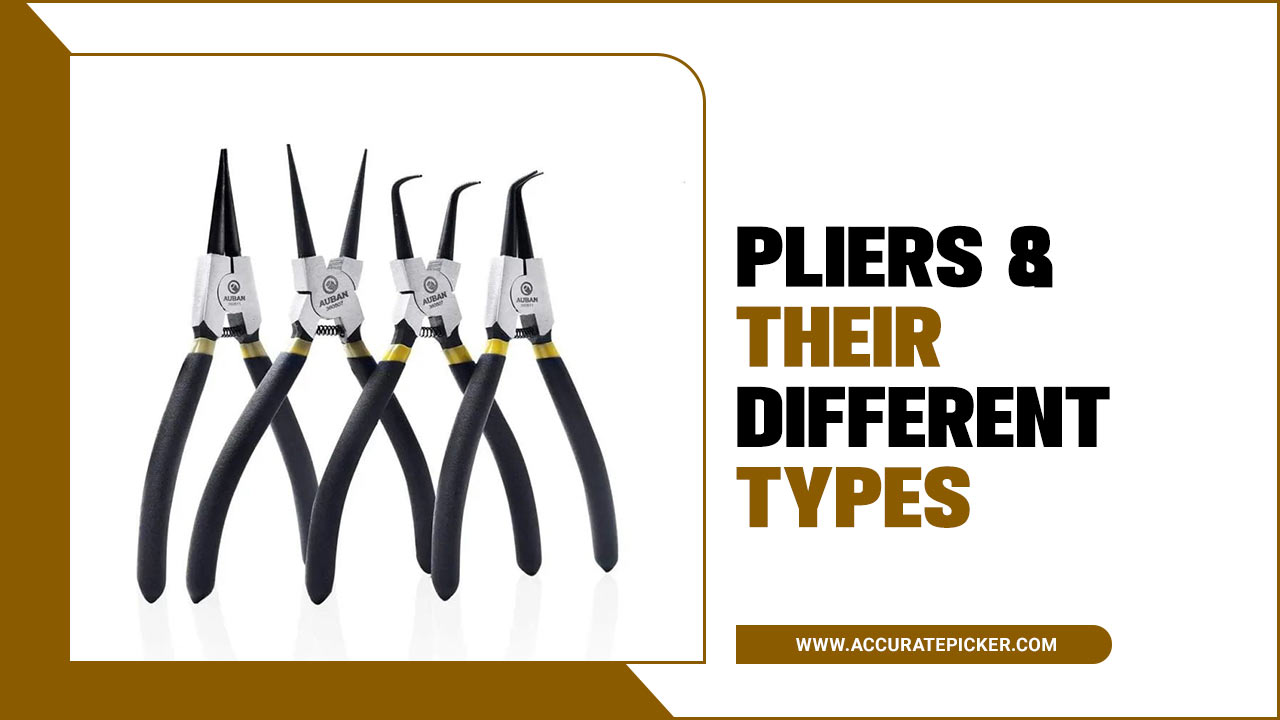
1.What Tools Are Needed To Replace A Motorcycle Fender?
Ans: Replacing a motorcycle fender requires a few basic tools. These include a flathead screwdriver, a Phillips-head screwdriver, an adjustable wrench, and a socket set. Depending on the type of motorcycle, you may need additional tools such as pliers, a drill, and a torque wrench. Make sure to consult the owner’s manual for specific instructions.
2.How Much Does It Typically Cost To Replace A Motorcycle Fender?
Ans: The cost to replace a motorcycle fender will vary depending on the type of motorcycle and the materials used for the replacement. Generally, the cost will range from $40 to $400, excluding labor costs. However, some specialty fenders can cost upwards of $1000. Labor costs will depend on the skill and experience of the mechanic and can range from $50 to $150.
3.What Safety Precautions Should Be Taken When Replacing A Motorcycle Fender?
Ans: When replacing a motorcycle fender, it is important to take safety precautions. First, the bike should be placed in a stable position and the brakes should be engaged. It is also important to use the proper tools and to wear protective gloves and eye protection. Finally, it is important to always follow the manufacturer’s instructions for replacing the fender.
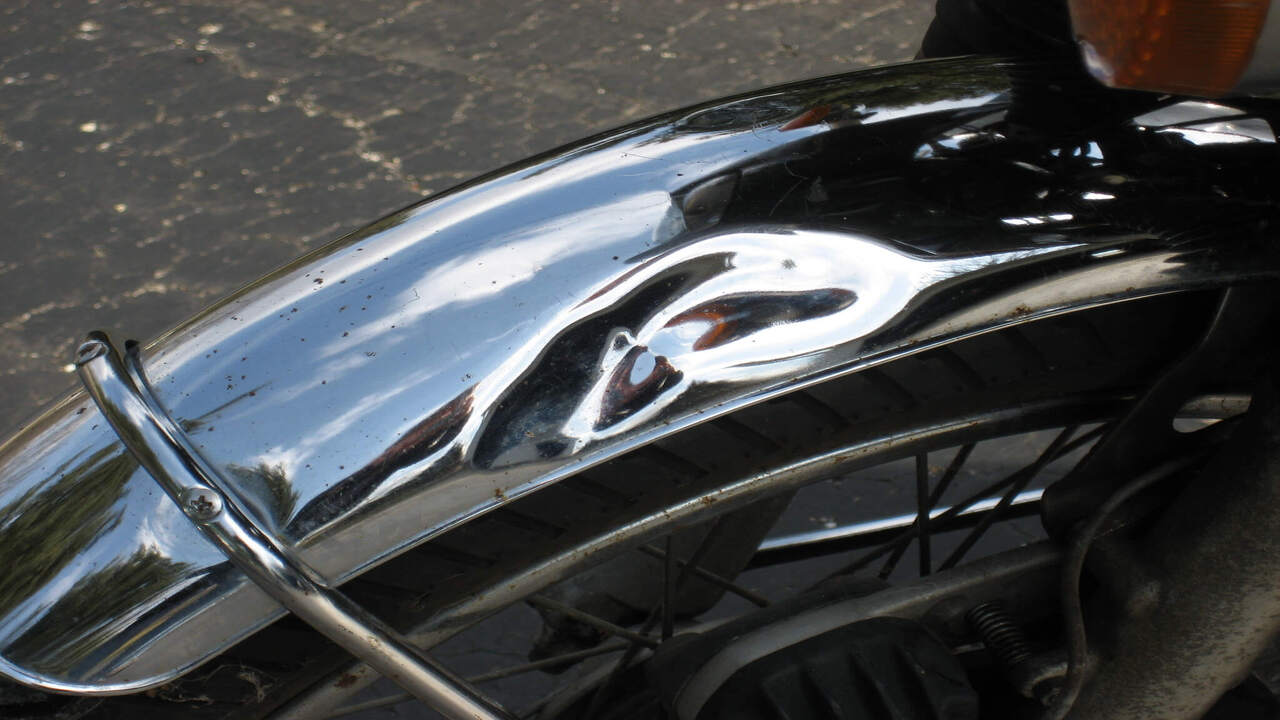
4.Is It Possible To Repair A Damaged Motorcycle Fender Instead Of Replacing It?
Ans: Yes, it is possible to repair a damaged motorcycle fender instead of replacing it. However, the success of the repair depends on the extent of the damage. If the damage is minor, it may be possible to repair the fender with a fibreglass patch or filler. If the damage is more severe, such as a large hole or split, then the fender may need to be replaced.
5.Is It Necessary To Have A Professional Replace A Damaged Motorcycle Fender?
Ans: It depends on the extent of the damage to the motorcycle fender. If the fender is only slightly dented, it might be possible to repair it yourself. However, if the damage is more extensive, it is likely best to have a professional replace the fender in order to ensure that it is fitted correctly and securely.

