
Cracked plastic fenders on a bike can be a hassle to repair, but with the right tools and knowledge, it can be done quickly and easily. This article will provide step-by-step instructions on how to repair a cracked plastic fender on a bike, including the materials needed and the necessary tools.
Additionally, this article will provide helpful tips to ensure that the repair is done correctly and safely. With this comprehensive guide, you can repair your cracked plastic fender on a bike and be back on the road in no time. So, if you want to learn how to repair a cracked plastic fender on a bike, read on to find out more!

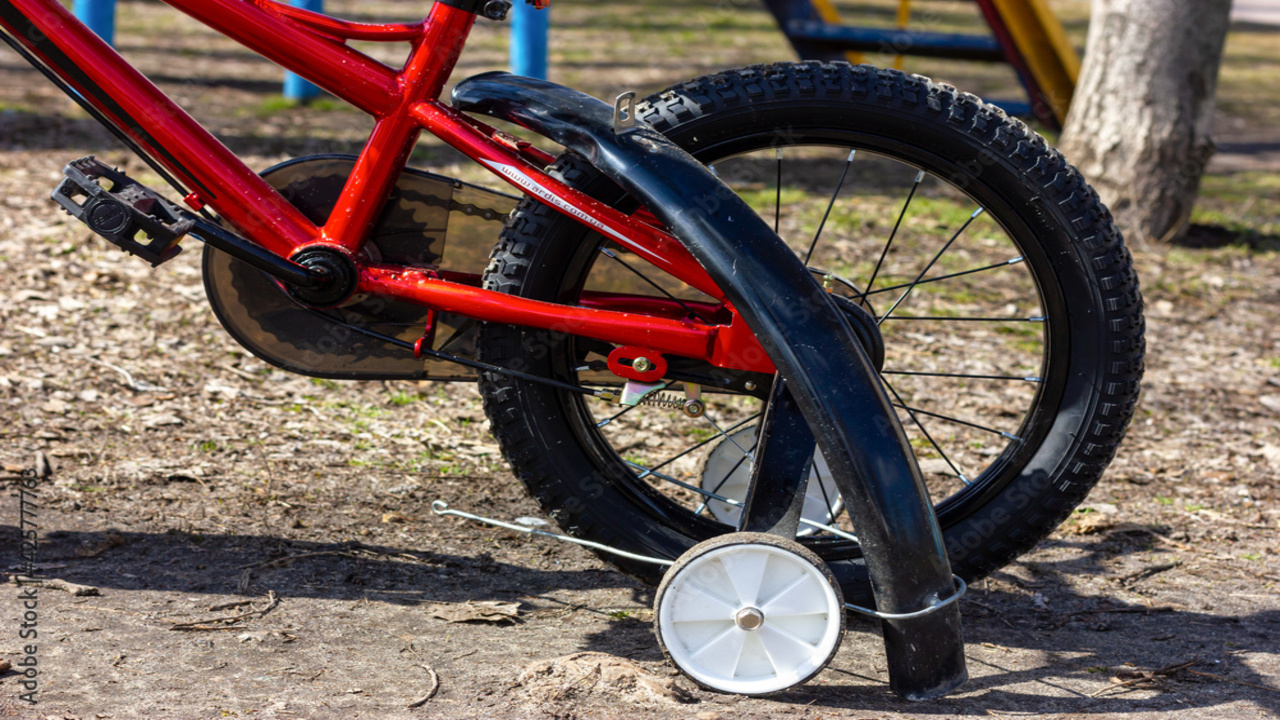
Fixing A Cracked Bike Fender: A Guide
Before you start reading this article on how to repair a cracked plastic fender on a bike, it’s important to understand the basics of the process. First, you’ll need to remove the cracked fender from the bike. Then, you’ll need to clean and sand the area around the crack.
Next, you’ll need to reinforce the crack with a plastic welding rod, and then use a heat gun to melt the rod and fuse the plastic back together. Finally, you’ll need to sand the area to smooth out the repair and paint the fender to match the rest of the bike. With the right tools and supplies, you can easily repair a cracked plastic fender on a bike.
Preparing The Area
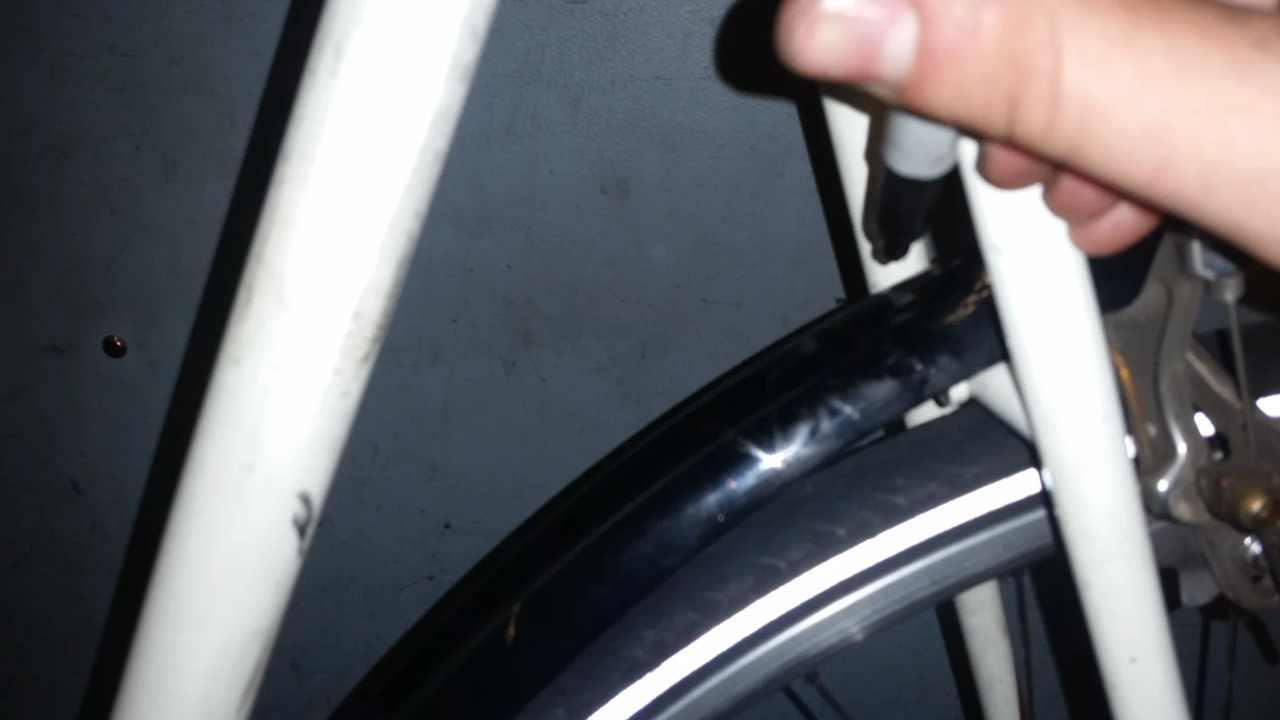
Before you begin repairing your cracked plastic fender, it is essential to properly prepare the area. Start by removing the fender from the bike. You may need to loosen screws or bolts to take it off. Wipe the area around the crack with a damp cloth to make sure it is clean and free of any dirt or debris.
Use a screwdriver to gently pry away any jagged pieces of plastic to create a smooth surface. Make sure that the area is completely dry before you move on to the next step. This ensures that the repair will be as strong and long-lasting as possible.
Remove Existing Parts
In order to repair a cracked plastic fender on a bike, it is essential to first remove the existing parts. To do this, you should use a Phillips head screwdriver to unscrew the screws securing the fender to the bike frame. Once you have removed the screws, carefully lift the fender off the bike frame and set it aside. If the fender has been attached with nuts and bolts, use a wrench to loosen them and then carefully remove the fender.
It is important to ensure that you do not damage the bike frame or the fender in the process as this could result in further damage. Once the fender is removed, you can begin the repair process.
Clean The Area
It is important to start the repair process by cleaning the area around the crack. Gather a clean cloth, bucket of water, and mild detergent. Wet the cloth with the soapy water and wipe down the entire area where the crack is located. Make sure to remove any dirt, debris, or other materials that may have accumulated near the plastic.
Rinse the cloth with clean water and use it to wipe down the area again to remove any soapy residue. Once the area is thoroughly cleaned, you can begin the repair process.
Prepare The Repair Material
Repairing a cracked plastic fender on a bike requires preparation of the necessary materials. First, gather the plastic fender, plastic glue or epoxy, a rasp or file, sandpaper, a cloth, and rubbing alcohol. Additionally, you may want to have a blow dryer and masking tape on hand. Once you have all the necessary materials, you can begin the repair process.
Start by cleaning the damaged area with rubbing alcohol and a cloth, then use the sandpaper to smooth the surface. Use the rasp or file to scrape away any remaining rough patches. Finally, use a blow dryer to heat the area, and apply the plastic glue or epoxy. Allow the glue to dry, and then apply one or two layers of masking tape to the repaired area.
Apply Adhesive

To repair a cracked plastic fender on a bike, you will need to apply adhesive. Start by cleaning the fender with a damp cloth to remove dirt and debris. Next, apply a thin layer of adhesive to the crack and use a putty knife to spread the adhesive evenly over the crack.
Allow it to dry for 15-20 minutes and then apply a second layer of adhesive. Once the adhesive is fully dry, sand the area with fine-grit sandpaper and wipe away any dust. Finally, apply a layer of primer to the fender and allow it to dry completely before painting. With some patience and care, you can easily repair a cracked plastic fender on your bike.
Repairing The Fender
Repairing a cracked plastic fender on a bike is a relatively easy task. First, you will need to remove the damaged fender from the bike. This can be done by unscrewing the bolts or screws that hold it in place. Once the fender is removed, you will need to clean the area around the crack with some rubbing alcohol.
Next, use a piece of sandpaper to rough up the area around the crack. This will help the glue adhere to the fender better. Finally, use a plastic-based glue to seal the crack. Give the glue at least 24 hours to dry before reinstalling the fender. With some patience and the right materials, you can easily repair your cracked plastic fender.
Cut Patches
Cutting patches is an important step in repairing a cracked plastic fender on a bike. To begin, you will need to cut two pieces of fabric or plastic that are slightly bigger than the size of the crack. Make sure you use a sharp cutting tool to ensure a clean cut. Once you have cut the patches, you can place them over the crack and secure them with tape or glue.
It is important to ensure that the patches are seated firmly in order to ensure a tight seal. Whatever material you use, make sure that it is waterproof and resistant to heat and chemicals. That way, you can be sure that your repair will last for a long time.
Apply Patches
Applying patches to a cracked plastic fender on a bike is a relatively simple task. To start, clean the cracked area with a damp cloth and remove any dirt and debris. Once the area is thoroughly cleaned, cut a patch that is slightly larger than the cracked area. Apply a thin layer of adhesive to the back of the patch and the cracked area.
Line up the patch over the cracked area and press firmly to ensure a tight seal. Allow the adhesive to dry for the recommended amount of time, as indicated by the manufacturer. Once the adhesive is set, you can use a paint marker to color in the edges to hide the patch and give the bike a finished look.
Secure Patches
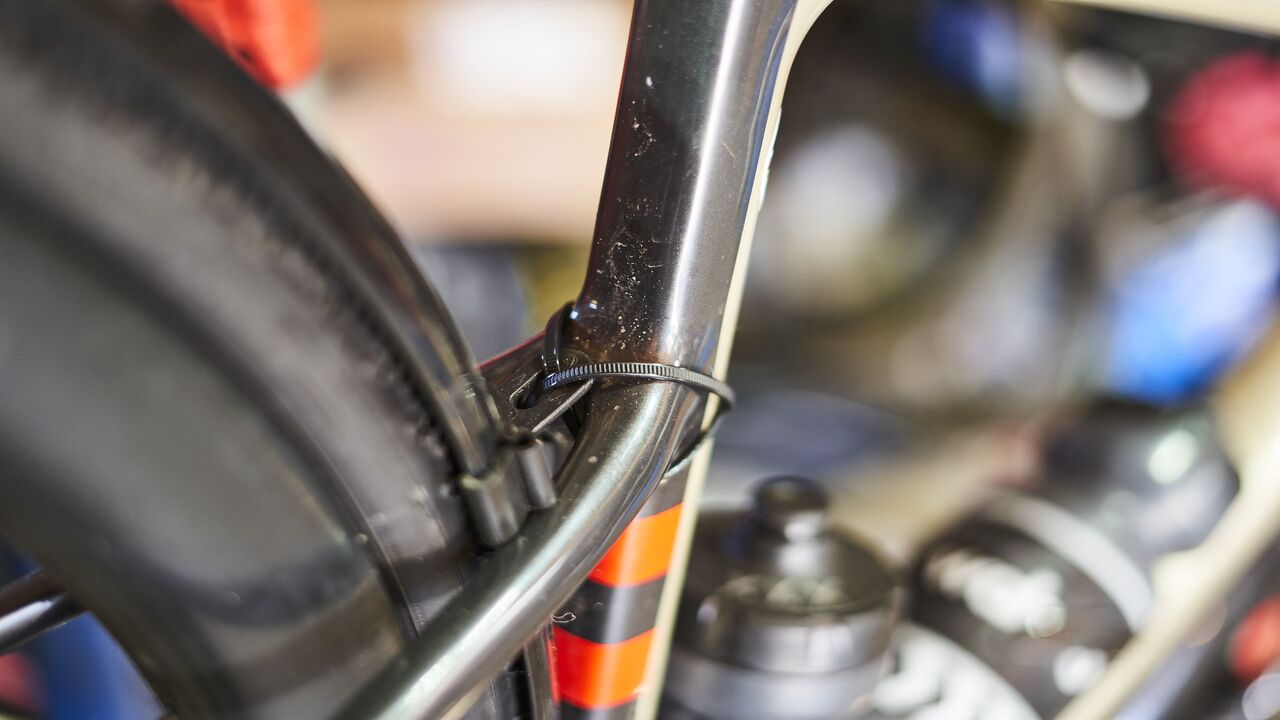
To secure the patch to the bike’s fender, you should use an adhesive that is designed specifically for plastic. This will ensure that the patch is held firmly in place. Additionally, you should make sure that you clean the surface of the fender thoroughly before applying the adhesive.
This will help to ensure that the patch is properly bonded to the fender and will remain secure. Once the adhesive is applied, you should press the patch firmly onto the fender and hold it for several seconds. After this, you should allow the adhesive to dry before continuing to work on the fender.
Reinforce Edges
Once the plastic fender is in place, you will need to reinforce the edges to prevent further cracking. To do this, use a hot glue gun to apply a bead of glue along the edges of the fender. Make sure to apply the glue evenly and work it into any cracks.
If you have any gaps, use a sheet of sandpaper to gently sand down the edges to make them smooth. Once the glue has set, you can apply any type of sealant to further protect the plastic. This will help keep the fender from cracking again in the future.
Conclusion
This article provides a step-by-step guide to repairing a cracked plastic fender on a bike. First, clean the area around the crack with a damp cloth. Next, use a heat gun to melt the edges of the crack together.
Then, apply a plastic welding adhesive to the crack and use a putty knife to spread it evenly. Finally, allow the adhesive to dry before re-installing the fender onto the bike. With these simple steps, you can easily repair your cracked plastic fender and get back out on the road.
FAQ’s
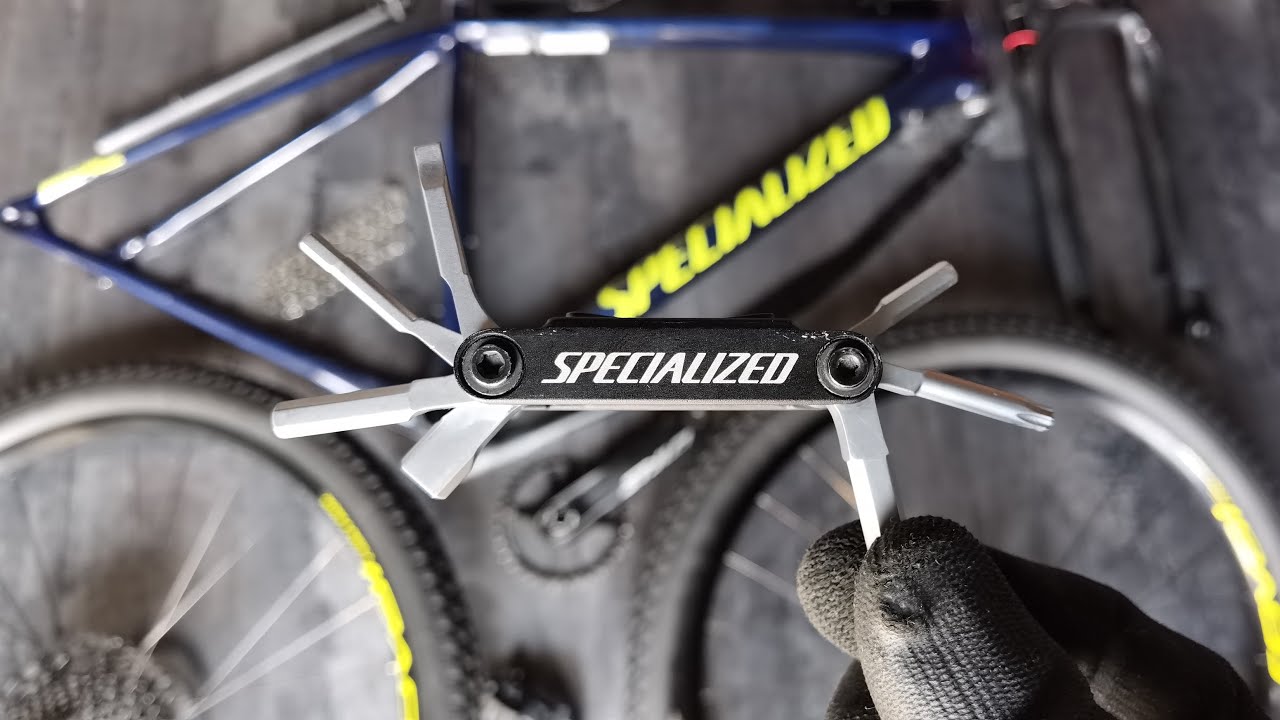
1.What Tools Are Needed To Repair A Cracked Plastic Fender On A Bike?
Ans: The tools needed to repair a cracked plastic fender on a bike include a plastic epoxy, sandpaper, a plastic welder, and a heat gun. The epoxy is used to fill in the crack, the sandpaper is used to smooth the surface, the plastic welder is used to attach the cracked pieces together, and the heat gun is used to help with the plastic welding process.
2.What Materials Are Needed To Patch A Cracked Plastic Fender On A Bike?
Ans: To patch a cracked plastic fender on a bike, you will need a piece of plastic the same size and thickness as the fender, a drill, a file, sandpaper, and plastic adhesive. You will also need a protective mask and eye wear as you will be filing and drilling the plastic. Additionally, you may need a heat gun for reshaping the plastic patch and a ruler for cutting the patch to size.
3.Is It Possible To Replace A Cracked Plastic Fender On A Bike?
Ans: Yes, it is possible to replace a cracked plastic fender on a bike. Depending on the type of bike, you may be able to find a compatible replacement fender from a bike shop. Alternatively, you could build your own replacement fender out of plastic or other materials. In any case, it is important to make sure that the replacement fender is properly attached to the bike to ensure safety.
4.How Much Time Does It Take To Repair A Cracked Plastic Fender On A Bike?
Ans: It depends on the severity of the crack. Generally, a cracked plastic fender can be repaired in about one hour if the damage is minor. If the crack is more severe, it may take a few hours or more to repair the plastic fender. In some cases, it may be necessary to replace the fender if it cannot be repaired.
5.How Do I Know If The Cracked Plastic Fender On My Bike Needs To Be Repaired Or Replaced?
Ans: If the cracked plastic fender on your bike is causing the bike to ride differently, it may need to be repaired or replaced. You should inspect the fender and assess the severity of the crack. If the crack is minor, it may be able to be repaired with some plastic glue. If the crack is more severe, it may be best to replace the fender. If you’re not sure, it’s best to consult a professional bike shop for advice.
