
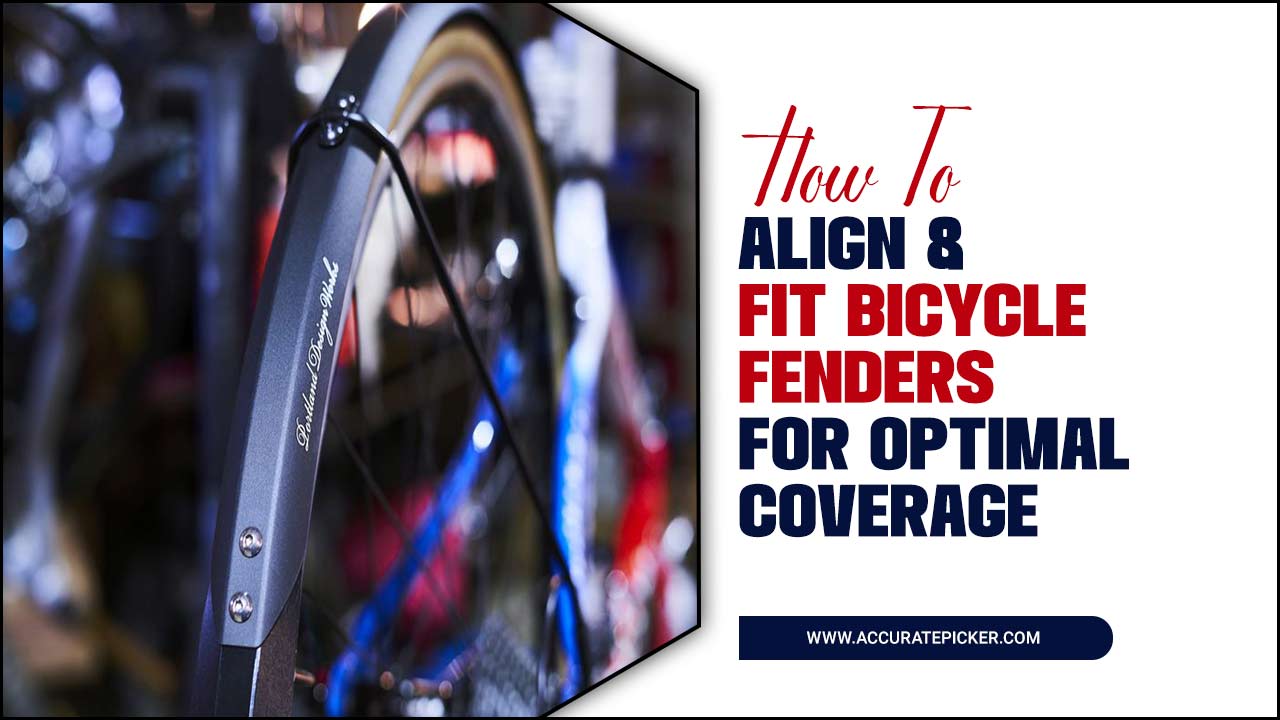
Fenders, also known as mudguards, are essential components of any bicycle, providing protection from water, mud, and debris while cycling. Installing bicycle fenders correctly can be a tricky task, but when done correctly, they can provide optimal coverage, increased safety, and improved riding experience.
In this article, we will discuss the basics of how to align and fit bicycle fenders for optimal coverage and length. We will cover the different types of fenders available, the tools and materials needed, and step-by-step instructions for installation.
With this knowledge, you’ll be able to confidently install your fenders and enjoy worry-free riding. So, let’s get started and learn how to align and fit bicycle fenders for optimal coverage and length.

Aligning & Fitting Bicycle Fenders

Before starting the main article on “How to align and fit bicycle fenders for optimal coverage,” it is important to understand the basics of bicycle fenders. Bicycle fenders, also known as mudguards, are accessories designed to protect the cyclist and their bike from dirt, mud, and water.
They are typically made of plastic or metal and are mounted to the bike frame. When properly aligned and fitted, bicycle fenders can provide optimal coverage and protection. In this article, we will discuss the steps for aligning and fitting bicycle fenders for maximum coverage.
Preparation

Before you start the process of fitting and aligning your bicycle fenders, it’s important to gather all the necessary materials. This includes the fender, the appropriate mounting hardware, and a set of tools that includes screwdrivers, wrenches, and Allen keys.
To ensure that you have all the parts you need, make sure to consult the manufacturer’s instructions. Additionally, it’s also a good idea to clean the area around the fender, check the condition of the brakes, and make sure all the bolts are tight. Once you have everything in place, you’re ready to start aligning and fitting your fenders.
Gather Materials
Once you have decided to fit bicycle fenders to your bike, the first step is to gather the necessary materials. You will need a screwdriver, drill and screws, a measuring tape, and the fenders.
Make sure to measure your bike’s wheel base, and purchase fenders that are the correct size. It is also important to ensure the fenders you purchase are compatible with your bike’s frame. Once you have all the materials, you are ready to begin attaching the fenders.
Check Measurements
Having the right measurement is essential for achieving optimal coverage when aligning and fitting bicycle fenders. To check the measurements, measure the wheelbase, fender length, and fender width. When measuring the wheelbase, stand the bike upright and measure from the center of the front hub to the center of the rear hub.
When measuring the fender length, measure from the center of the front hub to the end of the fender. Lastly, measure the fender width at the widest point. Having the correct measurements will help you ensure that the fenders fit your bike and provide the coverage you need. Additionally, it will ensure that the wheel does not rub against the fender, which could lead to damage.
Install Fenders
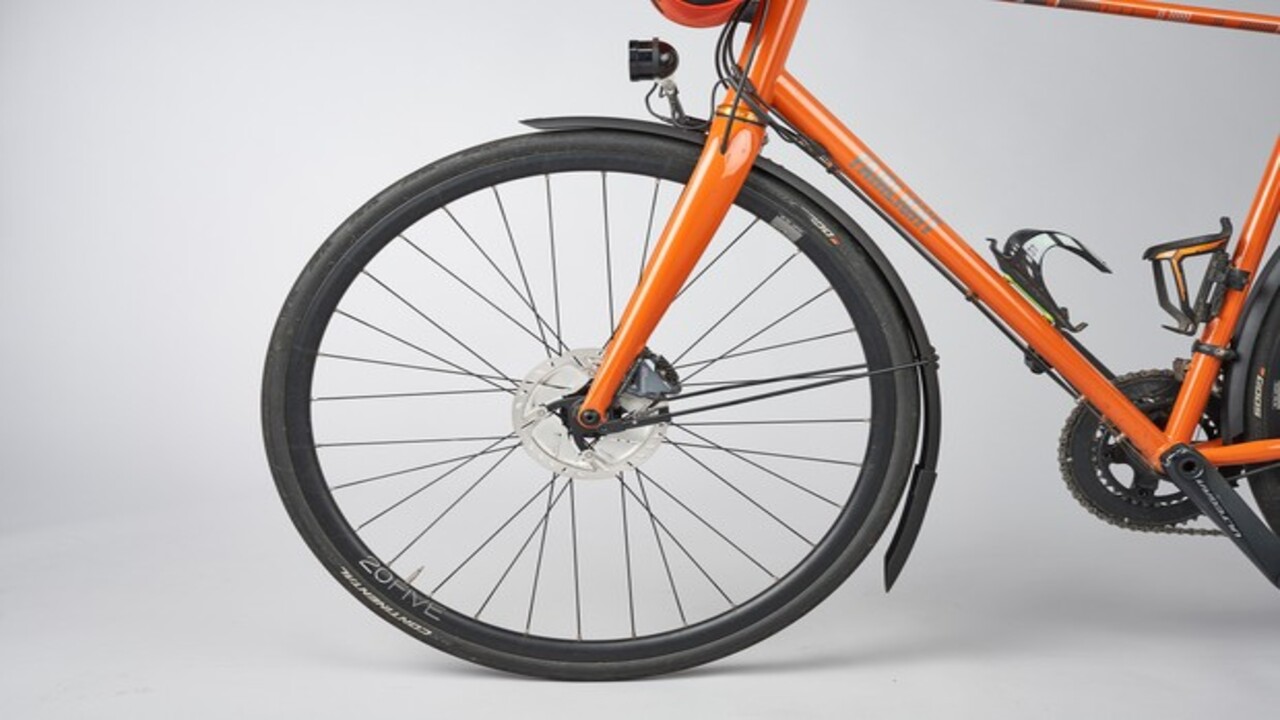
Installing fenders on a bicycle is an easy task that can help keep your bike and its components clean from mud, water, and debris. To ensure optimal coverage, the first step is to properly align the fenders on the bike. Start by attaching the fenders to the wheel axles and then adjust the placement of the fenders so that they are properly centered. Secure the fenders with the hardware provided and check to make sure the fenders are even and straight.
Once the fenders are secure, tighten the mounting bolts to ensure a snug fit. Finally, check the fender clearance to make sure it is not too tight or too loose. With a few simple steps, you can make sure your bike fenders are properly aligned and fitted for optimal coverage.
Adjust Fender Position
In order to adjust the fender position on your bike, it is important to ensure that the fender is mounted in the right way for optimal coverage. Start by setting the fender in its intended position. The fender should be mounted between 1 and 2 inches below the tire.
Once the position has been set, use a ruler or measuring tape to make sure that the fender is parallel to the ground. If it is not, adjust the angle of the fender until it is level with the ground. Finally, make sure that the fender is securely fastened to the bike frame. Doing so will ensure that the fender is able to protect you from mud, dirt, and water while you ride.
Fender Alignment
Aligning and fitting bicycle fenders can provide an optimal coverage for your ride. Fenders are designed to protect you from the elements while riding, but must be properly aligned and fixed in place to ensure maximum coverage and protection. To ensure proper fender alignment, the following steps should be taken.
First, make sure the fender is the correct size for your wheels. Then, attach the fender to the frame and secure it with screws or bolts. Next, adjust the angle of the fender so that it is parallel to the ground. Finally, adjust the length of the fender so that it covers the entire wheel. With these steps complete, your fender will be properly aligned and provide maximum coverage for your ride.
Align Fenders
Aligning the fenders on your bike is an important part of ensuring that they provide adequate protection from the elements. To ensure that your fenders fit and cover the right areas of your bike, follow these steps. First, measure the wheel and fender size to make sure they match. Next, use a level to make sure the fender is even with the wheel.
Finally, use a wrench to tighten the bolts that hold the fender in place, making sure that the fender stays level and does not rub against the wheel. With these simple steps, you can make sure that your fenders will provide optimal coverage and protection.
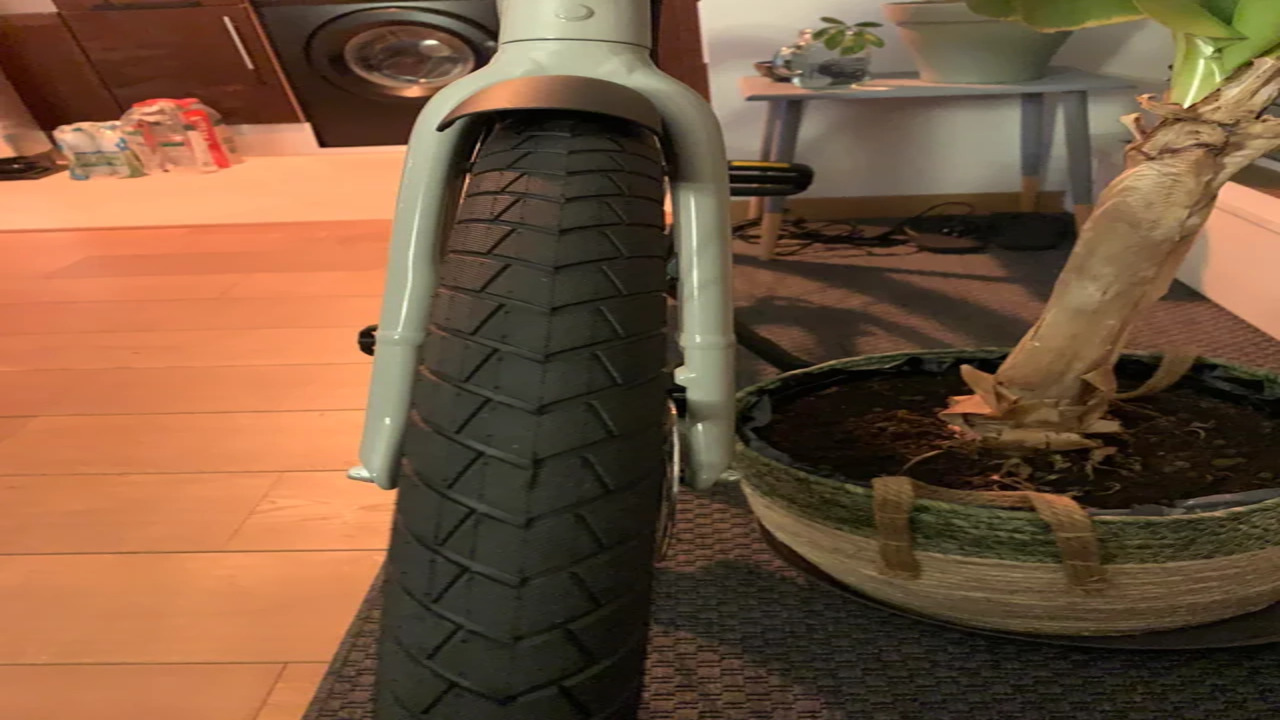
Check For Clearance
Before you begin to attach the fenders to your bicycle, it is important to make sure there is enough clearance between the wheel and the fender. Begin by removing the wheel from the bicycle and standing it upright. Carefully measure the distance between the tire and the fender, ensuring that there is at least a centimeter of clearance between the two. If necessary, you can adjust the hardware of the fender to give yourself more space.
Additionally, you should check the wheel for any obstructions, such as spokes, that could interfere with the fender. If there is an obstruction, you may need to adjust the placement of the fender or the hardware. Once you have made sure that there is enough clearance, you can begin to attach the fender.
Secure Fender Bolts
Once you have fitted the fender to the bike, the next step is to securely fasten it with bolts. First, you must align the fender with the wheel. To do this, you will need to loosen the mounting bolts and adjust the position of the fender until it is perfectly parallel with the wheel.
Once you have aligned the fender, you can begin to secure it with bolts. Make sure to use a torque wrench to tighten the bolts to the manufacturer’s specifications. Once the bolts are secure, you should check that the fender is still in the desired position. If the fender has moved, re-adjust it and tighten the bolts again. This process should be repeated until the fender is completely secure. Finally, check the fender for any gaps or loose parts and adjust accordingly.
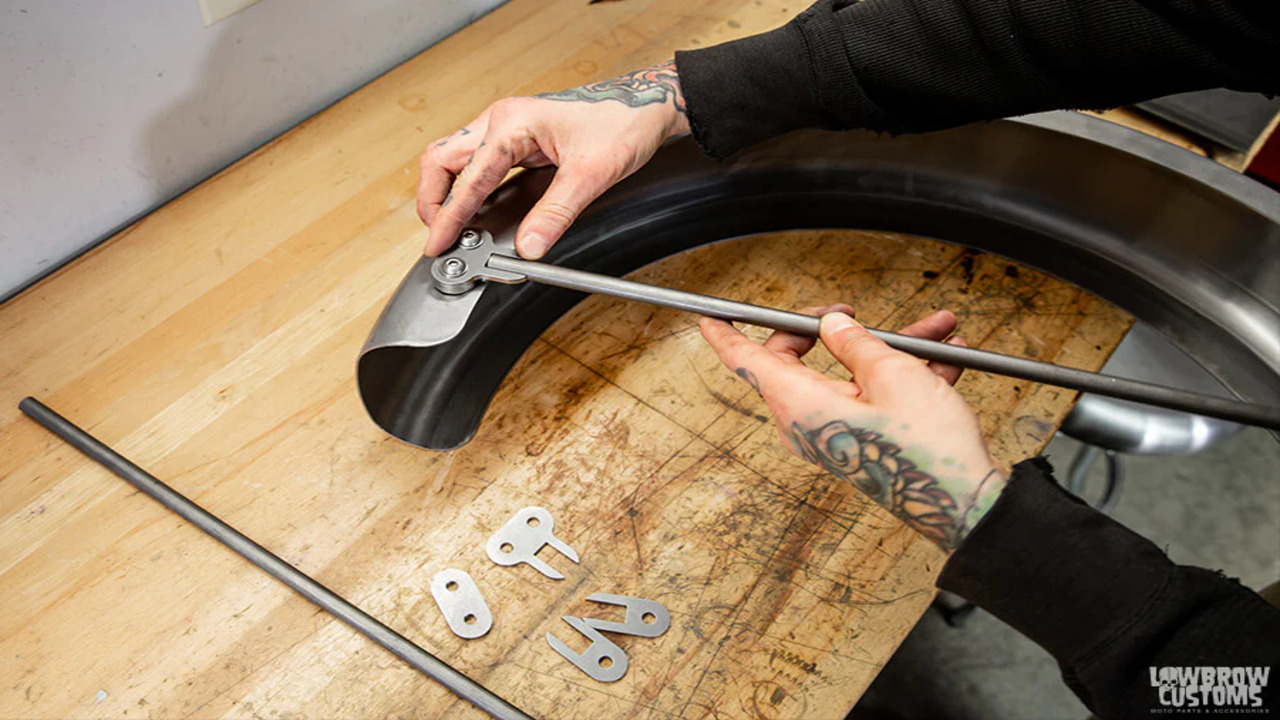
Install Fender Braces
Installing fender braces is a crucial part of the process when it comes to making sure your bicycle fenders are properly aligned and fit for optimal coverage. To start, you need to measure the distance between the fender braces and the wheel, as well as the distance from the braces to the frame. Once you have these measurements, you can start to install the fender braces.
Make sure to use a drill bit that is the appropriate size for the screws you are using. Next, insert the screws and tighten them with a screwdriver. Once the screws are tight, use a level to make sure the braces are level and secure. Finally, use a wrench to adjust the screws to the correct tension. With the screws secured and adjusted, you are now ready to clip on the fenders.
Finishing Touches
Once you have installed the fenders, it is time to do the finishing touches. Make sure to adjust the fender so that it is parallel with the wheel. This will help keep your bike and feet dry in the rain. Tighten all bolts so the fender is secure and won’t move around while riding.
If the fender is too close to the tire, it can rub and make a noise. If this occurs, adjust the fender so there is enough space between them. Lastly, check to make sure that the fender is covering your entire wheel. This will provide the best coverage and keep you dry as you ride.
Test For Clearance
Before you can install your fenders, you need to make sure they are the right size and fit correctly. The first step in the process is to check for clearance. Sit on the bike and make sure there is enough space between the fender and the tire. If there isn’t enough space, the fender will rub against the tire when you ride.
You may need to loosen or adjust the fender stays to get the right clearance. Next, measure the distance from the axle to the fender. This measurement should be the same on both sides for a symmetrical fit.
If the fender is too long, you can trim it to size with a hacksaw or a Dremel tool. If the fender is too short, you may need to find a different one, or adjust the fender stay to create a longer reach. Once you have determined the correct size and fit, you can start installing the fenders. Make sure all the bolts and screws are firmly tightened, and adjust the angle of the fenders to direct any water or mud away from the rider.
Test the fender for movement by pushing down on it and make sure the nuts and bolts are tight. With a properly fitted fender, you can enjoy a worry-free ride with optimal coverage.
Add Reflectors
Once your fenders are securely mounted to your bike, it’s important to add reflectors for night safety. Reflectors help increase your visibility to other cyclists and drivers on the road. To add reflectors, start by purchasing two reflectors of the same color.
Then, there are two ways to attach them: either drill a hole in the fender and use a screw or use the adhesive-backed reflectors that are available on the market. Be sure the reflectors are firmly attached and won’t come off during your ride. Lastly, make sure the reflectors are visible from the back and sides of your bike. With the right reflectors, you can increase your visibility and make your night rides safer.
Secure Fender Struts
Fender struts are required to ensure that your bicycle fenders are correctly aligned and fitted. When you mount your fenders to the struts, make sure that they are securely fastened with nuts and bolts, and that the struts are firmly clamped to the frame. Check that the struts are straight and aligned with the frame, and that the fenders are at the correct height and angle for optimal coverage.
Add a few drops of oil to the struts to help protect against rusting. Make sure that the struts are not too tight, as this could cause them to break or bend. Lastly, check the fender and strut alignment regularly to make sure that your fenders are still securely mounted and providing optimal coverage.
Check For Quality
In order to ensure optimal coverage, you must check your bicycle fenders for quality. Inspect the fender for signs of wear and tear such as cracks, dents, or rust. Make sure the mounting hardware is in good condition and that all the screws are secure.
Inspect the brackets to ensure that the fender is firmly secured to the frame. If the fender is loose or has any other damage, replace it. It’s also important to check the fender’s height to make sure it’s not too low or too high. The fender should be approximately an inch away from the tire to provide the best coverage.
Lastly, make sure the fender is properly aligned to the tire. This will ensure that the fender catches the most water and dirt and prevents it from getting onto the cyclist and their clothes. Following these steps will ensure that your bicycle fenders are in good condition and provide optimal coverage.
Conclusion
This article provides a step-by-step guide on how to properly align and fit bicycle fenders for optimal coverage. It covers the importance of using the correct length of fender, the need to adjust the angle of the fender to the wheel, and the need to secure the fender with screws and nuts. The article also explains how to check for proper coverage and how to adjust the fender if necessary. Following these steps will ensure that your bicycle fenders provide the optimal coverage.
FAQ’s
1.What Tools Are Needed To Align And Fit Bicycle Fenders?
Ans: Tools needed to align and fit bicycle fenders include a screwdriver, adjustable wrench, drill, and a measuring tape. Depending on the type of fender, you may also need a hacksaw to cut the metal parts to size. Additionally, if you are installing more than one fender, you may need an extra pair of hands to hold the fender in place while you make the necessary adjustments.
2.How Do You Ensure That The Bicycle Fenders Are Properly Secured?
Ans: To ensure that the bicycle fenders are properly secured, I would make sure that the screws and bolts are tightened correctly. I would also check that the mounting brackets are securely attached to the frame and fork.
Additionally, I would check that the fenders are aligned properly and that the reflectors, if present, are firmly in place. Finally, I would make sure that the fenders are not loose or rubbing against the wheel or any other part of the bike.
3.What Type Of Material Should Be Used To Protect The Bicycle Fenders?
Ans: The best material to use to protect bicycle fenders is a durable plastic. It should be thick enough to prevent any scratches or dents, and should be waterproof so that the fenders do not rust. It should also be lightweight enough so that it does not affect the bike’s performance. Finally, it should be easy to apply and remove for maintenance.
4.How Do You Adjust The Length Of The Bicycle Fenders To Fit The Bike?
Ans: To adjust the length of the fenders to fit the bike, you will need a set of adjustable wrenches. First, loosen the fender bolts using the wrench. Then, slide the fenders to the desired length before retightening the bolts. Finally, check that the fenders are securely attached before riding the bike.
5.How Can You Ensure That The Bicycle Fenders Provide Optimal Coverage?
Ans: First, make sure your bike has the correct size fender for your tires. Second, adjust the fenders so that they are at the correct height and angle. Third, use the correct hardware and bolts to secure the fenders to the frame. Lastly, check that the fenders are properly aligned and secured to the bike to provide optimal coverage.


