
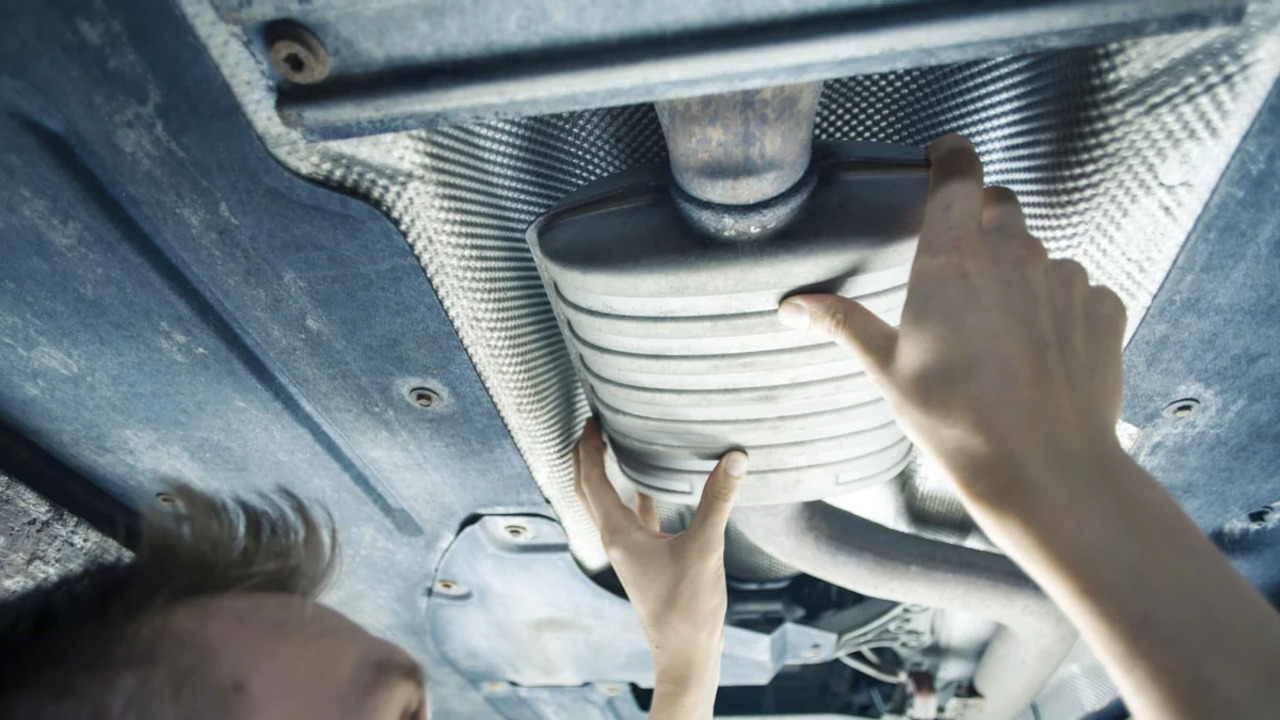
Installing fender liners is an important step in protecting the engine bay of your car from dirt, debris, and other elements that can cause damage. Fender liners are designed to fit snugly into the wheel wells of your car, creating a barrier that prevents harmful elements from entering the engine bay.
This article will explain the process of installing fender liners, including the tools and materials needed and the steps to take for a successful installation. With the right approach and preparation, you can easily protect your car’s engine bay and keep it in top condition. Read on to learn how to install fender liners and keep your car running smoothly.

Installing Fender Liners: Protect Your Car’s Engine Bay
Installing fender liners is an easy and cost-effective way to protect your car’s engine bay from dirt, debris, and road grime. In this article, we’ll discuss how to install fender liners to keep your engine bay clean and safe.
We’ll explain the tools and materials you’ll need, the steps to follow, and the safety precautions you should take. We’ll also provide some tips and tricks for getting the job done quickly and easily. So, if you’re looking for an easy way to protect your engine bay, read on to learn how to install fender liners.
Prepare The Area
Before you start the installation process, it is important to take the time to properly prepare the area. First, you should remove any debris from the engine bay that could interfere with the installation. Next, you should use a damp cloth to wipe down the engine bay to remove any grease or grime. This will ensure that the fender liners will stick properly and last for a long time.
Once the area is clean, you should use some tape to secure the edges of the fender liners so that they do not move during installation. This will help you to work faster and more efficiently while also making sure that your car’s engine bay is properly protected.
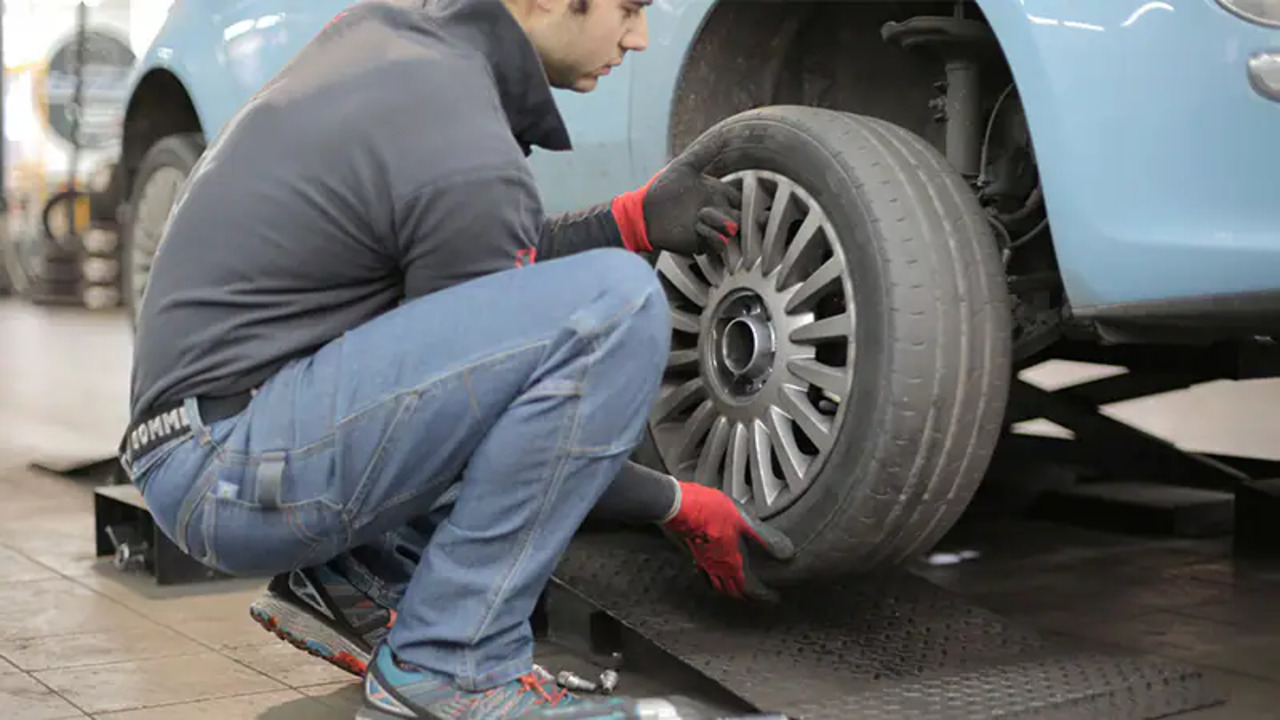
Remove Old Liners
If you want to install new fender liners for your car’s engine bay, the first step is to remove the old liners. Before removal, you should inspect the current liners for any damage or wear. If any damage is found, you should replace the old liners with new ones. To remove the old liners, you’ll need a set of tools such as a ratchet, socket wrenches, flathead screwdrivers, and a trim removal tool.
Disconnect any clips or wiring connected to the liners. Once the old liners are removed, check to see if any of the mounting hardware needs to be replaced. To install the new liners, you’ll need to reconnect the clips and wiring as well as secure the liners with mounting hardware to the engine bay. Be sure to double check all the connections to make sure everything is properly secured. With the new liners installed, you can now enjoy a fully protected engine bay.
Clean The Area
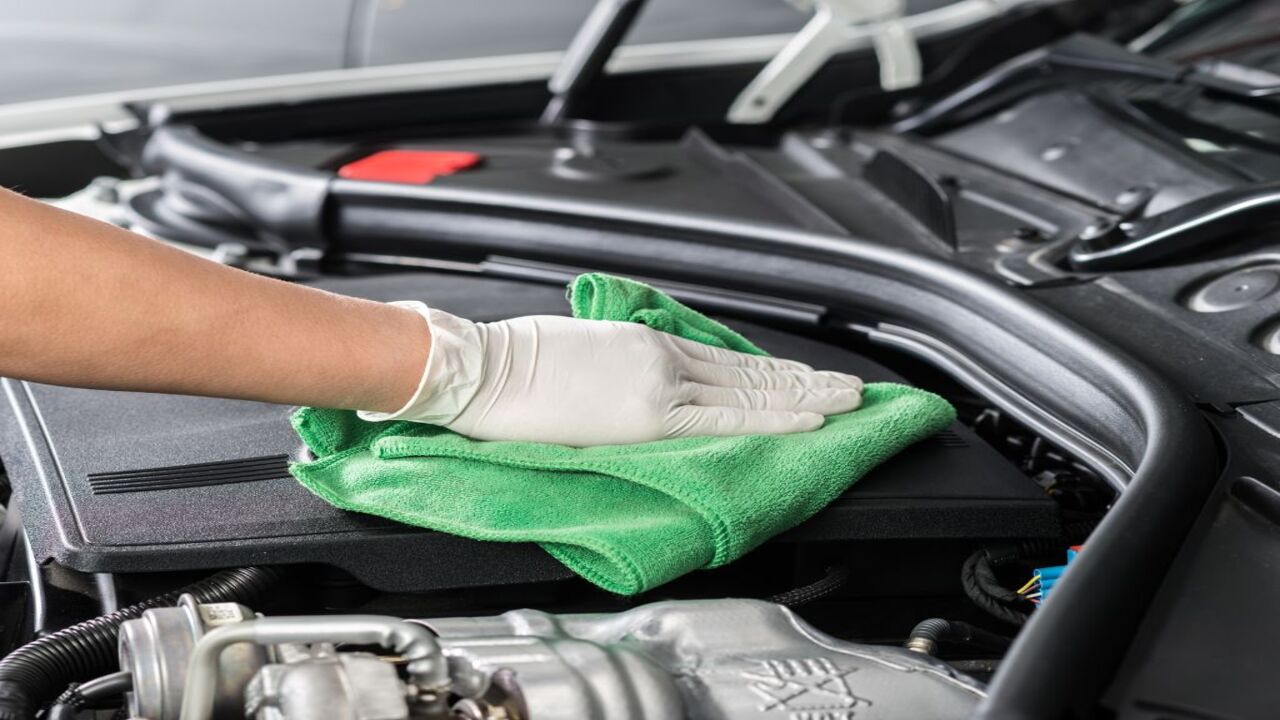
In order to ensure a successful installation of fender liners, it is important to begin with an adequately clean area. Start by removing any debris, dirt, or foreign objects that may be in the engine bay. It is also important to remove any excess grease, oil, and other fluids in the area.
Once the engine bay is free of all dirt and debris, use a damp cloth to wipe the area down and ensure that it is clean for the fender liner installation. It is important to allow the area to dry completely prior to beginning the installation process. This will ensure a successful installation and ensure that the fender liners are securely in place.
Inspect The Area
Before you start installing the fender liners to protect your car’s engine bay, it is important to first inspect the area. Make sure that the engine bay is clean and free of any dirt or dust. If there are any obstructions in the way, like wires, hoses, or brackets, they should be temporarily moved out of the way.
Also, check the fender liners and ensure that they are not cracked, torn, or damaged in any way. Make sure that they are the correct size for your car’s engine bay. Once you have finished inspecting, you can start the installation process.
Apply Masking Tape
Masking tape is an important step in the process of installing fender liners. It helps to hold the liner in place while you secure it with screws. Start by applying a strip of masking tape along the entire length of the fender liner. Make sure the tape is evenly spaced and that it is in contact with the fender liner.
Once the tape is in place, use a drill to secure the fender liners with screws. Start at the front of the liner and work your way to the back, making sure to secure each screw with a washer. When you are finished, remove the tape and discard it. With the masking tape in place, the fender liners are now securely attached to your car’s engine bay and ready to protect against any debris that may enter.
Install The Liners

Installing fender liners in your car is an important step in protecting the engine bay from dirt, debris, and other contaminants. The fender liners are typically made of plastic and are designed to fit snugly against the underside of the car’s fenders. Installing the liners is a relatively simple task and can be done in a few easy steps. First, make sure to remove any debris or dirt from the area where the fender liners will be installed.
Next, mark the area where the fender liners will be installed. Then, using a screwdriver and small screws, attach each fender liner to the car’s fenders. Finally, test the fit of the fender liners to make sure they are properly secured. With these steps, your car’s engine bay will be well-protected from dirt and debris.
Place The Liners
Once you have gathered all the necessary materials, you can start placing the liners. Begin by cutting the liner materials to fit the area of the engine bay that you wish to protect. Make sure to leave a few extra inches of material on either side to ensure a secure fit.
After the liners are cut, apply a generous amount of adhesive to the back side of the liner and place it in the desired area. Once it is in place, use a rubber mallet to firmly secure it. Repeat this process for all the liners that you have cut.
Once all the liners are in place, allow the adhesive to dry for the recommended amount of time before using the engine bay. This way, you can ensure that the liners are securely fastened and will protect your engine bay from dirt, dust, and debris.
Drill Holes
When installing fender liners, it is important to drill the holes correctly. This will ensure that the liners are securely fitted and will protect your car’s engine bay from any debris. To begin, use a drill with a drill bit that is slightly smaller than the size of the screws. Start with the top holes in the fender liner, then drill the bottom holes.
Make sure to drill the holes with caution so that they are correctly sized and placed. Once all the holes have been drilled, add the screws to secure the liner in place. Check that the screws are tightly secured and that the liners are securely fitted. With this, your fender liners are now installed and your car’s engine bay is well protected.
Secure The Liners
After all the prep work is finished, it’s time to secure the fender liners. This is the final step in protecting the engine bay from debris and water splashes. To begin, have an assistant hold one side of the fender liner while you hold the other.
Make sure that the liner fits snugly and is properly aligned with the fender. Once the liner is in position, use self-tapping screws to secure it. Make sure to start the screws in the pre-drilled holes and to tighten them until the liner is secure. After the liner is secure, check to make sure it is properly aligned with the fender and that there are no gaps.
If the liner is not properly aligned, use a wrench to adjust the screws until the liner is in place. Finally, repeat the process for the other side of the fender. With both fender liners in place, your car’s engine bay is protected from debris and water splashes.
Trim The Liners
Installing fender liners is an important part of protecting your car’s engine bay. To do this, you must first remove the existing liners from the car. Begin by carefully trimming away any excess plastic or metal around the edges of the liners.
Doing this will make it easier to remove the liners without damaging them. Once the liners are trimmed, they can be removed by gently pulling them away from the car. Be careful not to damage the surrounding parts of the car while removing the liners. After the liners have been removed, you can begin the installation of the new liners.
Secure the liners in place with clips or screws, making sure to leave enough room for movement. Finally, test the fit of the liners to make sure they are in the right place. The installation of fender liners is an important step in protecting your car’s engine bay, so make sure to do it correctly.
Conclusion
Fender liners are an important part of protecting your car’s engine bay from dirt, debris, and moisture. Installing fender liners is a relatively simple process that can be done in a few easy steps. First, remove the old liners and clean the engine bay area.
Next, install the new fender liners, making sure they fit properly and are secured in place. Finally, check for any leaks and make sure the liners are secure. With these simple steps, you can protect your car’s engine bay and keep it looking like new.
FAQ’s
1.What Tools Are Required To Install Fender Liners?
Ans: Tools required to install fender liners will depend on the type of liner being installed. Generally, a socket and ratchet set, an impact driver, and a screwdriver set will be necessary. If a metal liner is being installed, a drill and drill bit set may also be necessary. Additionally, an automotive jack may be required to lift the vehicle and provide access to the fender liner.
2.What Is The Best Material For Fender Liners?
Ans: The best material for fender liners is thermoplastic polyolefin (TPO) because it is lightweight, durable, and cost-effective. It is also resistant to corrosion and can withstand extreme temperatures. Additionally, TPO is flexible and easy to work with, making it a great choice for fender liners.
3.How Do I Ensure The Fender Liners Are Correctly Positioned?
Ans: Ensuring the fender liners are correctly positioned can be done by carefully following the instructions in the vehicle’s owner’s manual. This will provide step-by-step guidance on the proper placement of the fender liners.
Additionally, you can consult with a qualified mechanic or technician to ensure the fender liners are properly positioned. Lastly, if you’re comfortable with doing it yourself, you can refer to online resources that provide detailed instructions on how to correctly position the fender liners.
4.How Often Should I Check The Condition Of My Fender Liners?
Ans: You should check the condition of your fender liners at least once a month. This will help you spot any signs of wear and tear, or any damage that may have occurred. Remember to look for signs of rust or corrosion, as well as any dents or cracks. If you find any damage, it is important to have it repaired or replaced as soon as possible.
5.Are There Any Special Instructions I Should Be Aware Of When Installing Fender Liners?
Ans: Yes, there are special instructions to consider when installing fender liners. Firstly, it is important to ensure that the fender liner is the correct size and shape for your vehicle. Secondly, ensure that the new fender liner is securely attached, using the appropriate bolts and nuts. Thirdly, check that the fender liner is not blocking any other components of the car, and that it is properly aligned. Lastly, make sure to check that all bolts and nuts are tight before driving.

