
Painting a fender is a tricky job that requires a lot of precision and technical know-how. It is important to get the right materials, use the right techniques, and take the time to do the job properly. In this article, we will discuss how to paint a fender for a seamless finish.
We will look at the best materials to use, the best techniques to achieve a flawless finish, and how to avoid common mistakes. By the end of this article, you will have the knowledge and confidence to paint a fender like a professional. So, if you’re looking for a flawless finish, read on to find out how to paint a fender for a seamless finish.

Painting A Fender For A Seamless Finish
Painting a fender is a great way to give your car a fresh, new look. But getting a seamless finish can be tricky. In this article, we’ll show you how to paint a fender for a professional-looking, smooth finish.
We’ll cover the tools and materials you’ll need, the steps to take to prep the fender, and the best techniques to use to get a perfect paint job. With the right preparation and technique, you can make your car look like it just rolled off the showroom floor. So let’s get started and learn how to paint a fender for a seamless finish!
Preparation
Before beginning the painting process, it is essential to adequately prepare the surface of the fender. First, the area should be cleaned using warm water, soap, and a soft cloth. If there is any rust, use a wire brush or steel wool to remove it. Next, use a sanding block to lightly sand the area.
This will remove any remaining rust and debris and provide a smooth surface for the paint to adhere to. Finally, use a damp cloth to wipe away any dust and debris. Now you are ready to get started on the painting process.
Gather Materials
Gathering the materials you need for painting a fender is the first step to ensure a seamless finish. You will need a few basic supplies, including a plastic fender, primer, paint, and clear coat. When selecting paint, it is important to choose a high-quality product that is specifically designed for automotive use. Primer is also necessary to ensure that the paint adheres to the plastic fender.
It is important to use a clear coat after the paint has dried to add a glossy finish and help protect the paint job. Finally, you will need a few basic tools, such as a paintbrush, sandpaper, masking tape, and a drop cloth. With the right materials in hand, you can begin painting your plastic fender and achieve a professional-looking, seamless finish.
Clean And Sand
Before you begin to paint a fender for a seamless finish, preparation is key. Clean and sand the surface of the fender thoroughly. Start with a mild detergent and water to remove any dirt and grime from the fender. Once the fender is dry, use medium-grit sandpaper to sand the entire surface.
This will help to remove any rust or other imperfections so that the paint will adhere better. Be sure to sand in the direction of the fender’s grain to get the smoothest finish. When you’re done, use a damp cloth to remove any residue or dust.
You should now be ready to apply the primer and paint for a perfect finish.
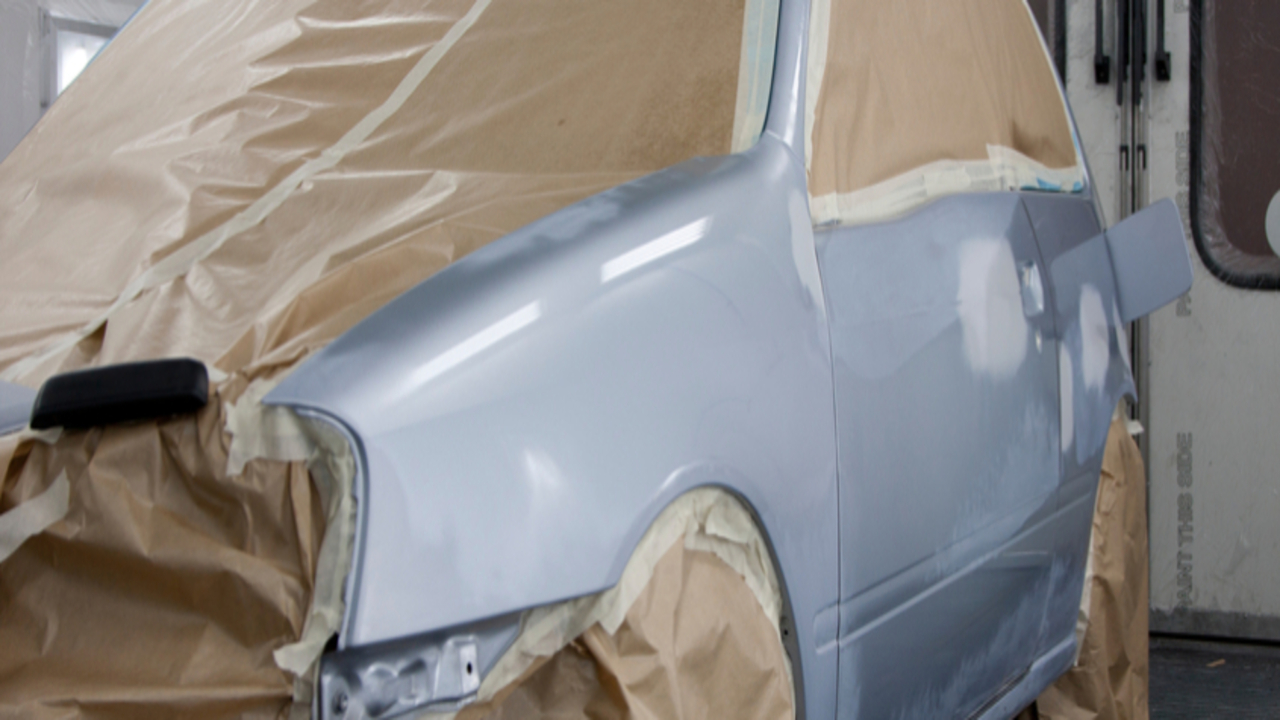
Mask And Prime
Masking and priming your fender is essential before you start painting it. This will ensure the paint will adhere properly and the end result will look professional and smooth. Begin by taping off any areas you don’t want to get paint on, such as the trim, headlights, and any other fixtures.
Next, use a primer on the area to be painted. This will create a smooth surface for the paint and help ensure the color will look even and consistent. Wait for the primer to completely dry before continuing to the next step. If you don’t, the paint may not adhere properly and the end result could be a disaster.
Sand Again
Once you have completed your initial sanding, you should sand the area again. This time, be sure to use a finer-grade sandpaper. Sanding the fender with a fine-grade sandpaper will ensure that the paint will adhere evenly and smoothly. It will also help reduce the appearance of any minor defects and give the painted surface a clean, professional look.
Be sure to check the surface of the fender for any remaining imperfections and sand them away. Make sure to use light strokes when sanding and do not press too hard as it can cause damage to the fender. When finished, use a clean cloth to wipe away any dust or debris from the sanding.
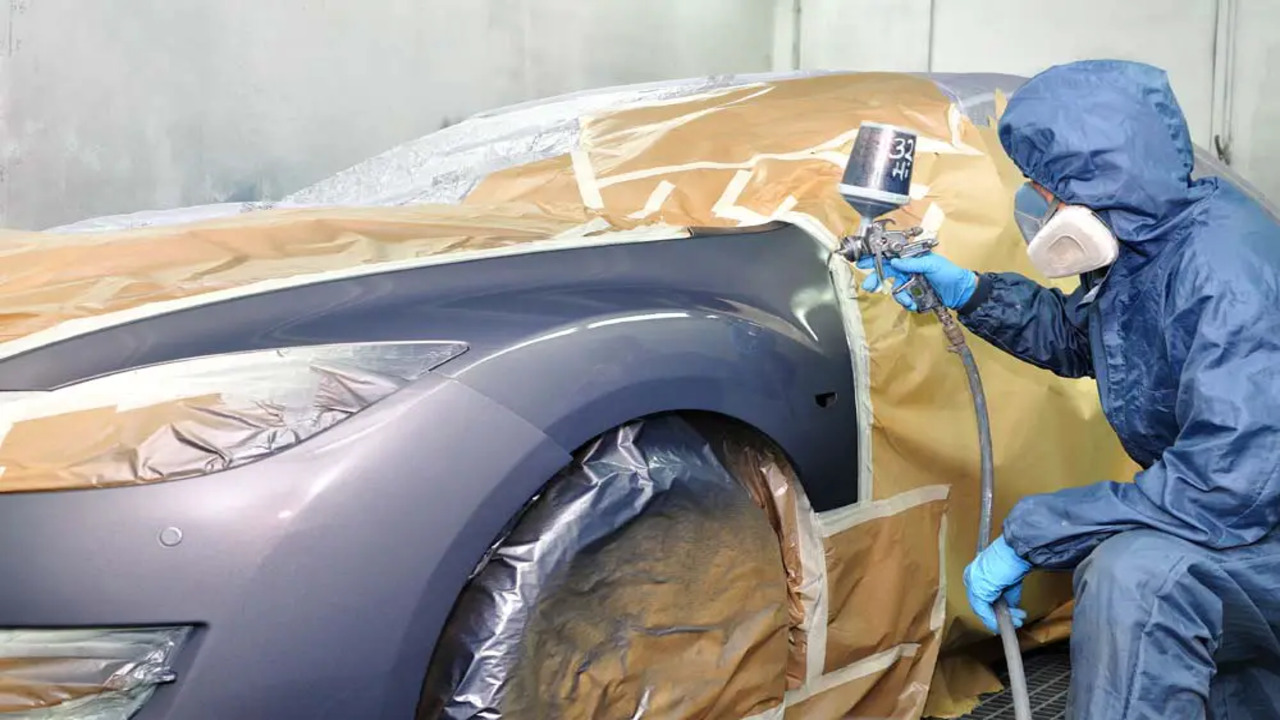
Paint Application
Painting a fender for a seamless finish requires the right tools and techniques. To begin, you’ll need a good quality paint, a clean surface, and a clean brush. Start by applying a light coat of primer to the fender.
Once the primer is dry, use a roller to apply the paint in even strokes. Make sure to go over the edges and seams to ensure a smooth finish. Once the first coat is dry, apply a second coat of paint, making sure to avoid any runs or drips. Once the second coat is dry, you can use a brush to add detail and texture.
Finally, apply a clear coat to protect the paint and give it a polished finish. With the right approach, you can achieve a beautiful, seamless finish on any fender.
Apply Base Coat
When it comes to painting a fender for a seamless finish, it is essential to start with a base coat. Begin by washing the fender with a mild soap and water and drying thoroughly. Next, use a sandpaper to lightly scuff the surface.
This will provide a better grip for the paint to adhere. Then, use a tack cloth to remove any residue. To apply the base coat, hold the spray can about 8 to 12 inches away from the fender and spray in short, even strokes. Allow the base coat to dry for about an hour before applying a topcoat.
For best results, apply several thin coats of the base paint rather than one thick coat. Once the base coat is completely dry, you are ready to apply the top coat.
Add Clear Coat
Once you have finished applying the base coat and the color coat, it is time to add a clear coat to the fender. A clear coat will provide a glossy finish and protect the paint from minor scratches and fading. It is important to use a clear coat specifically designed for automotive use.
To apply the clear coat, begin by shaking the can for two minutes to ensure that the contents are mixed properly. Next, hold the can approximately 8-12 inches away from the surface of the fender and spray in a steady back and forth motion. After a few light coats, allow the clear coat to dry for 20 minutes before applying additional coats. Once all coats have been applied, let the clear coat dry for at least 24 hours before waxing the surface.
This will ensure that you have achieved a seamless paint job.
Wet Sand And Buff
Wet sanding and buffing is an important part of the painting process. Wet sanding with a fine-grit sandpaper helps remove any existing paint and creates a smooth surface for the new paint to adhere to. After sanding, use a buffing pad to remove any remaining dust and debris.
This will create a clean surface that is free of any imperfections that could cause an uneven finish. After buffing, use a wax-based sealant to help protect the new paint and ensure a glossy, seamless finish. With the proper preparation and technique, you can paint a fender with a beautiful, flawless finish.
Final Touches
Once you have completed the basecoat and the clear coat, you are ready for the final touches. To complete the job, you will need to use a few tools. Start by sanding the clear coat with a sanding block and 600-grit sandpaper. Sand the area in a circular motion to help avoid creating any deep scratches.
Once you have finished sanding, use a tack cloth to remove any sanding debris. Next, add a few drops of rubbing compound to a buffer pad and polish the area with a buffer. Once the area is polished, use a microfiber cloth to make sure that the area is completely clean.
Finally, use a wax and sealant to protect the paint job and give it a showroom shine. With these steps, you will have a professional-looking paint job that will last for years.
Check For Imperfections
Once the fender is painted, you need to check for any imperfections that may have occurred during the process. To do this, examine the surface of the fender closely and look for any blemishes or rough spots. If you find any, use a fine-grit sandpaper to lightly sand the area until it is smooth.
Be sure to wipe away the dust before applying more paint. Additionally, use a bright light to examine the surface in order to reveal any hidden imperfections. If you have any doubts, it is best to touch up the area with a small brush and additional paint. Lastly, make sure to inspect your work after the paint has dried to ensure a seamless finish.
Wax And Polish
Once the painting is complete, it’s time to finish the job with a wax and polish. Before applying the wax, it’s important to give the paint a good cleaning. A wax and polish will help protect the fender from the elements and keep it looking glossy and new.
After cleaning, use a soft cloth to apply the wax in a circular motion. Allow the wax to dry before buffing it off. Once the wax is removed, use a soft cloth to apply a polishing compound to the fender in a circular motion. Allow the polish to dry and buff it off with a clean, soft cloth.
Finally, apply a clear coat wax to the fender to protect the paint and keep it looking great.
Conclusion
This article provides a step-by-step guide on how to paint a fender for a seamless finish. It covers the materials and tools needed, prepping the fender, applying primer, sanding, painting, and clear coating. With the right tools and techniques, anyone can achieve a professional-looking, smooth finish on a fender.
FAQ’s
1.What Type Of Paint Is Best For Painting A Fender?
Ans: The best type of paint for painting a fender is a high-quality automotive paint. This paint is designed to withstand the elements and is available in a variety of colors. It is also relatively easy to use and provides a durable finish that will last for years. Other types of paint may be suitable, but they are not as durable as automotive paint.
2.What Tools Are Needed For Painting A Fender?
Ans: In order to paint a fender, you will need the following tools: a surface prep kit, a spray gun, primer, paint, masking tape, a drop cloth, and a few rags. You’ll also need some protective gear such as safety glasses, gloves, and a respirator to protect yourself from fumes. Finally, you’ll need some sandpaper to lightly scuff the surface of the fender to ensure an even coat of paint.
3.How Should The Fender Be Prepped Before Painting?
Ans: Before painting a fender, it should be properly cleaned, sanded, and prepped. All rust and dirt should be removed, and any dents should be repaired. The fender should then be lightly sanded and wiped down with a tack cloth to ensure a smooth, clean surface to paint on. Finally, a few coats of primer should be applied to the fender for the best paint adhesion.
4.What Kind Of Primer Should Be Used For Painting A Fender?
Ans: A primer specifically designed for use on metal surfaces, such as a rust-inhibiting primer, should be used for painting a fender. This type of primer will help protect the metal from corrosion and rust, and will provide a good base for the paint to adhere to. Before starting to paint the fender, it is important to clean the surface thoroughly and make sure it is completely dry before applying the primer. Finally, it is important to use the correct amount of primer and to choose a primer that is compatible with the type of paint that will be used.
5.What Type Of Brush Should Be Used For Painting A Fender?
Ans: A synthetic bristle brush should be used for painting a fender. It is important to select a brush with a good quality handle that won’t flex or bend when applying pressure. A brush with a chiseled edge is best for creating sharp lines and edges. A brush size of 1 to 2 inches is recommended for painting a fender.
