
Removing a car fender for repair can be a daunting task for a novice mechanic. It requires knowledge of the proper tools and techniques to safely and efficiently remove the fender from the car body.
This article will provide an overview of the steps involved in removing a car fender for repair, including the necessary tools, techniques, and precautions. By the end of this article, readers should have the knowledge and confidence to safely remove a car fender for repair. So, if you’re looking to learn how to remove a car fender for repair, keep reading to learn the necessary steps.

Removing A Car Fender: A How-To Guide

Before we dive into the details of how to remove a car fender for repair, it is important to understand why it may need to be removed in the first place. Car fenders are often subject to damage due to collisions, rust, or other environmental factors. In some cases, the fender may need to be replaced altogether.
In other cases, the fender may simply need to be removed and repaired. Knowing how to remove a car fender for repair can save time and money by avoiding the need for a professional mechanic. In this article, we will discuss the steps involved in removing a car fender for repair.
Gather Materials

Once you have decided to replace your car’s fender, the first step is to gather the materials you need. Start by purchasing a new fender that fits the make and model of your car. You will also need a few basic tools such as a screwdriver, a wrench, and a ratchet. To ensure a successful repair, double-check the size of the fender and the type of screws and bolts used to attach the fender to the car.
Be sure to have a bucket or container to place the removed bolts and screws in, so they don’t get lost. Have a few rags and a good lubricant on hand to help loosen any bolts that are stuck. Lastly, make sure you have a friend to help you lift the old fender off the car and set the new one in place.
Needed Tools
Before you can repair a car fender, you will need to remove it from the car. To do this, you will need a few simple tools. First, you will need a screwdriver to remove the bolts that hold the fender in place. You might also need a wrench or pliers to help remove any stubborn bolts.
Additionally, you will need a socket set to ensure that the bolts are not damaged as you are removing them. Finally, you will need a mallet or hammer to gently tap the fender away from the car body. With these tools, you should have everything you need to remove the fender and begin the repair process.
Replacement Fender
Changing a car fender is a relatively simple process, and can be done with the right tools and knowledge. To begin, make sure the car is in park and the emergency brake is on. Once this is done, you’ll need to jack up the car and remove the tire. After the tire is removed, you’ll need to unscrew the fender bolts from the wheel well.
Make sure to keep all the parts in order, as you’ll need to put them back when you are finished. Once all the bolts are removed, you can carefully pull the fender away from the car. Be sure to take extra caution with the paint job, as it can easily be damaged.
With the fender removed, it’s time to install the new one. Start by lining the new fender up with the wheel well. Once it’s in place, you’ll need to secure it with the bolts. Be sure to tighten them up, but don’t overtighten. Finally, put the tire back on, and lower the car off the jack. After that, your car should be ready to go.
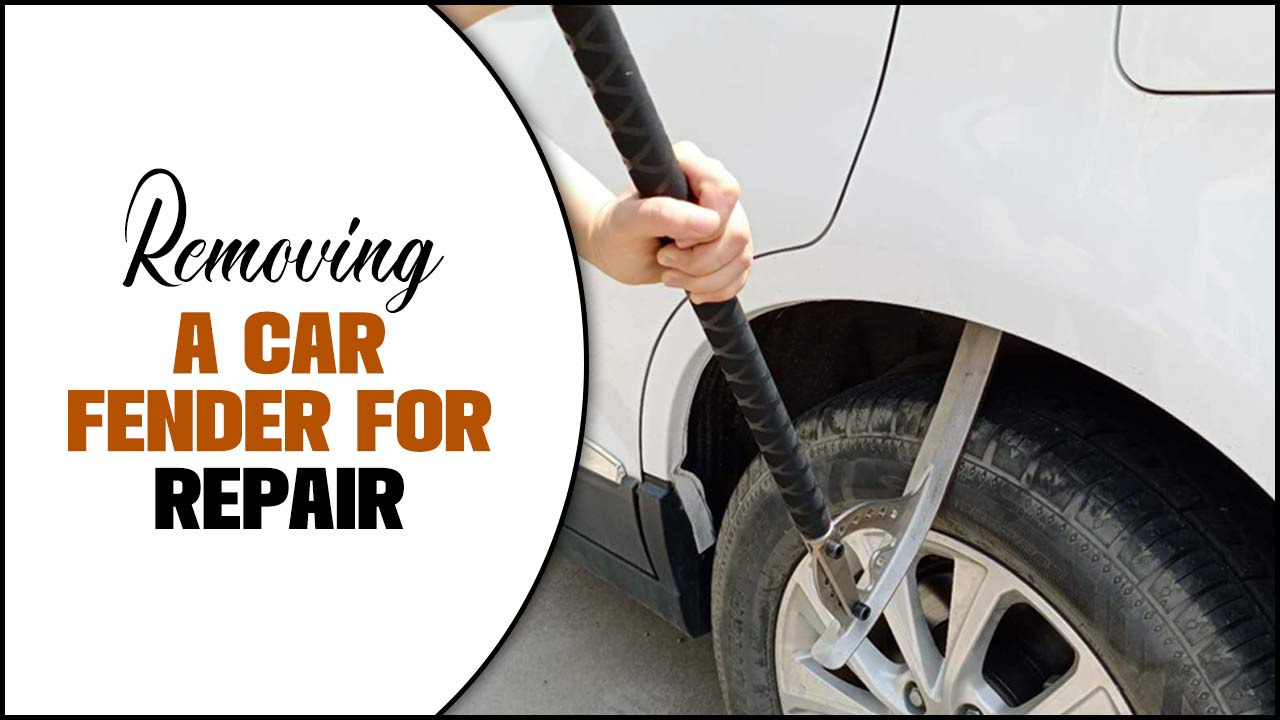
Jack
Jack is a common tool used to remove a car fender for repair. It is a flat metal bar with a bent end that is used to pry off panels and parts to gain access to the underlying components. To use a Jack, insert the bent end between the panel and the car fender and use the leverage to create space.
This will allow the panel to be pried off. Make sure to move the Jack in a slow and steady manner to ensure that the panel is not damaged in the process. Once the panel is loose, use a screwdriver to remove any screws holding the fender in place. Finally, use a ratchet and socket to remove any additional bolts. With all the bolts and screws removed, the fender should be ready to be pulled off.
Jack Stands
Jack stands are an essential tool when removing a car fender for repair. To use them, you need to lift the car off the ground and support it with the stands. Start by positioning the stands on either side of the car, at the same height and with the same amount of clearance. To make sure the car is stable, use a level to check that the stands are evenly placed.
Adjust the stands as necessary and ensure that the wheels of the car are off the ground. Once the car is securely in place, use a wrench to loosen the bolts that hold the fender in place. Then carefully take off the fender and set it aside.
Raising a vehicle is a necessary step in the process of removing a car fender for repair. To begin, use a hydraulic floor jack to lift the car from underneath the frame. Make sure to place the jack on a flat, level surface and use a jack stand for additional support.
Once the car is lifted, place a wheel chock behind the rear tire to prevent the car from rolling. Now the car is ready to be worked on and the fender can be removed. Make sure to take all necessary safety precautions when working with a vehicle.
Place Jack
Once your car is securely jacked up, it is time to place the jack under the fender you are working on. Be sure to place the jack under a solid metal part of the frame and not plastic or other fragile parts. Make sure the jack is evenly placed on the ground and that the handle of the jack is in the up position.
Use the handle to lift the fender until it is slightly off the ground and your jack is supporting the weight of the fender. This will ensure that your repair work is safe and secure. Take your time with this step to make sure the jack is placed correctly; otherwise, your car may not be safely secured and you could risk injury.
Lift Vehicle
Lifting the vehicle is the first step in removing a car fender for repair. Jack stands should be placed under the car frame to support the weight of the car and prevent the jack from slipping. To lift the car, start by positioning the jack at the lift point.
This is usually located near the car’s frame, and is indicated by a plate or a dot on the car frame. Once the jack is in place, pump the handle to raise the car. Make sure the car is raised high enough to allow access to the fender. After the fender is removed, lower the car back down to the ground and remove the jack stands.
Place Jack Stands
Before removing a car fender, it is important to place the car securely on jack stands. Start by engaging the parking brake and chocking the wheels. Jack up the vehicle until it is safely off the ground.
Place jack stands on a solid part of the frame or sub-frame and ensure they are secu. Use a jack stand rated for the weight of the vehicle, or higher. Be sure that the vehicle is not resting on the equipment you are using to raise it. Finally, test the security of the jack stands by shaking the vehicle. Once the jack stands are secure, you can begin to remove the fender.
Ensure Stability
It is important to ensure stability while removing the car fender for repair. To begin, lift the car safely using a hydraulic jack and secure it with jack stands. This will prevent any accidents while you are working on the fender. Disconnect the battery cables to prevent any electrical short circuits.
After this, remove all the mounting screws and bolts that secure the fender in place. Then use a flat-head screwdriver to carefully detach the fender from the areas where it is connected to the body of the car. Once the fender is removed, set it aside and ensure that all of the mounting screws and bolts are accounted for and that none are left behind.This will ensure that the fender can be reattached properly once the repair is complete.
Disconnect Wiring
When it comes to removing a car fender for repair, one of the first steps is to disconnect the wiring. This is necessary to ensure all wires are safely disconnected before the fender is removed. To do this, use a pair of pliers to remove the bolts that hold the wiring in place. Once all the bolts are removed, the wiring can be carefully pulled away from the fender.
Make sure to label the various wires so you can easily reconnect them when the repair is complete. Finally, use a wire cutter to cut any wires that are too stubborn to be removed with pliers. If done properly, disconnecting the wiring is a straightforward process that can be completed quickly.
Identify Wiring
Before removing the car fender for repair, it is important to identify any wiring or other parts that may be connected to the fender. To do this, you should look for any wires or hoses that run along the fender or through it. It is also useful to check any clamps, nuts, or bolts that may be holding the fender in place, as these may need to be removed before the fender can be taken off.
Additionally, be sure to check the nearby wheel-wells and door panels for any wiring that may be connected to the fender. If any wiring is found, it may be necessary to disconnect it before the fender can be removed. Once the wiring has been identified and disconnected, the fender can be taken off and repaired.
Disconnect Harnesses
Once you have completed the steps to remove the car fender, the next step is to disconnect the harnesses. These are the electrical connections that power the lights and other components on the fender. Start by disconnecting the positive terminal first and then the negative terminal.
To do this, use a flathead screwdriver to gently pry the terminals away from the harness. Be sure to place a rag or cloth over the terminals to prevent any electrical shock. If the terminals are corroded, use a wire brush to clean them before attempting to remove them. Once the terminals have been disconnected, you can remove the entire harness from the fender.
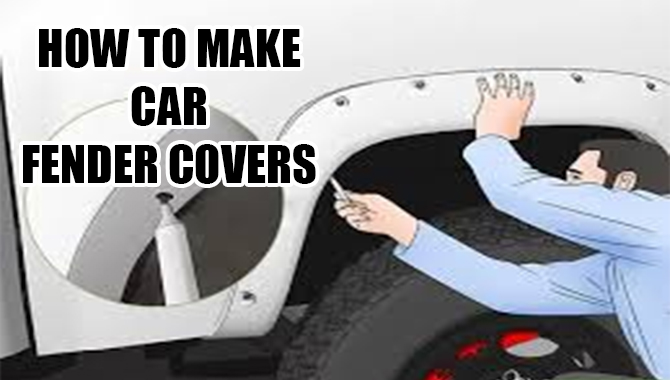
Cover Wires
Once you have removed the fender, the next step is to cover the wires. Use plastic wire ties to wrap and secure the wires, to avoid them being damaged or exposed. Make sure to secure the ties tightly so that the wires are held firmly in place. To avoid the plastic ties from breaking, use electrical tape to reinforce them.
This also helps to keep them from vibrating, which can lead to more damage. Do not forget to use the correct size of plastic ties for the wires; too small and it won’t fit, too large and it will be difficult to secure. When you’re done, use a pair of scissors to cut away any excess plastic ties and tape.
Remove Fender
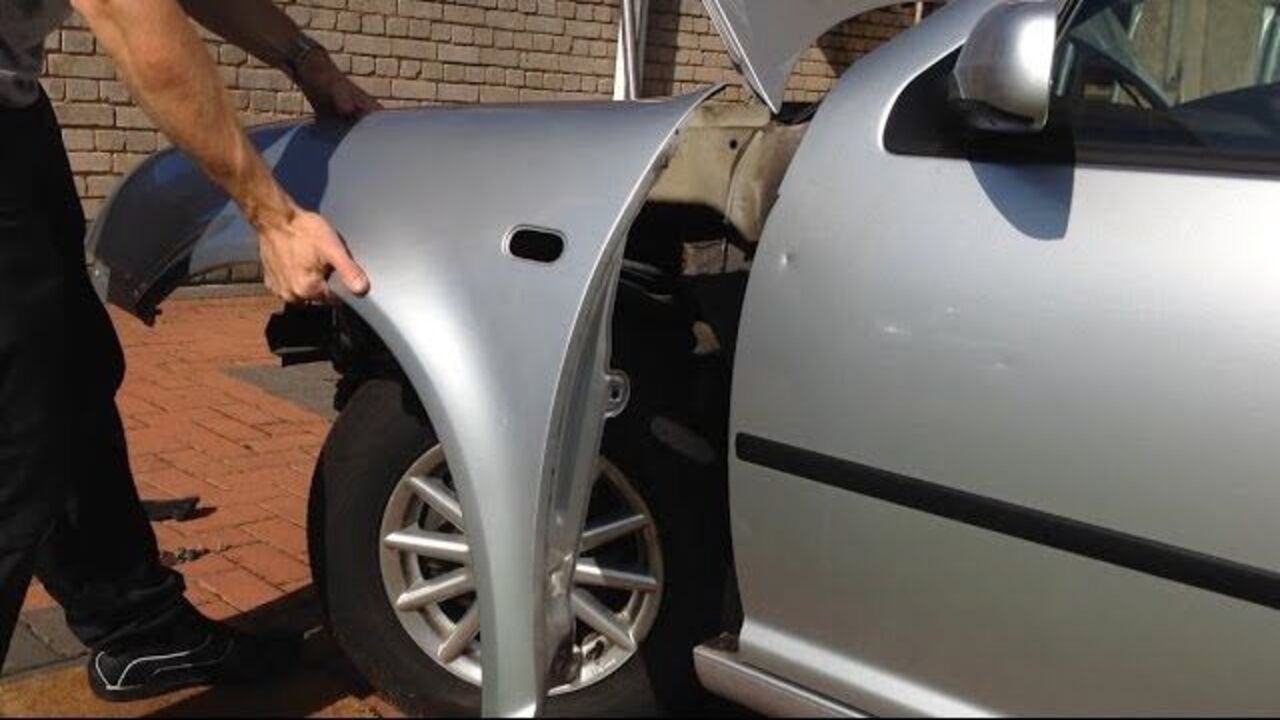
Removing a car fender is an essential task for anyone attempting a repair. It is important to ensure that the fender is removed correctly to avoid causing further damage to the vehicle. To begin, open the hood of the vehicle and remove the screws and clips that hold the fender in place.
Once these are removed, carefully pry the fender away from the body of the car using a flathead screwdriver. If the fender is difficult to remove, you may need to use a putty knife or a pair of pliers. Once the fender is loose, carefully pull it away from the car and set it aside. If the fender is being replaced, you will need to remove the existing hardware and replace it with the new fender.
To complete the removal, replace the screws and clips to secure the fender in place. Following these steps will ensure that the fender is properly removed and ready for repair.
Remove Bolts
Removing the bolts that secure the fender to the car frame is the first step in removing a fender for repair. To do this, you will need to locate the bolts that secure the fender. There should be four of them – two in the front and two in the back. Once you have located the bolts, use a wrench to loosen the.
Make sure to loosen them gently, as you don’t want to strip the threads. Once they are loose, you can remove them by hand. After all four bolts have been removed, the fender should be loose and ready to be carefully removed from the car frame.Be sure to keep the bolts in a safe place, as you will need to re-attach the fender once the repair has been made.
Lower Fender
When it comes to repairing a car fender, the first step is to remove the lower fender. This can be done by using a socket wrench to unscrew the screws that secure it to the vehicle. It is important to keep track of which screws go where, as the placement of each screw is essential for proper installation of the new fender.
Once the lower fender is removed, you can inspect it for any damage and then proceed to repair or replace it. Additionally, it is important to clean the area before installing the new fender, in order to ensure a snug fit. Finally, use the same socket wrench to secure the new fender in place, ensuring all screws are tightly fastened.
Remove Fender
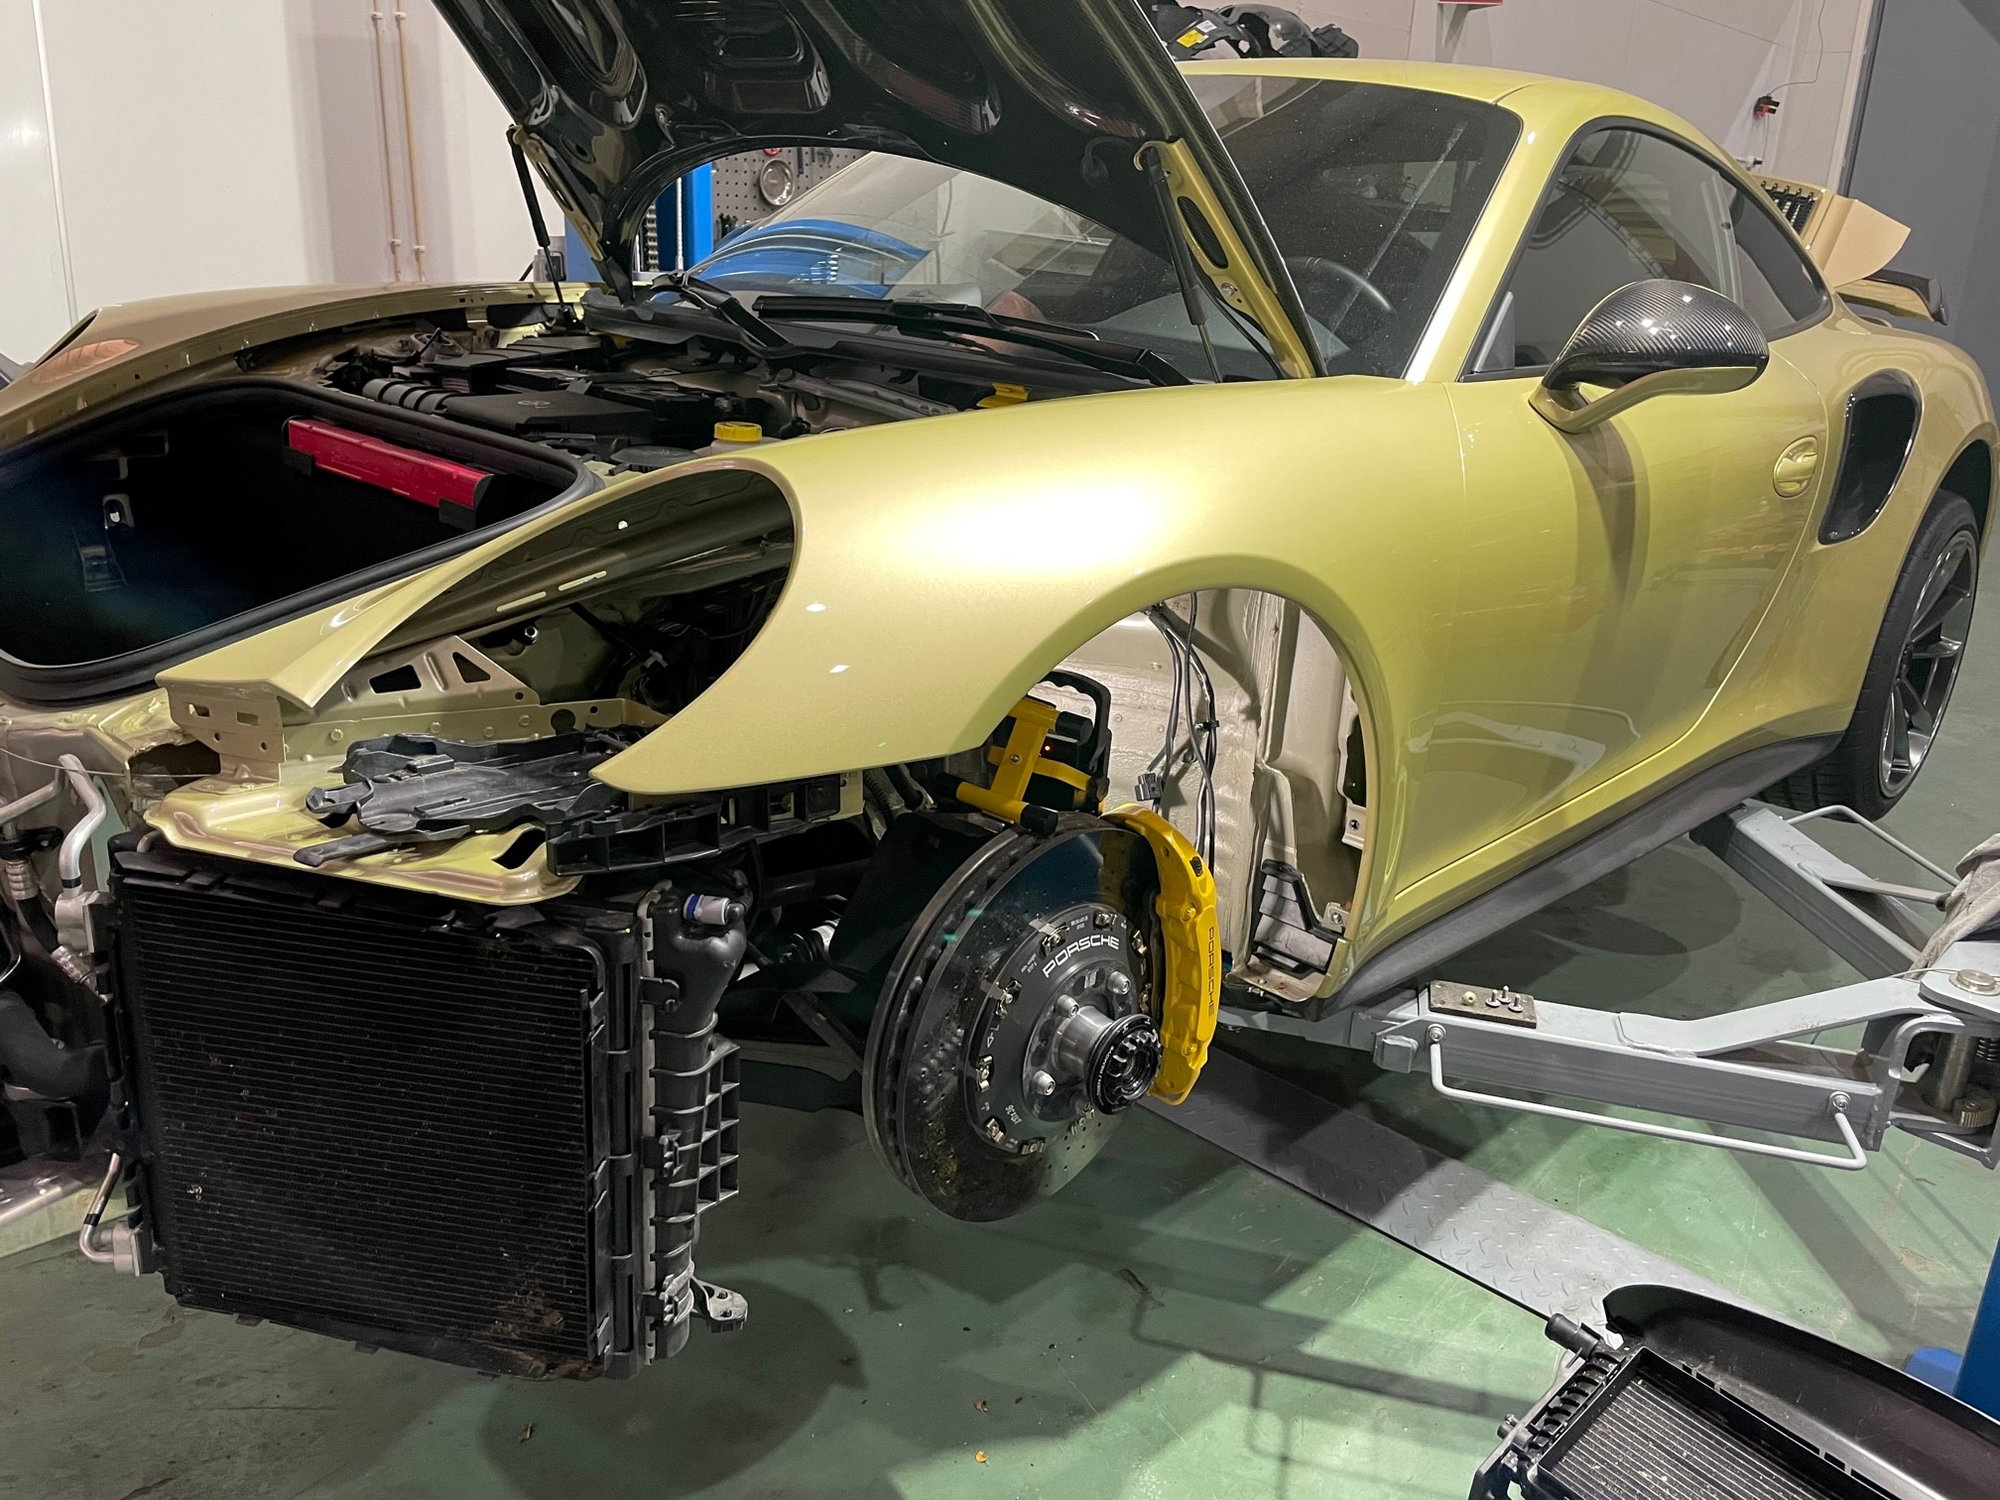
Removing a car fender for repair is a relatively simple process. However, it does require some basic knowledge and special tools. The first step is to remove the wheel and tire assembly.
This will allow you access to the fender bolts. Next, use a wrench to loosen the bolts and screws that attach the fender to the inner fender wall. Once all of the fasteners have been removed, carefully lift the fender away from the vehicle. To reinstall the fender, reverse the process.
Start by aligning the fender with the inner fender wall and then fasten the bolts and screws with a wrench. Once all the bolts and screws are in place, reinstall the wheel and tire assembly. Finally, check for proper fit and alignment before driving the vehicle.
Replace Fender
If you need to replace a fender on your car for repair, it is relatively straightforward. Begin by lifting the hood and disconnecting the negative terminal of the battery. This will prevent any electrical damage that may occur during the repair process.
Then, remove any screws or bolts that are holding the fender in place. Once these have been removed, carefully pull the fender off of the car. Once the fender has been removed, you can begin the repair process. Place the new fender in position and reattach the bolts or screws.Finally, reconnect the negative terminal of the battery, close the hood and your repair is complete.
Conclusion
This article provides a step-by-step guide on how to safely remove a car fender for repair. It covers the necessary tools and safety precautions needed to ensure the job is done correctly. The article also provides tips on how to reinstall the fender once the repair is complete. With the right tools and knowledge, anyone can easily remove and reinstall a car fender for repair.
FAQ’s
1.What Tools Are Needed To Remove A Car Fender?
Ans: To remove a car fender, you will need a socket wrench, a flat head screwdriver, a Phillips head screwdriver, and some pliers. Additionally, some trim removal tools may be necessary to help remove plastic trim pieces. With these tools, you should be able to access the bolts that hold the fender in place and remove it.
2.What Is The Most Effective Way To Remove A Car Fender?
Ans: The most effective way to remove a car fender is to use a set of fender removal tools, such as a fender roller or a puller. These tools can be used to safely and quickly remove the fender from the car without damaging the paint. To ensure the best results, it is important to read the instructions provided with the tools and follow them carefully. If done correctly, the fender should be removed without issue.
3.Is It Possible To Remove A Car Fender Without The Help Of A Professional?
Ans: Yes, it is possible to remove a car fender without the help of a professional. However, it is important to make sure to have the right tools and to follow the correct steps to ensure that the fender is removed safely and correctly. Before attempting to remove the fender, it is also important to make sure that the car is properly supported so that it does not become unstable during the process. Additionally, it is recommended to consult a professional for advice or guidance if needed.
4.How Can I Protect The Paint Around The Fender When Removing It?
Ans: When removing a fender, it is important to protect the paint around it. You should cover the area around the fender with masking tape and newspaper to avoid scratching the paint. Additionally, you should use a socket wrench to loosen the bolts instead of a screwdriver so that you do not scrape the paint. Finally, use a flat-head tool to carefully pry off the fender to avoid damaging the paint.
5.What Safety Precautions Should I Take When Removing A Car Fender?
Ans: When removing a car fender, it is important to wear protective eyewear, gloves, and a dust mask. Additionally, it is important to make sure the car is securely supported and to disconnect the battery before beginning work. It is also important to use the proper tools and to be aware of any sharp edges. Finally, it is important to work in a well-ventilated area.

