
The installation of a fender on a bicycle can be a challenging task for many cyclists. It is important to take the time to properly install a fender, as it can help protect you from dirt, mud, and debris while you ride.
In this article, we will discuss the necessary steps for installing a fender on a bicycle, including what tools you need, how to prepare the bike, and how to attach the fender. We will also provide tips for ensuring that your fender is securely fastened and that it will last for many years. With the right preparation and knowledge, you can easily install a fender on your bike and enjoy the benefits of a cleaner ride.

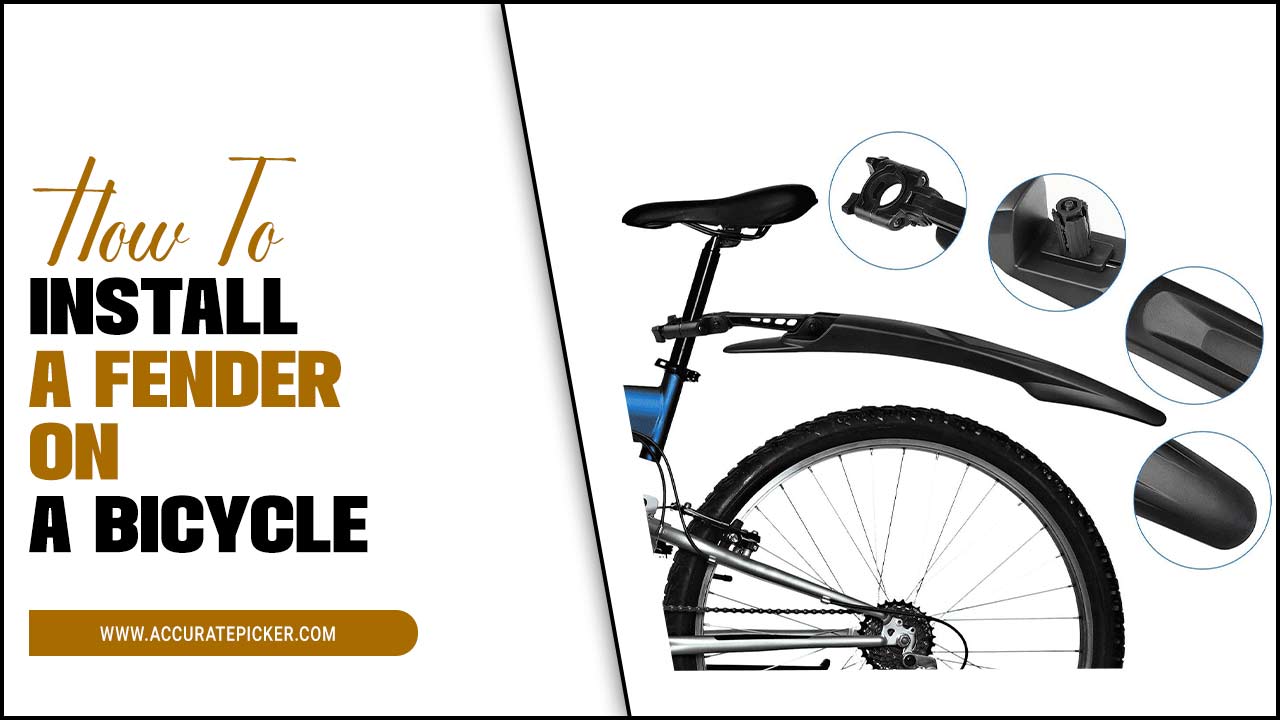
Installing A Fender On A Bicycle
Installing a fender on a bicycle is a great way to protect yourself and your bike from mud, dirt, and water. It’s also an easy and relatively inexpensive way to add a custom touch to your ride. In this article, we’ll provide step-by-step instructions on how to install a fender on your bicycle.
We’ll cover the tools you need, the different types of fenders available, and the installation process. With the right supplies and a bit of know-how, you’ll be ready to hit the road in no time. So let’s get started and learn how to install a fender on your bicycle.
Gather Supplies
Gathering the right supplies for the job is essential to ensure a successful fender installation. Before you begin, make sure you have all the necessary items. You will need a flat head screwdriver, a Phillips head screwdriver, a 10mm wrench, and some bicycle grease.
Additionally, you will need the fender itself and appropriate mounting hardware. To install a fender, you’ll need to attach it to the frame of the bicycle and secure it with screws. Make sure you have all the necessary tools and materials before you start.
Fender
Fenders are a great addition to any bicycle and can help protect you from road debris, mud, and water while cycling. Installing a fender on a bicycle is a relatively simple process, but it is important to ensure that the fender is properly secured. To begin, use a wrench to loosen the screws that attach the fender to the bicycle frame.
Once the screws are loose, position the fender in the desired location and tighten the screws until the fender is firmly secured. Depending on the type of fender you choose, you may need to use additional screws or bolts to ensure that the fender is properly attached.
Once the fender is secured, adjust the fender so that it fits snugly against the frame and does not rub against the wheel. Finally, inspect the fender to ensure that it is properly installed and that there are no loose screws or bolts.
With the right tools and preparation, installing a fender on a bicycle can be a straightforward and rewarding project.
Mounting Hardware
When installing a fender on a bicycle, the mounting hardware is an essential component. To start, you’ll need a set of screws and nuts that match the size of the fender’s mounting holes. Make sure the screws and nuts are compatible with the material of the frame.
Additionally, two metal or plastic washers should be used between each screw and the frame to protect the frame from scratches. After that, insert the screws into the fender’s mounting holes and then thread them into the frame.
Tighten the screws and nuts securely but be careful not to over-tighten them. Once the screws and nuts are tightened, inspect the fender to make sure it is firmly affixed to the frame. If necessary, do any additional adjustments to ensure the fender is securely mounted.
Screwdrivers
Screwdrivers are essential tools when it comes to installing a fender on your bicycle. A Phillips-head screwdriver is the most common type used for this task, as it has a cross-shaped tip that fits the head of the screws used on the fender.
A flat-head screwdriver is also required to properly secure the fender to the bicycle frame. Make sure that the screwdrivers you use are the correct size for the screws, as using the wrong size can damage the screws or make it difficult to properly insert them. It is also important to ensure that the screwdrivers are in good condition, as a damaged screwdriver can strip the head of the screws.
Pliers
Using pliers is an important step in installing a fender on a bicycle. Pliers can be used to twist and shape metal fender stays to ensure a secure fit. Before beginning, make sure to wear work gloves to protect your hands from cuts and abrasions. Start by using the pliers to bend the metal stays to the shape needed to fit the bicycle frame.
After the metal is shaped, use the pliers to secure the metal straps to the fender. This will help to ensure that the fender is held securely in place. Make sure to use the pliers to both secure and adjust the metal straps, as needed.
Then, use the pliers to tighten the screws or nuts that fasten the fender in place. Once the fender is secure, use the pliers to trim any excess metal or straps that may be sticking out. With the fender in place, your bicycle is now ready for use.
Prepare Bicycle
Preparing your bicycle for a new fender is an important step in the installation process. Before you start, make sure your bicycle is in good working order by checking the brakes, tires, and other parts. You should also check the frame for any signs of damage or corrosion.
If any of these items are in need of repair, it is best to take care of them before you install the fender. Once you have completed the necessary repairs, it is time to start the installation process. Make sure you have all the necessary tools and materials on hand before you begin. This includes an adjustable wrench, a screwdriver, and a set of fender brackets.
Additionally, you may need to purchase the fender itself, along with screws, bolts, and any other hardware that may be required. When you have everything you need, you can begin to install the fender on your bicycle.
Remove Wheel
Removing the wheel from your bicycle is the first step in installing a fender. Before you begin, make sure you have a wrench or adjustable spanner that is the right size for your wheel’s axle nuts. After that, you’ll need to flip the bike over so that the wheel you’re about to remove is facing up.
Unscrew the axle nuts, and then carefully pull the wheel up and away from the frame. If your wheel has quick-release levers, you can simply open them to remove the wheel. Once the wheel is out, you can now start to install the fender.
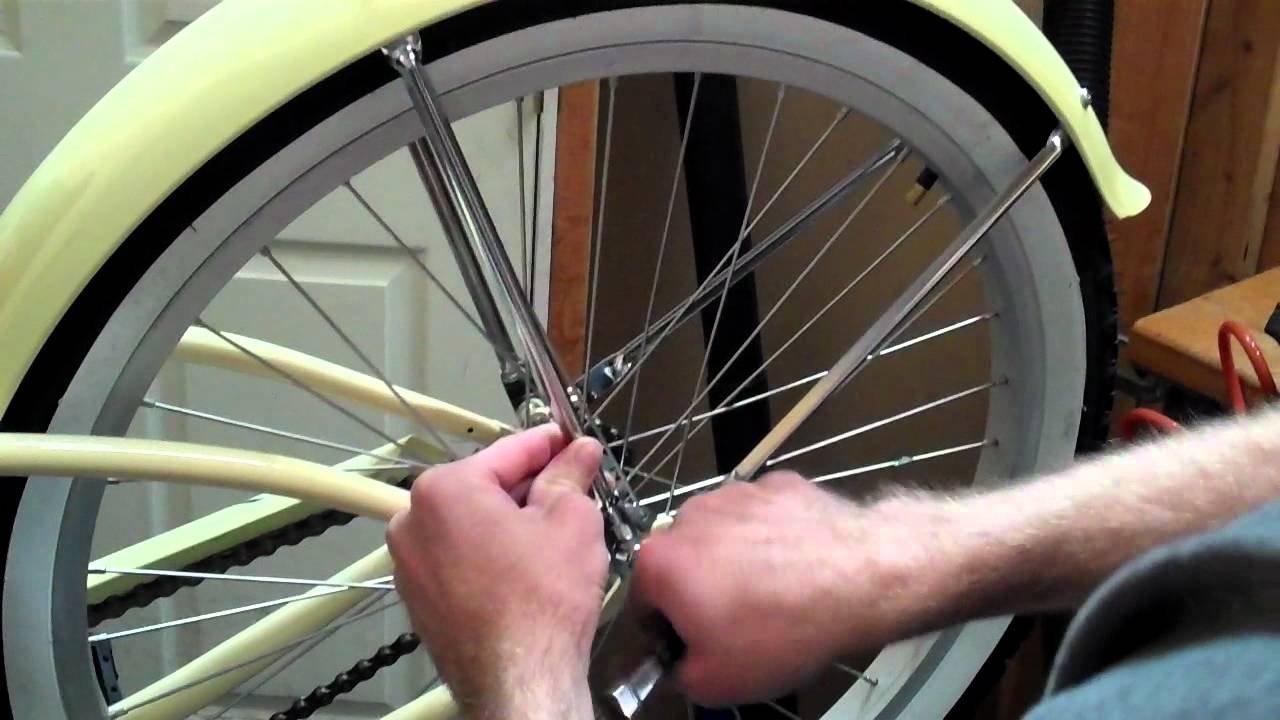
Attach Fender Brackets
Once you have the fender and the brackets, it is time to attach them. Begin by placing the front of the fender on the bicycle frame, so that it lines up with the front fork. Secure the fender to the frame with the screws that come with the brackets. Make sure the screws are tight, so the fender does not move around while riding.
Next, attach the rear of the fender to the frame with the second set of brackets. Secure the brackets with the screws that come with them, making sure they are tight. You should now have both the front and rear of the fender properly secured to the bicycle frame.
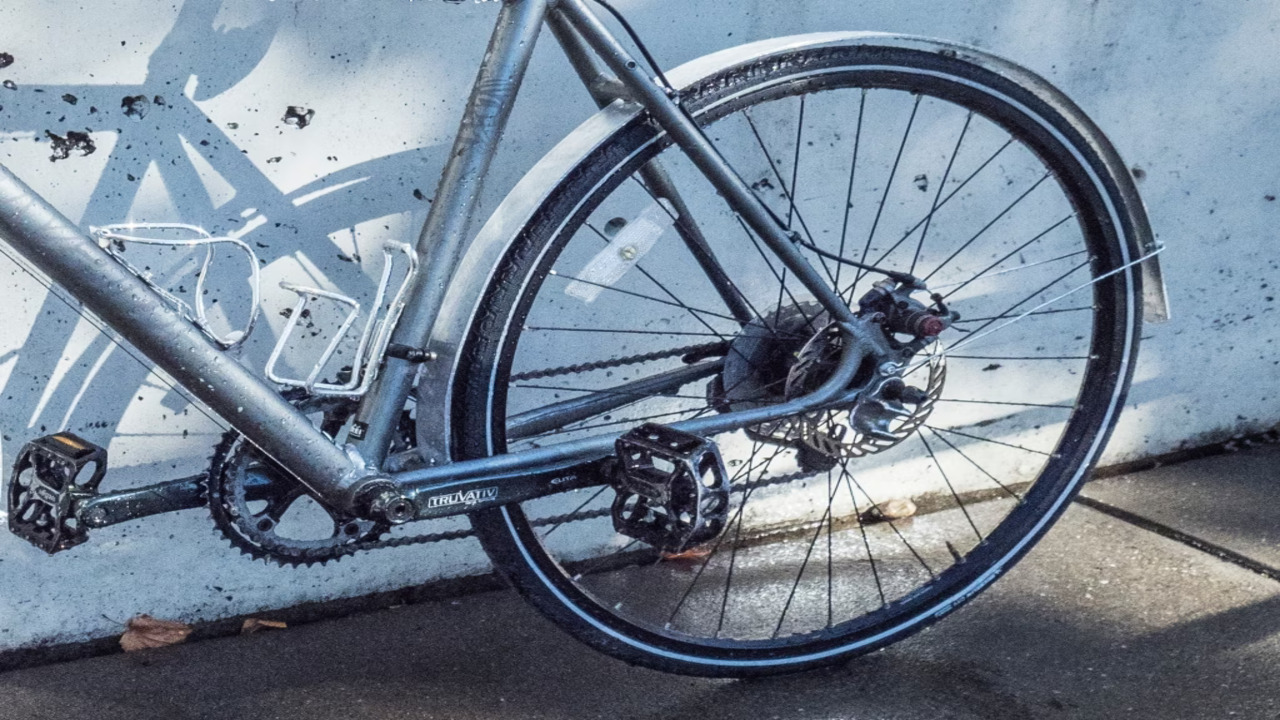
Reinstall Wheel
If you are looking to install a fender on your bicycle, one of the most important steps is to reinstall the wheel. First, make sure that the wheel is securely attached to the frame. Next, line up the fender to the wheel and use a Phillips screwdriver to attach the fender to the wheel. Make sure to use the right size screws and to tighten them securely.
To ensure the wheel is securely in place, use a hex wrench to tighten the wheel nuts. Finally, use a tire pump to check the pressure of the tire and ensure it is properly inflated before taking your bike out for a ride. With these simple steps, you’ll be able to enjoy your new fender in no time.
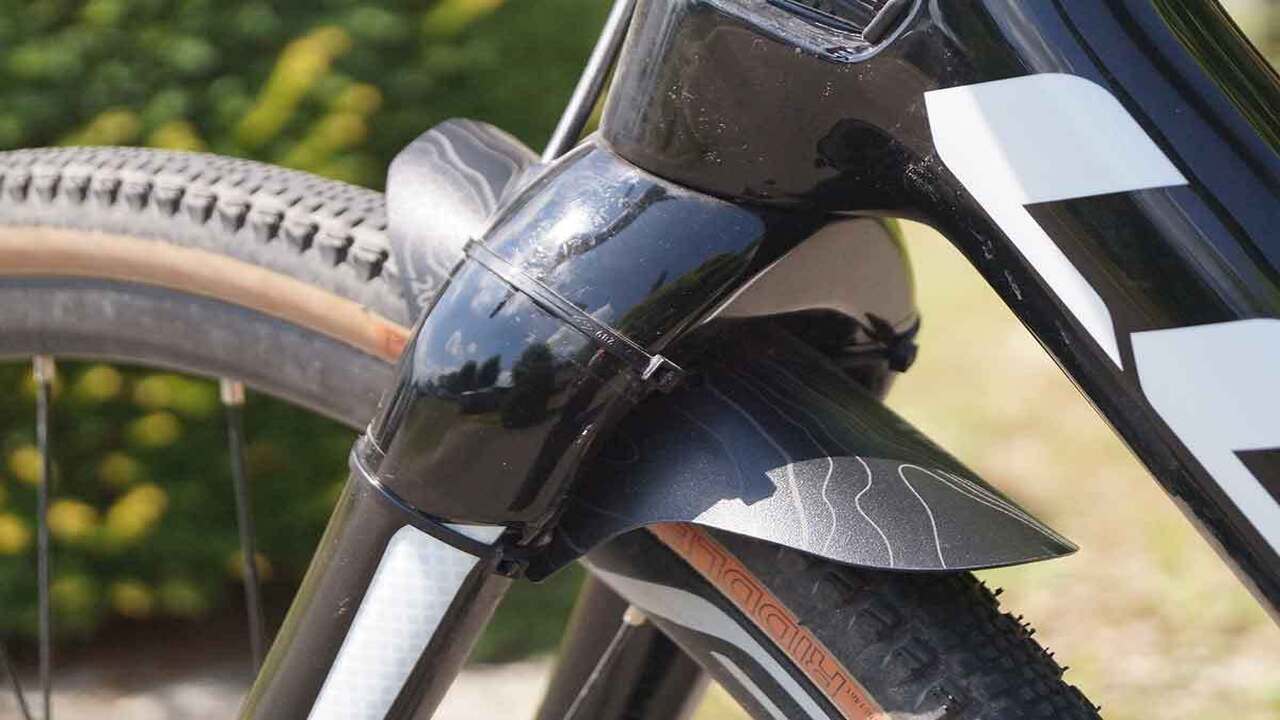
Install Fender

Installing a fender on a bicycle can be a simple process. First, you will need to determine the type of fender that you need for your bike. Depending on the size and style of your bike, the fender may need to be a specific size and style.
Once you have the correct fender, you can begin the installation process. Start by attaching the front fender to the fork of the bike. Ensure that the fender is secured tightly, as you do not want it to become loose during riding. Next, attach the rear fender to the rear hub of the bike.
Once again, make sure the fender is secure. After attaching the fenders, you should check to make sure that the fender brackets are in the correct position and that the fenders are mounted securely. Finally, adjust the fenders to fit the desired height and angle. Once you have completed the installation process, you are ready to ride with your new fenders.
Measure Fender
Measuring the fender is an important part of the installation process. To get the right size, start by measuring the distance from the tire to the top of the fender. It’s important to get an accurate measurement as different types of fenders require different lengths.
Once you have the height, measure the width of the fender. The width should be slightly wider than the tire, but not too wide. This will ensure the fender fits snugly and securely around the tire. Finally, measure the distance from the tire to the top of the fender on the other side.
This will ensure that the fender is even on both sides. Once you have your measurements, you can choose the right size fender.
Trim Fender
Trimming the fender is an important step for properly installing a fender on a bicycle. To do this, you will need a pair of scissors or a sharp knife. Start by measuring the desired length of the fender and then use the scissors or knife to cut off any excess material. Make sure to leave enough material to cover the wheel spokes and keep any debris off the rider.
Once the desired length is achieved, fit the fender onto the wheel and secure with the mounting hardware. If the fender is too long, you can use a file or sandpaper to trim the edges. Finally, secure the fender in place with the mounting hardware and you are ready to ride.
Attach Fender
Attaching a fender to a bicycle is a fairly straightforward process. You will need a few simple tools, including a screwdriver, a wrench, and some cable ties. Start by locating the eyelets on the frame and fork of your bike. Once you’ve identified the eyelets, use the screws and washers provided in the fender kit to secure it to your bicycle.
Make sure the screws are tight but not over-tightened, as this could damage the frame of your bike. To finish the installation, use the cable ties to secure the fender to the frame. Finally, check the fender to make sure it is firmly attached.
If it is loose, re-tighten the screws and cable ties. With these steps, you can quickly and easily attach a fender to your bicycle.
Conclusion
This article explains how to install a fender on a bicycle. It provides step-by-step instructions on how to measure the frame, attach the fender to the frame, and secure it with screws and bolts. The article also includes tips on how to make sure the fender is properly aligned and how to adjust it if necessary. With this guide, anyone can easily install a fender on a bicycle.
FAQ’s
1.What Tools Are Needed To Install A Fender On A Bicycle?
Ans: To install a fender on a bicycle, you will need a few basic tools. These include a wrench, screwdriver, adjustable wrench, and a pair of pliers. You may also need a few extra screws or nuts to attach the fender to the bicycle frame. Additionally, you can use clamps or zip ties to secure the fender to the frame.
2.Does The Type Of Bicycle Frame Affect The Installation Process?
Ans: Yes, the type of bicycle frame can affect the installation process, as different frames require different methods for installation. For example, a hardtail frame requires attaching the shock absorbers, while a full suspension frame requires the installation of the rear triangle and swing arm.
The size of the frame can also be important, as certain components may not fit correctly on some frame sizes. Lastly, different frame materials may require different installation techniques.
3.Is It Possible To Install A Fender On A Bicycle Without Removing The Wheel?
Ans: Yes, it is possible to install a fender on a bicycle without removing the wheel. The fender can be attached to the frame or to front or rear forks. You may need to remove the existing brakes and tire to fit the fender. Once the fender is installed, the brakes and tire can be reattached.
4.What Type Of Fender Is Best For A Bicycle?
Ans: The best type of fender for a bicycle depends on the type of bike and the type of terrain it is being used on. Generally, full-length fenders are best for wet and muddy terrain, while clip-on fenders are better for dry terrain. For a mountain bike, a combination of both full-length and clip-on fenders is usually a good choice. Finally, for a road bike, slim and lightweight clip-on fenders are typically the most suitable option.
5.How Do I Adjust A Fender So It Fits My Bicycle Correctly?
Ans: To adjust a fender to fit your bicycle correctly, start by loosening the screws that hold the fender in place. Then, position the fender in the desired location, ensuring that it is parallel to the ground. Next, re-tighten the screws to secure the fender in place. Finally, check the fender for movement to make sure it is firmly in place.


