

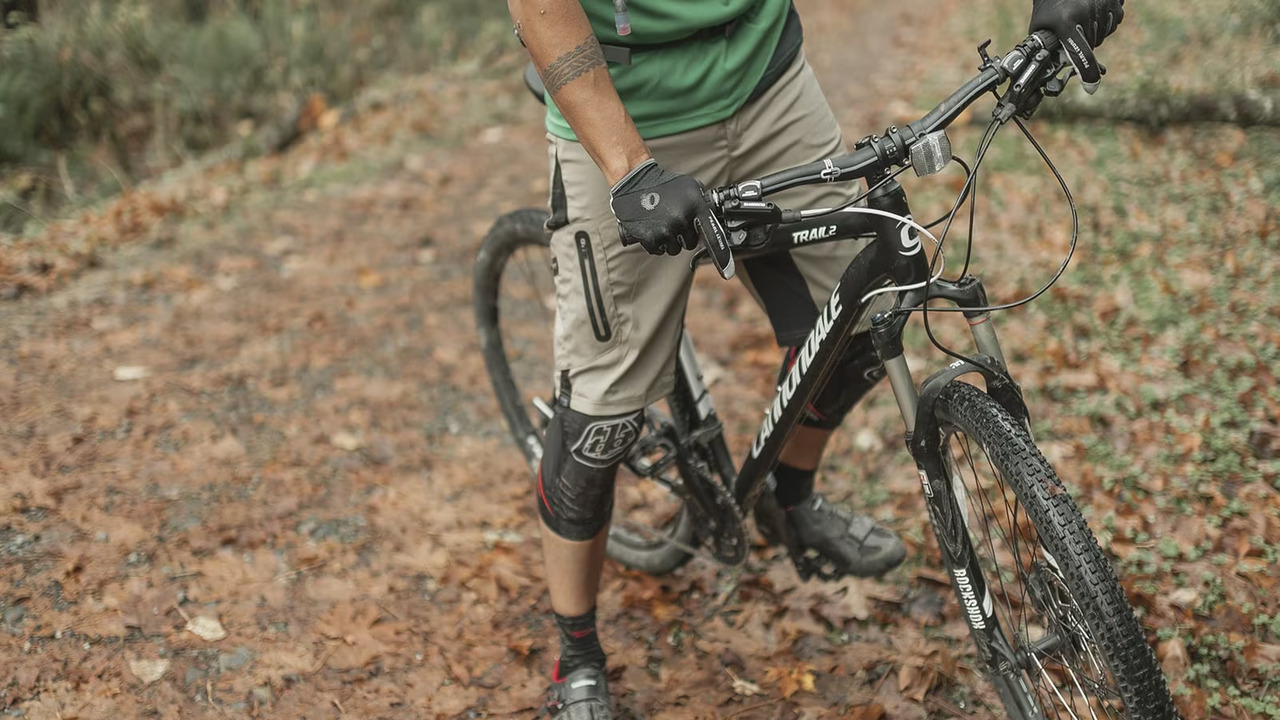
The fender height on a mountain bike is an important factor in ensuring safe and comfortable riding. Adjusting the height of the fender is a relatively simple process, but it requires a few tools and some basic knowledge.
This article will guide you through the steps of how to adjust the fender height on a mountain bike, including what tools you’ll need and the techniques you’ll need to use. With the right tools and knowledge, you’ll be able to adjust the fender height on your mountain bike with ease. Now let’s dive in and learn how to adjust the fender height on a mountain bike for a more comfortable and safe ride.

Adjusting Fender Height On A Mtn Bike – Optimal Ways

Adjusting the fender height on a mountain bike is an important task that can help ensure a comfortable and safe ride. It is important to get the height of the fender just right in order to avoid any interference with the pedals or wheel. In this article, we will provide a step-by-step guide on how to adjust fender height on a mountain bike.
We will explain the tools needed, the process for adjusting the height, and tips for getting the most out of your mountain bike. We hope this article helps you get the most out of your mountain bike and enjoy a safe and comfortable ride.
Preparation
Before attempting to adjust the fender height on a mountain bike, it is important to prepare properly. To begin, make sure the bike is secure and stable. If the bike is on a stand, make sure it is tightly clamped.
Also, make sure the bike is in a well-lit area with adequate workspace. Additionally, it is important to gather the necessary tools and supplies, such as a wrench, screwdrivers, and a ruler. This will ensure that the fender height is adjusted properly and safely.
Finally, if the bike is equipped with disc brakes, make sure to disconnect the brake calipers before adjusting the fender. Taking these steps to properly prepare can save you time and ensure a successful adjustment.
Tools
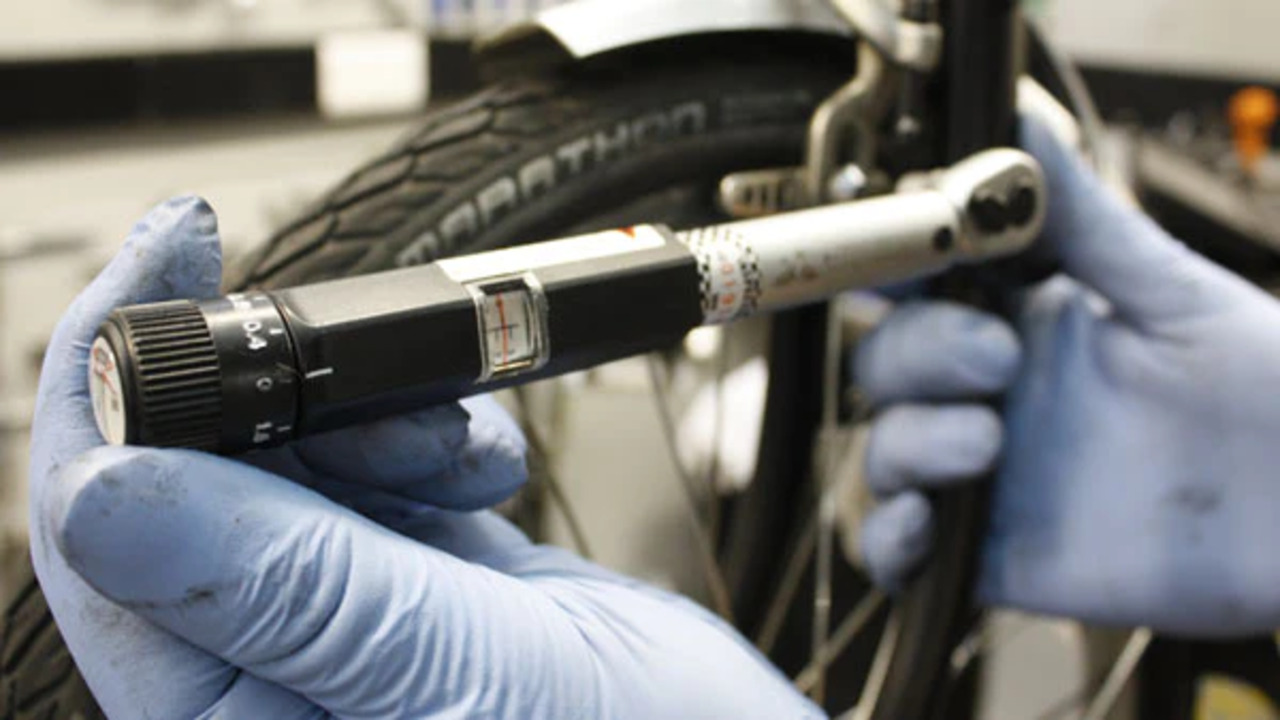
When adjusting the fender height on a mountain bike, it is important to have the right tools. The most important tools you’ll need are a set of hex keys, a flathead screwdriver, and a ruler.
The hex keys will allow you to loosen and tighten the screws on the fender and the flathead screwdriver can be used to adjust the height of the fender. Additionally, a ruler can be used to ensure the fender is level and the height is adjusted properly. With these three simple tools, you’ll be able to adjust the fender height on your mountain bike quickly and easily.
Bike Setup

When bike setup is complete, it is important to make sure that the fender height is adjusted correctly. This is especially true for mountain bikes, as they often ride in muddy conditions, and the fender needs to be at the correct height to keep the rider dry. To adjust the fender height, you’ll need to adjust the mounting hardware on the frame. Start by loosening the bolts and sliding the mounting plate up or down so that the fender is at the desired height.
Be sure to check that the fender is securely attached to the mounting hardware, and that it won’t move around while riding. Once the fender is in place, tighten the bolts to keep it securely in place. Finally, check the alignment of the fender and make sure that it is parallel to the ground. Adjusting the fender height can be a tricky task, but following these steps will ensure that your bike is set up correctly and that you stay dry while riding in wet conditions.
Instructions
Adjusting the fender height on a mountain bike is a relatively simple process. First, you’ll need to locate the mounting bracket on the fork of your bike. The bracket is typically located at the top of the fork, and is held in place with one or two bolts. Once you’ve located the bracket, use an adjustable wrench to loosen the bolts.
Next, you’ll need to measure the height of the fender and make adjustments accordingly. You’ll want to make sure the fender is at least one inch above the tire, as this will help reduce mud and dirt from splashing up onto the bike. Finally, once you have the fender at the desired height, use the wrench to tighten the bolts again. With these few simple steps, you can easily adjust the height of your fenders on your mountain bike.
Adjustment

Adjusting the fender height on a mountain bike is an easy task that requires basic tools and a few simple steps. First, loosen the mounting bolts found on the fender, then adjust the height of the fender by sliding it up or down.
You can also adjust the angle of the fender by loosening the mounting bolts and gently pushing or pulling the fender. Once the desired height and angle are achieved, tighten the mounting bolts and check the tension of the fender.
If the fender is too tight or too loose, adjust accordingly. Finally, make sure the fender is securely fixed to the bike frame before you take it out for a ride. With these simple steps, you can easily adjust the fender height on your mountain bike.
Measure Height

Measuring the height of your fender is an important step in ensuring your mountain bike is properly adjusted. To begin, you’ll need a measuring tape and a ruler. Start by loosening the bolts that hold the fender in place. Once the fender is loosened, measure the distance from the ground to the top of the fender.
Make sure the tape measure is level when taking the measurement. Once you have the measurement, use the ruler to measure the desired height for the fender. Mark the spot on the ruler that corresponds to the desired height. Finally, adjust the bolts on the fender to the marked spot on the ruler. This will ensure that the fender is the correct height and secured in the right place.
Loosen Bolts
Before attempting to adjust the fender height on a mountain bike, it is important to make sure the bolts that hold the fender to the frame are loose. To do this, use a hex wrench to turn each bolt counter-clockwise until it can be easily moved up or down. Be careful not to turn the bolts too far, as this can cause them to come off completely.
Once the bolts have been loosened, you can then adjust the fender height to your desired level. Make sure to check the alignment of the fender on the frame and that the bolts are tight enough to keep the fender in place. This will ensure that the fender stays secure and the bike rides smoothly.
Adjust Height
To adjust the height of the fender on a mountain bike, you will need to first locate the set of screws or bolts that are used to attach the fender to the frame. Once these are found, loosen them slightly and then move the fender up or down to the desired height.
Once the desired height is reached, tighten the screws or bolts to secure the fender in place. It is important to make sure the screws or bolts are tight, as it will help to ensure that the fender stays in place while you are riding. You may need to make some minor adjustments to the fender height over time, but if done correctly, it should stay in place.
Tighten Bolts
Tightening the bolts is an important part of adjusting the fender height on a mountain bike. Before beginning, be sure to have the right tools on hand, including a wrench and an Allen key. Start by loosening the bolts securing the fender to the bike frame. Once the bolts are loose, carefully adjust the fender to the desired height.
Keep in mind that the fender should be parallel to the ground. Once the fender is in the right position, firmly tighten the bolts back in place. Be sure not to over tighten the bolts as this can cause damage to the frame. After that, you’re ready to hit the trails with your newly-adjusted fender.
Conclusion
This article explains how to adjust the fender height on a mountain bike. It outlines the tools needed, the steps to take, and tips to ensure the process is done safely and correctly. It also provides information on why it is important to adjust the fender height and how it can improve the overall performance of the bike. With this article, riders can confidently adjust the fender height on their mountain bike and ensure their ride is as comfortable and enjoyable as possible.
FAQ’s
1.What Tools Do I Need To Adjust Fender Height On A Mountain Bike?
Ans: To adjust fender height on a mountain bike, you’ll need a hex key wrench set, a screwdriver, and an adjustable wrench. You might also need a torque wrench to ensure that you have the right amount of tension when tightening the screws. Additionally, you may need a pliers to remove any stuck screws.
2.How Much Clearance Should I Leave Between The Fender And The Tire?
Ans: It is recommended to leave between 3/8 and 1/2 inch of clearance between the fender and the tire. Too little clearance can cause the tire to rub on the fender, resulting in damage and a reduction in performance, while too much clearance can cause the suspension to bottom out and can also cause excessive noise. It is important to check the clearance regularly to make sure it is at the correct level.
3.How Tight Should The Fender Bolts Be?
Ans: The fender bolts should be tightened firmly but not overly tight. The best way to ensure the proper tightness is to use a torque wrench and tighten the bolts to the manufacturer’s specified torque rating.
If a torque wrench is not available, the fender bolts should be tightened until they are snug, but not to the point of over-tightening them. It is important to make sure the bolts are tight enough to keep the fender secure, but not so tight that they could damage the fender or the surrounding parts.
4.Are There Any Safety Precautions I Should Take When Adjusting Fender Height?
Ans: Yes, you should take safety precautions when adjusting fender height. Make sure that the vehicle is on a flat, level surface with the parking brake engaged. Wear safety glasses and gloves while working. When jacking up the vehicle, use a jack stand to support the vehicle and ensure that it is secure before working on it.
5.Are There Any Tips For Ensuring Proper Alignment Of The Fender?
Ans: Yes, there are several tips for ensuring proper alignment of the fender. First, ensure that the fender is securely mounted to the frame of the vehicle. Second, make sure that the fender is even on both sides and that the mounting points are symmetrical. Third, check the alignment of the fender with a straight edge. Finally, use a laser alignment tool to make sure the fender is properly aligned.
