
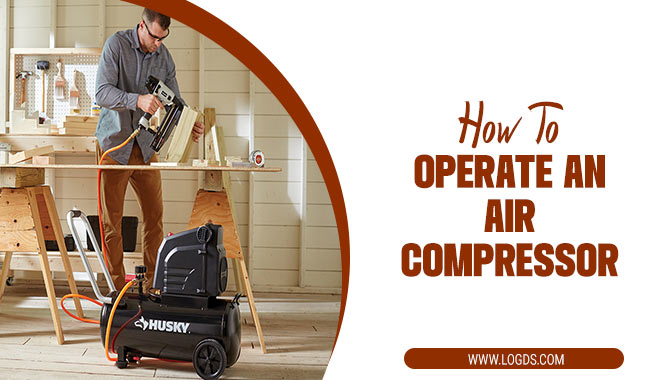
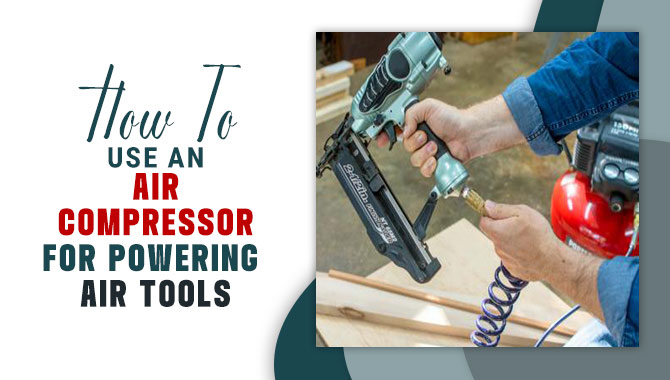
Air tools are some of the most versatile and powerful tools available to a workshop or garage. They require compressed air and can accomplish various tasks, from sanding, painting, and grinding to drilling, sawing, and hammering.
It would be best to correctly connect air tools to an air compressor to take advantage of their benefits. We’ll provide a step-by-step guide on How to Operate an air compressor. Connecting air tools to an air compressor may seem daunting, especially for those new to the process.
However, with the proper knowledge and tools, you can quickly connect your air tools to your air compressor. We’ll walk you through the process, from selecting the right fittings and hoses to connecting them to your air compressor and tools. We’ll also cover common mistakes to avoid and safety tips.

How To Operate An Air Compressor A Step-By-Step Guide
Learning air compressors can be valuable for DIY enthusiasts and professionals. The first step is to read the user manual carefully to get started. This will give you an understanding of the specific features and functions of the compressor you are using and how to operate it safely. Here we give you step-by-step 8 guidelines on How to Operate an air compressor.
Types Of Air Compressors
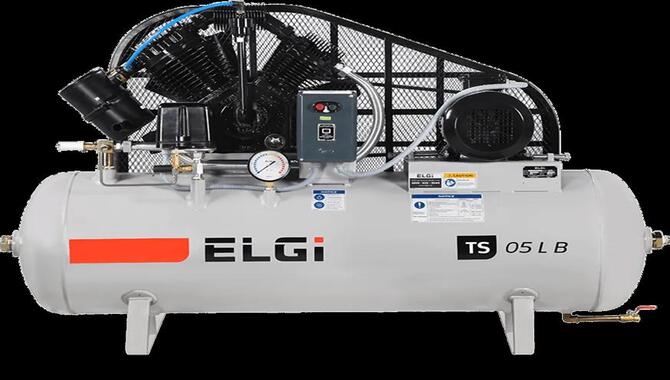
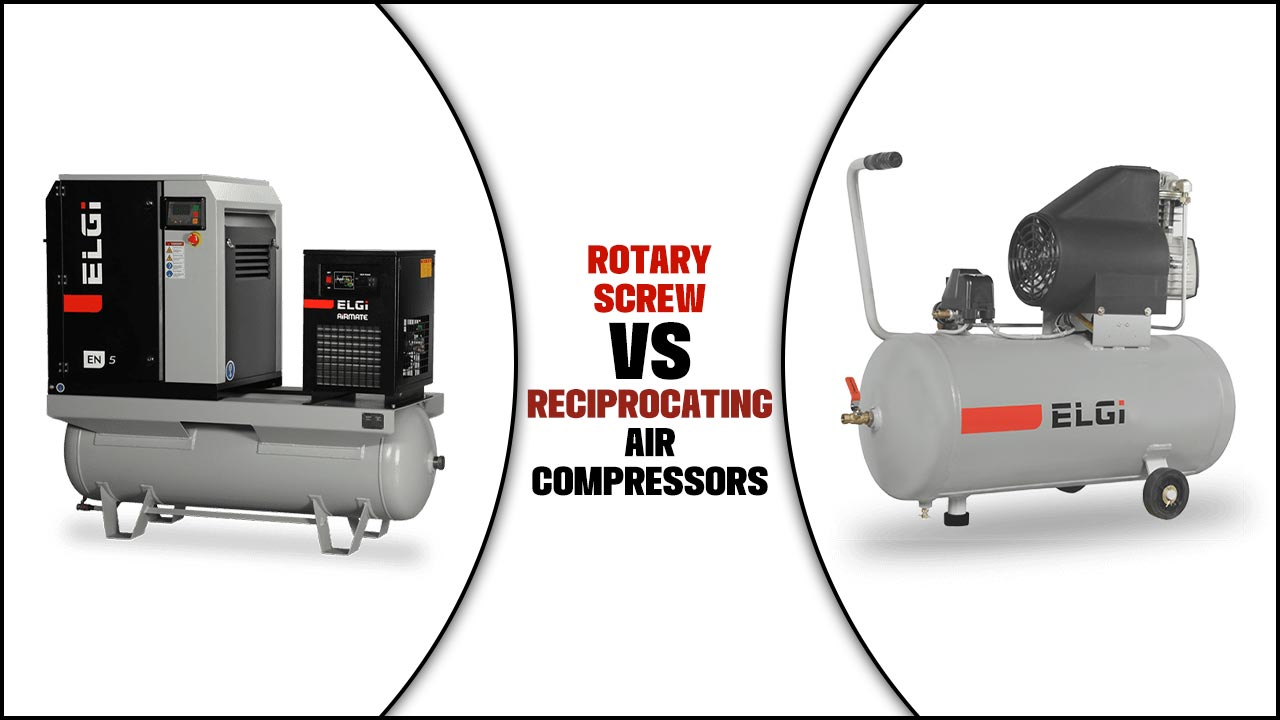
Several types of air compressors can be used for various applications. The most common types include reciprocating, rotary screws, and centrifugal compressors. Reciprocating compressors are typically used for smaller applications, while rotary screw compressors are better for continuous use in industrial settings.
Centrifugal compressors are often used for large-scale applications, such as gas pipelines or air separation plants. Choosing the right type of air compressor for your specific needs is important to ensure efficient and effective operation.
Understanding Air Compressor Components
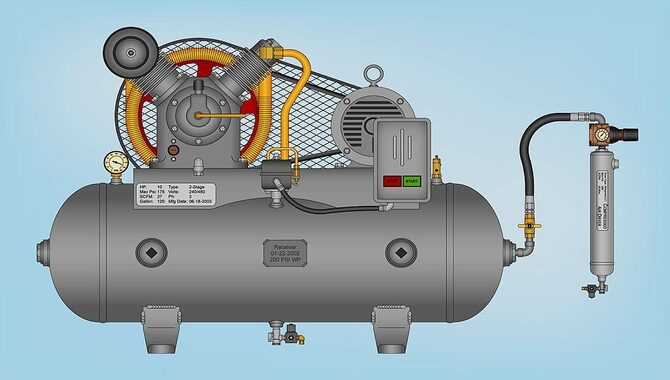
An air compressor is a machine that converts power into potential energy stored in pressurized air. To understand its components, we can break them down into several steps:
1: The first component is the motor, which provides the power source for the compressor. It can be electric or gas-powered.
2: The second component is the air intake valve, which allows air to enter the compressor.
3: The third component is the air filter, which removes any impurities or debris from the incoming air before it enters the compressor.
4: The fourth component is the compressor pump, which compresses and stores the air in the tank.
5: The fifth component is the pressure switch, which automatically turns the compressor on and off to maintain a set pressure level in the tank.
6: The final component is the tank, which stores the compressed air until it is ready to be used.
By understanding these components, you can better maintain optimal performance.
Safety Precautions To Consider Before Operating An Air Compressor
When operating an air compressor, it’s important to take certain safety precautions to avoid injury or damage. Here are some steps to follow before using an air compressor:
- Read the manufacturer’s instructions carefully and follow them closely.
- Wear appropriate safety gear, such as eye protection and earplugs.
- Ensure the air compressor is properly grounded and connected to a power source.
- Check the oil level and add oil if necessary.
- Inspect the hoses and connections for any damage or leaks.
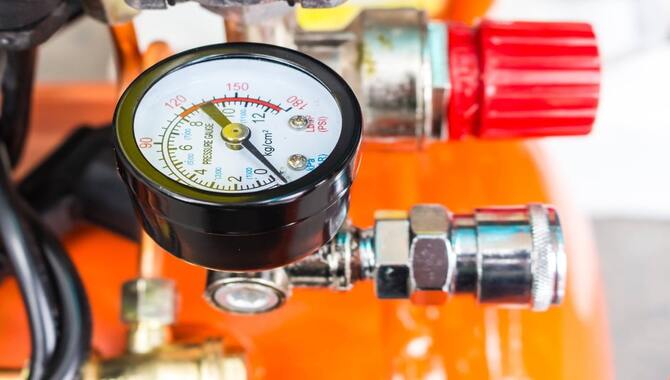
- Ensure the pressure gauge and safety release valve is working properly.
- Keep the work area clean and free of clutter.
- Never point the air compressor nozzle at anyone or use it for anything other than its intended purpose.
By following these safety precautions, you can confidently operate an air compressor.
Setting Up Your Air Compressor
Setting up your air compressor is crucial in ensuring its safe and efficient usage. First, decide on a suitable location for your compressor. A clean, dry, and well-ventilated area is ideal. Once you have found the right spot, assemble the necessary equipment, including hoses, fittings, and filters.
Remember to check the recommended pressure for your equipment and adjust your compressor accordingly. Before connecting your compressor, release any air pressure that may have built up during transport. Next, connect the air hose to the compressor outlet and secure it using a hose clamp.
Don’t over-tighten the clamp, as this may damage the hose. Then, connect the other end of the hose to your equipment using the appropriate fittings. Finally, turn on the compressor and adjust the pressure regulator to match your equipment’s requirements.
Starting And Stopping Your Air Compressor
Starting and stopping your air compressor may seem simple, but following the correct steps is important to ensure optimal performance and safety.
To start, make sure the compressor is plugged in, and the power switch is in the off position. Check the oil level and add more if necessary. Turn the regulator knob to the left to decrease the air pressure and attach your air tool. Next, turn the power switch on and wait for the compressor to reach maximum pressure. Once it reaches this point, turn the regulator knob to the right to increase the air pressure to your desired level.
Turn the regulator knob to the left to release the air pressure when stopping your air compressor. Then, turn the power switch off and unplug the compressor. It’s important to let the compressor cool down before storing it away. Make sure to drain any excess moisture from the tank and clean any debris from the intake vents. By following these steps, you can ensure longevity and effectiveness.
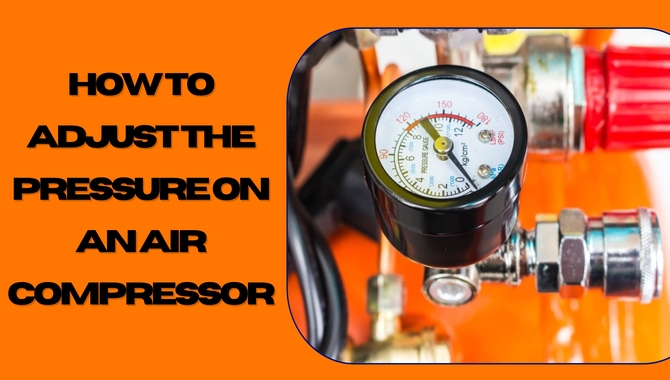
Adjusting Air Pressure
It is important to adjust the air pressure to the correct level for optimal performance and safety. The first step in adjusting air pressure is to check the manufacturer’s recommended pressure range, usually found on a sticker or label on the equipment. Now we can change the air pressure step by step:
1: Check The Recommended Air Pressure
Before adjusting the air pressure, refer to the manufacturer’s guidelines or the specific recommendations for the equipment you’re working with. This information is typically found in the owner’s manual or on a label attached to the equipment.
2: Gather The Necessary Tools
You’ll need a tire pressure gauge or a pressure adjustment tool specific to your equipment to adjust air pressure. Make sure you have the appropriate tool before proceeding.
3: Prepare The Equipment
If adjusting the air pressure in a tire, park the vehicle on a flat surface and engage the parking brake. For other equipment, ensure it is safely secured and turned off before starting the adjustment process.
4: Remove The Valve Cap
Remove the valve cap from the tire’s valve stem if you’re adjusting the air pressure in a tire. The valve stem is typically located on the wheel.
5: Check The Current Air Pressure
Press a tire pressure gauge, or the pressure adjustment tool firmly onto the valve stem to get a reading of the current air pressure. The indicator will provide a numerical reading in PSI (pounds per square inch) or another unit of measurement.
6: Add Or Release Air
To increase the air pressure, use an air compressor or a manual pump to add air to the tire or equipment. If the pressure is too high, you can release air by gently pressing the valve stem’s centre pin until the desired pressure is reached.
7: Recheck The Air Pressure
After adjusting the air pressure, reattach the tire’s valve cap or ensure the valve stem is closed. Then, again use the gauge or adjustment tool to check the pressure.
8: Repeat For All Tires Or Equipment
If you’re adjusting the air pressure in multiple tires or equipment, repeat steps 4 to 7 for each one individually. It’s important to adjust the pressure of each tire or equipment separately since they may have different recommended levels.
Step 9: Maintain Proper Air Pressure
Regularly check the air pressure of your tires or equipment to ensure they remain at the recommended level. Changes in temperature and usage can affect air pressure, so it’s a good practice to monitor and adjust as necessary.
Remember, if you’re unsure or uncomfortable performing these steps, consult a professional or refer to the specific instructions provided by the manufacturer.
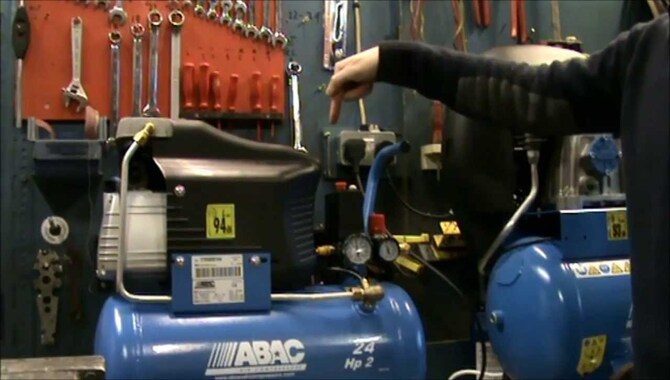
Connecting Your Air Tools
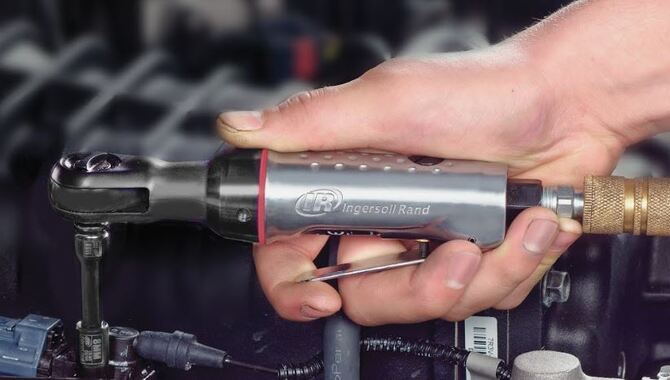
Connecting your air tools to your air compressor ensures efficient and effective operation. To begin, you’ll need to determine the appropriate fitting size for your air tools. This will typically be either 1/4 inch or 3/8 inch.
Once you know the fitting size, select the appropriate adapter or coupler to connect your tool to the air hose. These adapters and couplers typically come in various materials, including brass and steel, and can be found at most hardware stores or online retailers.
When connecting your air tool to the adapter or coupler, ensuring the connection is secure and tight is important. A loose connection can result in reduced air pressure or even air leaks, which can negatively impact the performance of your tool. It’s also important to ensure the air hose is long enough to reach your workspace without causing twists that could restrict airflow. Finally, it’s important to regularly check and maintain your air tools to
Operating Your Air Compressor
To operate your air compressor, follow these steps:
- Before turning on the compressor, ensure it is plugged in and properly grounded.
- Check the oil level and add oil if needed, following the manufacturer’s instructions.
- Close the drain valve at the bottom of the tank.
- Turn the pressure regulator knob to the desired pressure level.
- Turn on the compressor and let it run until it reaches the set pressure.
- Attach the air hose to the compressor’s outlet valve.
- Use the air tool or accessory as needed.
- When finished, turn off the compressor and release any remaining pressure from the tank by opening the drain valve.
- Store the compressor and accessories in a safe and dry place.
It’s important to monitor the pressure gauge while using your air compressor to ensure that you are not overworking the motor or exceeding the maximum pressure rating of your tools. When you finish using your air compressor, please turn it off and disconnect.
Maintaining Your Air Compressor
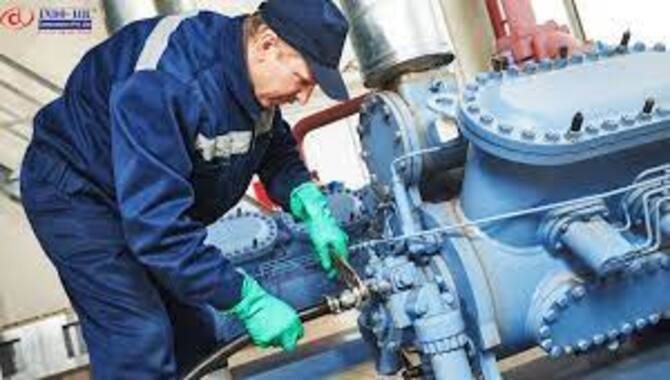
Maintaining your air compressor is crucial to ensure its optimal performance and longevity. Regular maintenance can help to prevent costly repairs and replacements in the future. One of the most important things you can do to maintain your air compressor is regularly changing the oil and filter.
This will help to keep the compressor running smoothly and reduce wear and tear on its parts. Another important maintenance task is to clean or replace the air filter. A dirty air filter will reduce the efficiency of the compressor and can cause it to overheat. You should also check the belts and hoses regularly to ensure they are tight and in good condition. Loose or worn belts and hoses can cause the compressor to work harder and lead to premature failure.
Additionally, it’s important to drain the tank of moisture regularly to prevent rust and corrosion. Neglecting to do so can lead to costly repairs or even a complete compressor breakdown. Following these simple maintenance tips ensures that your air compressor has run smoothly and reliably for years.
Troubleshooting Common Problems
Air compressors are essential in many industrial and DIY settings, providing a reliable compressed air source for various applications. However, like any equipment, they can develop faults and issues that require troubleshooting.
Low or no pressure is one of the most common troubleshooting for air compressors. This can result from a clogged air filter, leaky hoses, or worn-out parts such as valves and gaskets. Regularly checking and cleaning the air filter can prevent blockage and ensure proper airflow.
Inspecting hoses for leaks and tightening connections can help maintain steady pressure. Another common issue is overheating, which can be caused by low oil levels or dirty cooling fins. Regular oil changes and cleaning of the compressor’s cooling system can prevent overheating and extend the machine’s lifespan.
Other common troubleshooting for air compressors includes unusual noises, vibrations, and inconsistent pressure. Identifying the cause of these issues requires a thorough inspection of the system’s components and could involve replacing damaged parts.
Conclusion
Knowing How to Operate an air compressor is a crucial task that requires attention to detail and precision. By following the steps outlined in this article, individuals can ensure they use their air tools safely and efficiently.
It is essential to select the appropriate fittings and hoses and regularly inspect and maintain all equipment for optimal performance. With proper care and attention, air tools and compressors can provide reliable service for years, making them an essential investment for any DIY enthusiast or professional.
FAQs
1.What Are The Key Components Of An Air Compressor System For Powering Pneumatic Tools?
Ans: The key components of an air compressor system for powering pneumatic tools include:
- Air compressor unit
- Tank.
- Regulator.
- Pressure gauge.
- Air filter.
- Hose and fittings.
2.How Do Air Compressor Tools Work?
Ans: Air compressor tools work by using compressed air to power various mechanical devices.
3.What Is The Advantage Of Compressed Air In A Pneumatic System?
Ans: The advantage of compressed air in a pneumatic system is that it is a clean, safe, and easily accessible power source that can control machines and equipment with precision and speed.
4.Why Use Compressed Air To Power Tools?
Ans: Compressed air is used to power tools because it is a safe, clean, and efficient energy source. Compressed air tools are also lightweight, easy to handle, and can use in various industrial, construction, and automotive applications.
5.How Much Psi Is For Pneumatic Tools?
Ans: The psi for pneumatic tools can vary depending on the tool and application but generally ranges from 70 to 120 psi.