

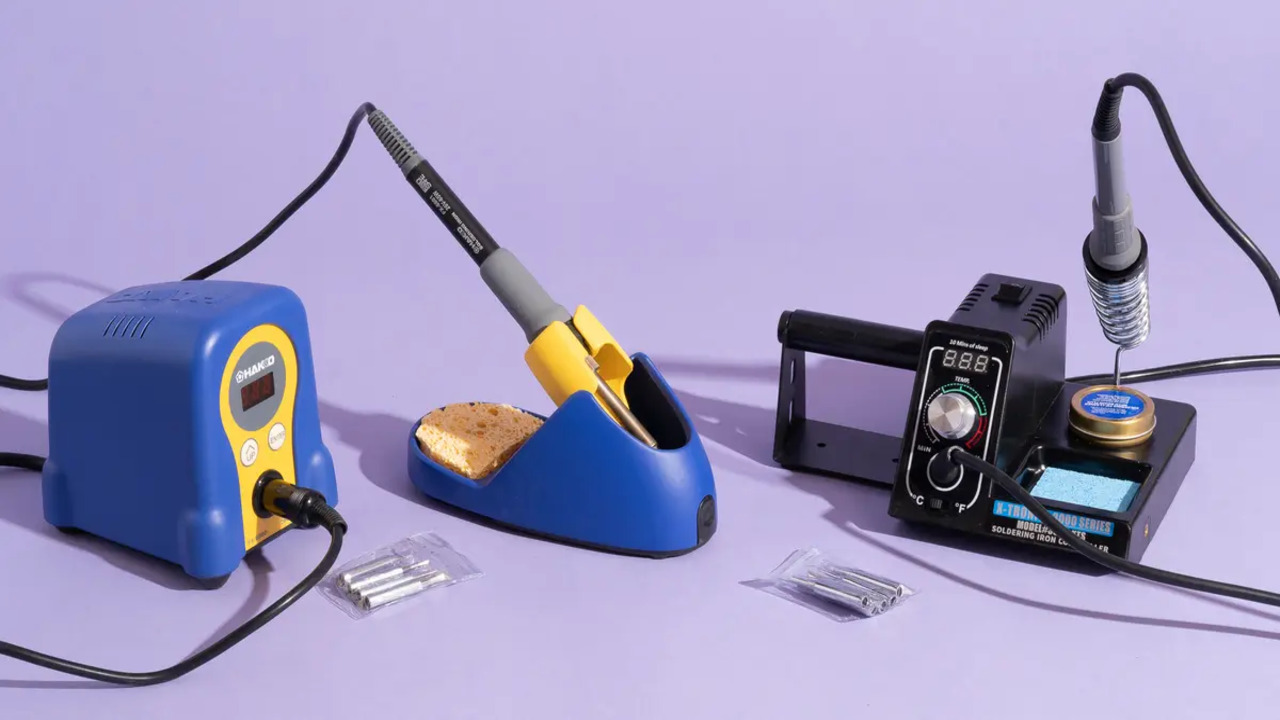
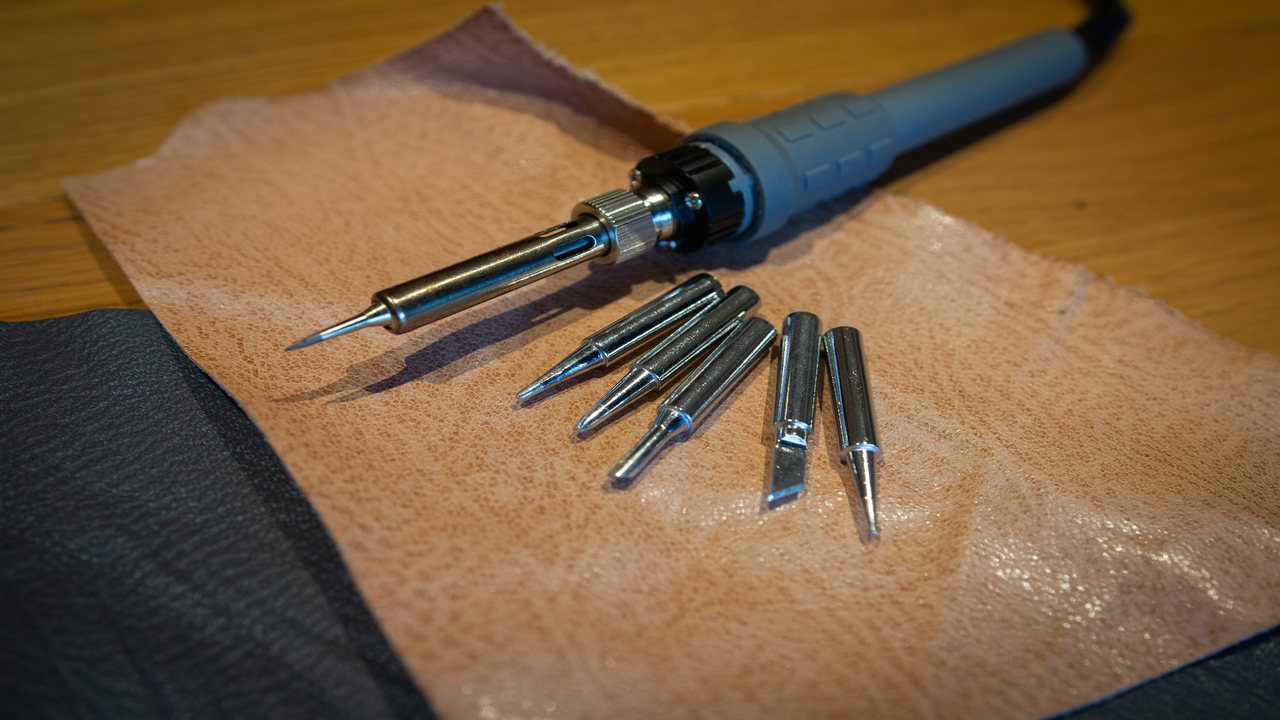
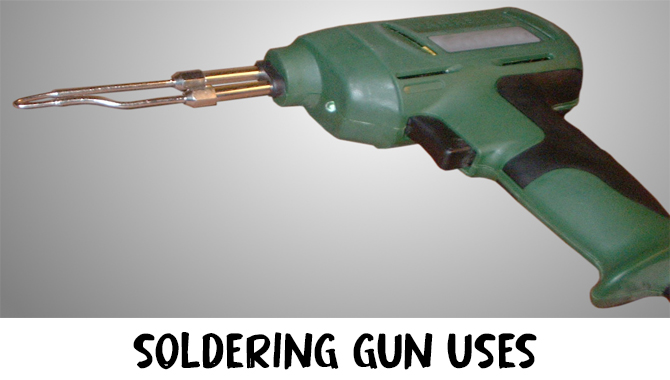
Soldering is an essential technique in electronics that involves joining components using solder. It creates reliable connections. You need a soldering iron, solder, and other equipment.
Safety precautions like wearing protective eyewear and working in a well-ventilated area are crucial. Follow step-by-step instructions to solder components properly, avoiding mistakes like excessive heat or unclean surfaces. Using flux and tinning your iron tip can improve your soldering results.
Here we will walk you through the step-by-step process of how to solder without soldering station sponge holder. So grab your soldering iron and get ready to learn some handy hacks that will make your DIY projects even more enjoyable. Let’s dive in.

How To Solder Without Soldering Station Sponge Holder Step By Step Guide
Soldering without a sponge holder offers numerous benefits. Firstly, it provides flexibility and convenience during the soldering process. Additionally, it saves valuable space on your workbench by eliminating the need for a separate sponge holder. Moreover, it reduces the risk of burning or damaging your soldering iron by preventing prolonged contact with a damp sponge. Here we provide step by step guide on how to solder without soldering station sponge holder
1.Gather Your Materials
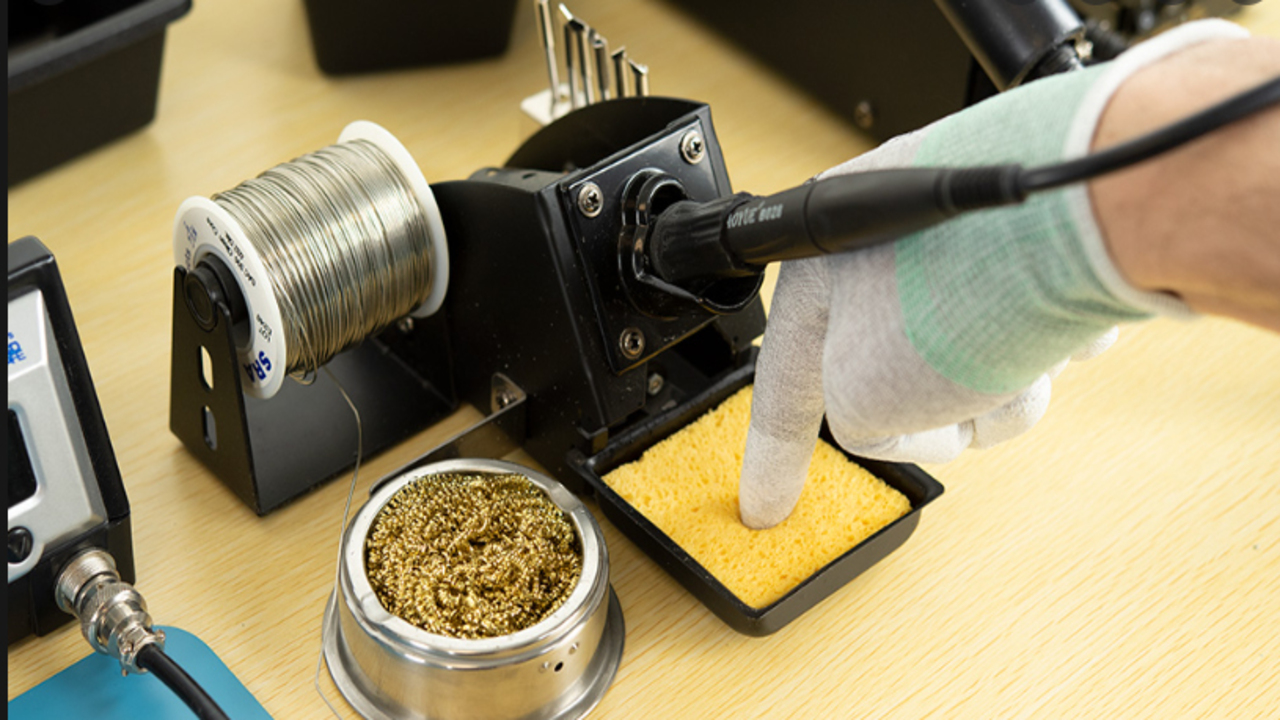
Gather the necessary materials before you start soldering without a soldering station sponge holder. You will need a soldering iron, a wet sponge or dishcloth, and a heat-resistant surface or stand to hold the soldering iron. Wet the sponge or dishcloth until it is damp but not dripping wet. This will be used to clean the soldering iron tip during the soldering process.
Place the wet sponge or dishcloth on a heat-resistant surface or stand near your work area. When cleaning the soldering iron tip, gently press it into the damp sponge or dishcloth and move it in circular motions to remove any excess solder or debris. After cleaning the tip, wipe it on a dry cloth or paper towel to remove any remaining moisture before continuing your soldering project. Remember to unplug the soldering iron and allow it to cool down before storing it
2.Prepare Your Workspace

To ensure a safe and efficient soldering process, it is essential to prepare your workspace correctly. First, clear away any clutter or flammable materials that may pose a risk. Next, place a fire-resistant surface beneath your soldering area, such as a ceramic tile or metal tray. This will protect your work surface and prevent accidental fires. Have a damp sponge or cloth nearby to clean your soldering iron tip and remove any oxidation buildup.
Ensure all necessary tools and materials, including soldering wire, flux, and heat-resistant gloves, are within reach. Good ventilation is essential to avoid inhaling fumes, so ensure the area is well-ventilated. Lastly, double-check that your soldering iron is in good working condition and heated adequately before beginning your soldering project.
3.Clean The Soldering Iron Tip
To ensure optimal heat transfer and proper solder flow, cleaning the soldering iron tip before soldering is crucial. While a damp sponge or sponge holder found on soldering stations is the typical method, alternative techniques are available. You can gently wipe the tip with a wet paper towel or cloth. A brass wire brush or steel wool can also be used to scrub away oxidation and residue. Remember to exercise caution and be gentle to avoid any damage to the tip.
4.Tin The Soldering Iron Tip
To ensure proper soldering, clean your iron thoroughly, removing any oxidation or debris. Heat the iron to the desired temperature and then apply a small amount of solder to the tip, known as tinning. This improves heat transfer and solder flow. After tinning, wipe off any excess solder on a damp sponge or cloth. Now you’re ready to begin soldering your components or joints. Clean the tip after each solder joint to remove any leftover solder or flux residue.
5.Secure Your Workpiece
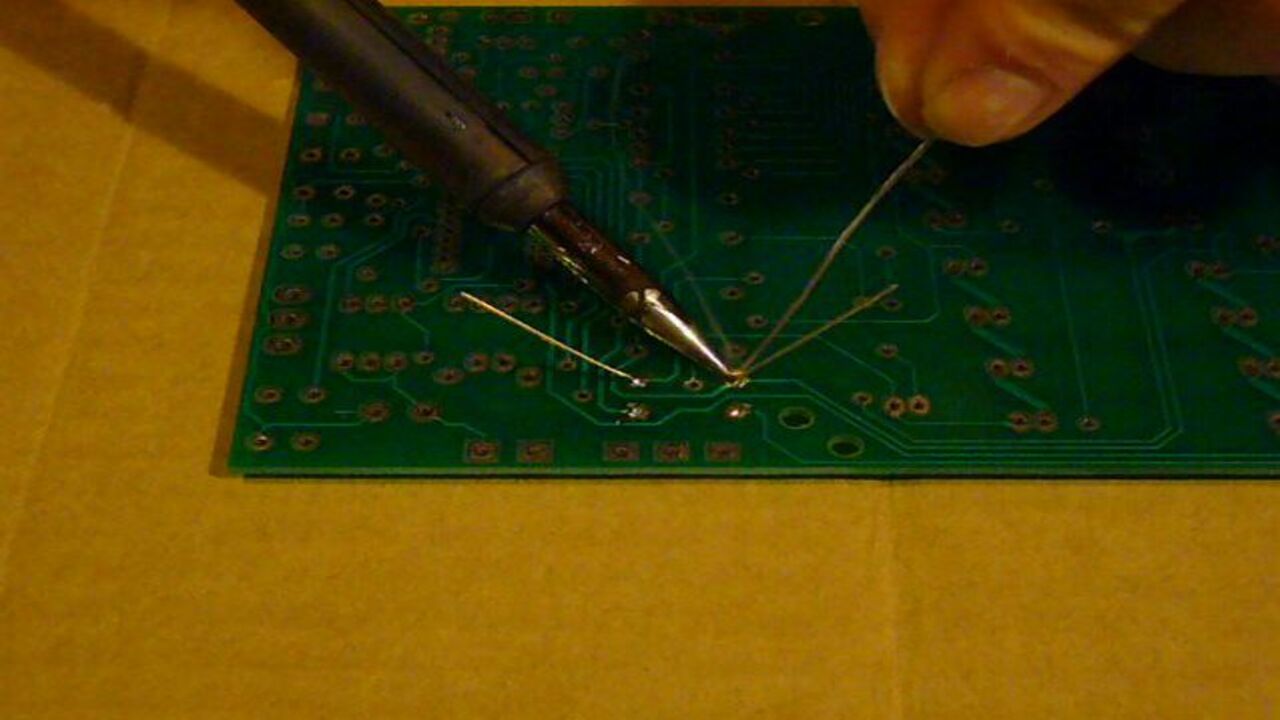
To ensure a stable surface for soldering and minimize the risk of accidents or damage, it’s essential to clamp or hold your workpiece in place securely. Use clamps or a vice to firmly secure the workpiece, ensuring it doesn’t move during the soldering process.
Protect any sensitive surfaces or objects nearby from heat or solder splatter by using heat-resistant materials like silicone mats or fireproof pads. By taking these precautions, you’ll create a safe workspace and have greater control over your soldering project.
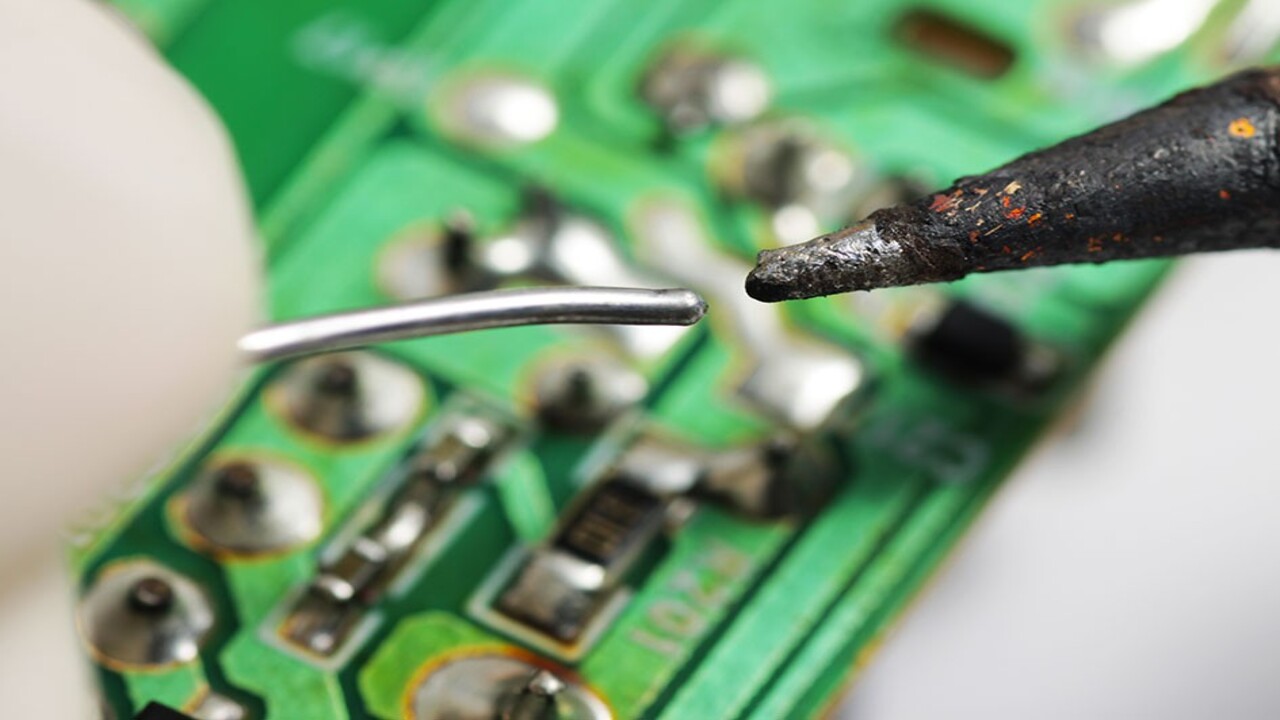
6.Heat The Solder Joint
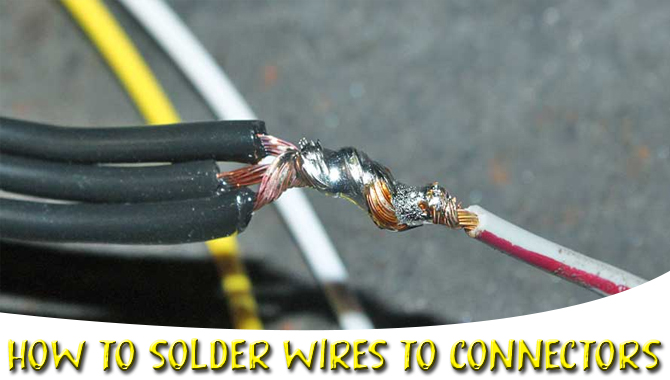
You can use a soldering iron or a heat gun to heat the solder joint. Before heating, applying flux to the joint is essential to ensure proper adhesion. Next, hold the solder wire against the joint and touch it with the heated soldering iron or heat gun. The solder will melt and flow onto the joint, creating a solid bond.
After soldering, clean any excess flux and solder residue from the joint using a damp sponge or cloth. Finally, inspect the joint to ensure it is appropriately soldered and secure.
7.Apply Solder
To apply solder, start by applying soldering flux to the area you want to solder. This will clean the surface and improve the flow of solder. Next, heat your soldering iron or pencil until it reaches the desired temperature. Hold the solder wire and the soldering iron with one hand.
Touch the tip of the soldering iron to both the component and the wire you want to join together. Once heated, touch the solder wire to the joint and let it melt onto the surface. Move the solder wire along the joint, allowing it to flow and evenly cover the connection.
8.Remove Excess Solder

You can use a solder wick or solder sucker to remove excess solder from a joint. Heat the joint with the soldering iron and apply the solder wick or sucker to absorb the melted solder.
This process can be repeated until all excess solder is removed. You can use a flux pen or paste to ensure proper solder flow and improve joint cleanliness. Afterwards, apply fresh solder to the joint, ensuring it flows evenly and creates a strong bond. Finally, clean the joint with isopropyl alcohol and a cotton swab to remove residue.
9.Clean The Soldering Iron Tip
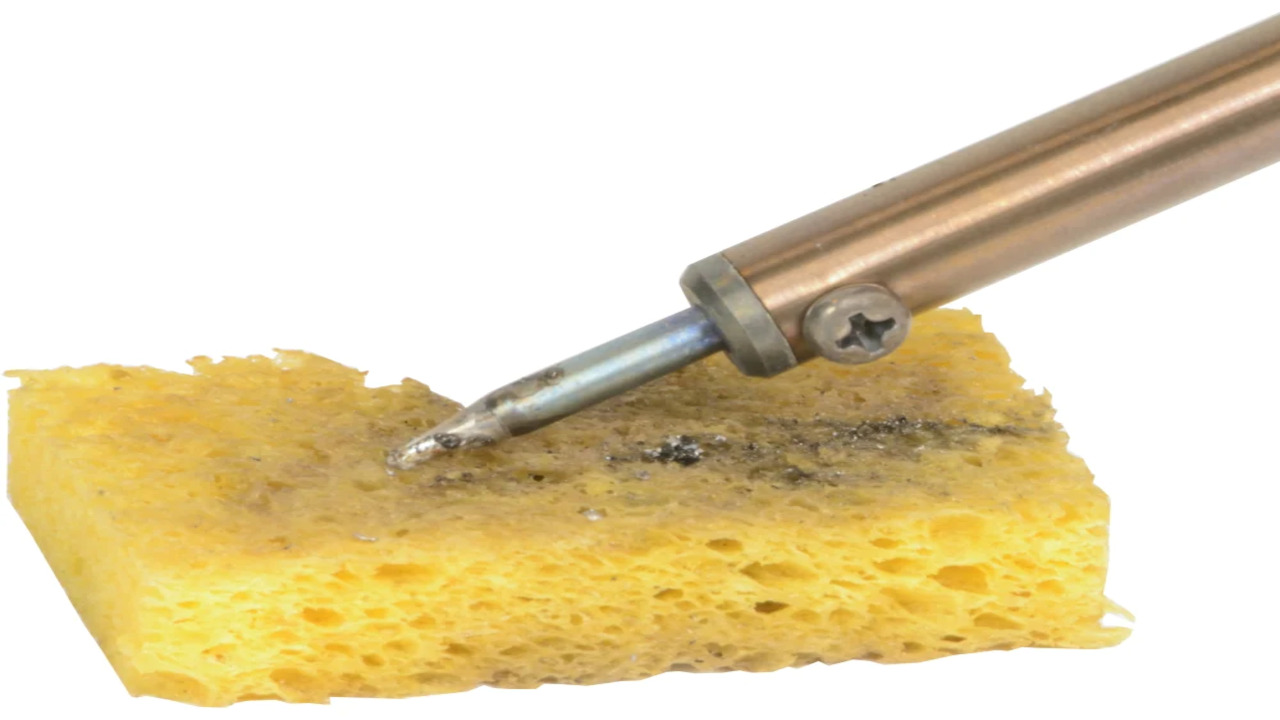
To ensure a successful soldering process, cleaning the soldering iron tip before you begin is crucial. Use a damp sponge or cloth to remove dirt, oxidation, or old solder from the tip. If you don’t have a sponge holder, place a wet sponge or cloth on a heat-resistant surface.
Wash the soldering iron tip against the damp sponge to remove any residue. Repeat this process during soldering to keep the tip clean and prevent oxidation. Regularly cleaning the soldering iron tip promotes good heat transfer and ensures optimal soldering results.
10.Repeat The Process
To repeat the soldering process, ensure you have a wet sponge or paper towel nearby your soldering area. Utilize the damp sponge or paper towel to wipe your soldering iron tip after each use, eliminating any excess solder and maintaining a clean tip.
Alternatively, a slightly damp cloth or kitchen sponge can be used, but beware of excessive moisture as it may damage the soldering iron. Always tin your soldering iron tip before each use to optimize heat transfer and prevent oxidation.
Conclusion
While it is possible to solder without a soldering station sponge holder, following the proper techniques and taking necessary precautions is essential. Start by gathering all the required materials and setting up your workspace.
It is crucial to clean and tin the soldering iron tip before starting to ensure a successful solder joint. Secure your workpiece, heat the solder joint, apply solder, and remove any excess. Remember to clean the soldering iron tip after each use and repeat the process for optimal performance. Hope the above outline on how to solder without soldering station sponge holder will help you to Enhance your soldering skill.
Frequently Asked Questions
1.What Can I Use Instead Of A Sponge For Soldering?
Ans: There are alternatives if you don’t have a sponge for cleaning the soldering iron tip. Try using a brass wire scrubber, wet paper towels, cellulose sponges, or a copper scouring pad. These options effectively clean the tip without water.
2.Do You Need A Sponge When Soldering?
Ans: Using a sponge when soldering is highly recommended. It helps clean the soldering iron tip and remove excess solder, resulting in better heat transfer and improved solder joints. Ensure the sponge is damp, not soaking wet, to avoid damaging the soldering iron.
3.Should I Wet The Sponge For Soldering?
Ans: Wetting the sponge is crucial for successful soldering. It helps clean the iron tip, remove excess solder, and maintain temperature. However, be cautious not to oversaturate the sponge, as excessive water can damage the iron.
4.Can I Use My Iron Or An Ironing Board For This Purpose?
Ans: Using a regular iron or an ironing board for soldering is not recommended. Soldering requires precise temperature control, which may not be possible with these tools. Moreover, using them can pose safety risks and potentially damage the surface. Investing in a soldering station or a dedicated soldering iron for proper soldering work is best.
5.Why Is It Necessary To Solder Without Soldering Station Sponge Holder?
Ans: Soldering without a soldering station sponge holder can pose certain challenges. The sponge holder, typically found in soldering stations, serves as a convenient tool for cleaning the soldering iron tip during the soldering process.
