
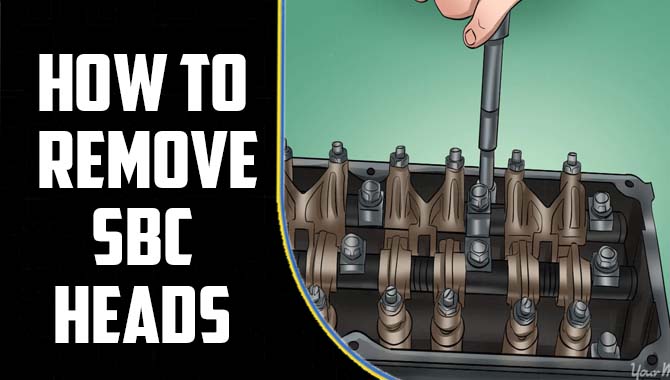
How to remove SBC heads can be daunting, especially for those new to the world of automotive repair. We have given you some steps to help you remove SBC heads.
With the right tools and approach, it is certainly achievable for anyone wishing to take on the challenge. Whether you’re looking to replace a damaged head, upgrade to a higher-performance head, or simply perform routine maintenance, successfully removing your SBC heads is crucial to achieving a smooth-running engine.
This blog post provides a step-by-step guide on removing SBC heads, including a list of necessary tools and safety precautions. We’ll cover everything from draining the coolant to removing the rocker arms, pushrods, and head bolts, ensuring you have everything you need to complete the process easily and safely.

What Are SBC Heads
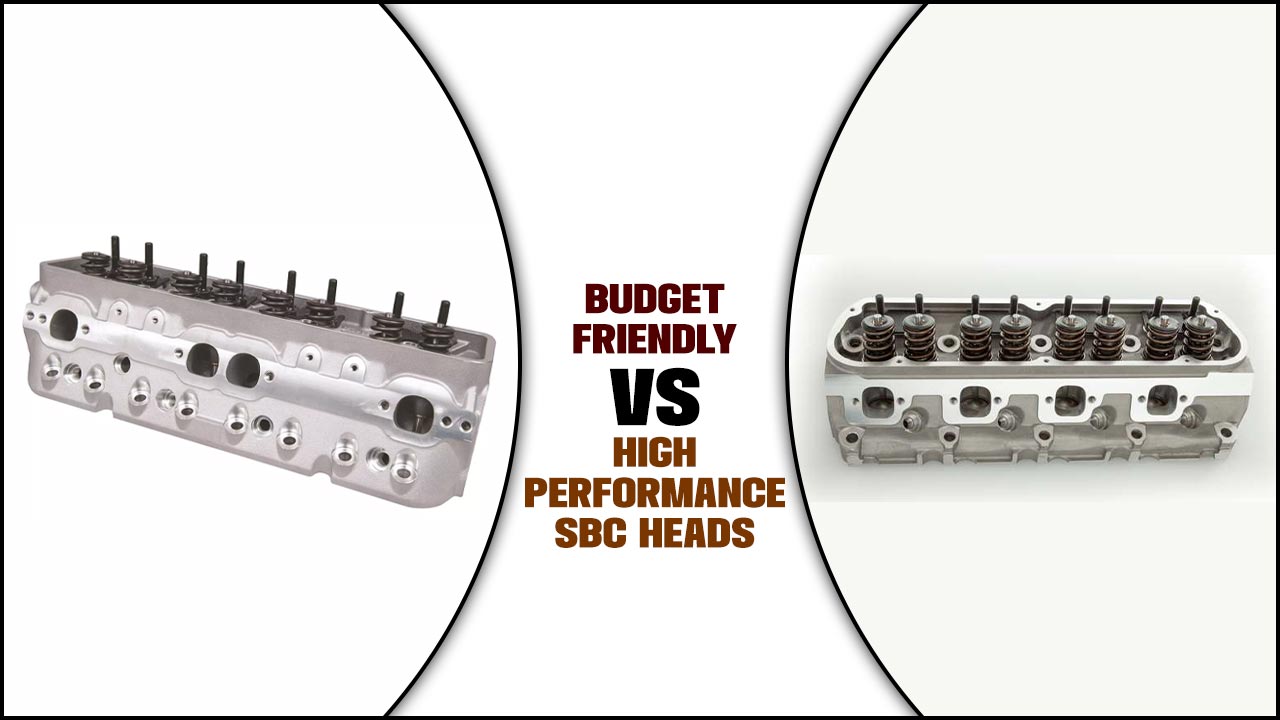
SBC heads, known as Small Block Chevy heads, are an important high-performance engine component. These heads are designe to fit onto a Small Block Chevy engine block. A popular choice among hot rodders and racers. Depending on the application, SBC heads vary in size, shape, and material. Some is designe for maximum airflow and power, while others is built for reliability and longevity.
One of the key features of SBC heads is their ability to allow more air and fuel to flow into the engine, which results in increased power and torque. This is achieve through larger intake and exhaust ports and high-flow valves and ports. Additionally, SBC heads mille or machined to increase their compression ratio, improving horsepower.
Tools To Remove SBC Heads
- Socket Set: A socket set with various sizes will be essential for removing and reinstalling bolts and fasteners.
- Wrenches: Combination or adjustable wrenches will be needed for loosening and tightening bolts.
- Gasket Scraper: A gasket scraper or razor blade scraper must remove the old gasket material from the cylinder head and engine block surfaces.
04Torque Wrench: A torque wrench is essential for adequately tightening the head bolts to the manufacturer’s specified torque settings during reassembly.
- Head Bolt Socket: A specialized head bolt socket designed to fit the specific size and shape of the head bolts is crucial for easy removal and installation.
- Rocker Arm Removal Tool: A rocker arm removal tool allows for the easy removal of the rocker arms and pushrods without damaging them.
- Pry Bar: A pry bar or a large screwdriver can gently pry the cylinder head away from the engine block during removal.
- Magnetic Pick-up Tool: A magnetic pick-up tool helps retrieve dropped bolts, washers, or other small metal objects that may be difficult to reach.
- Engine Hoist or Lift: An engine hoist or lift may be required to safely support and lift the engine to provide clearance for removing the cylinder heads.
How To Remove SBC Heads – Step-By-Step Guide
How to remove SBC heads step-by-step here are give you. You’ve come to the right place. Removing SBC (Small Block Chevy) heads can seem daunting, but with the right tools and a little patience, it’s a task that most DIY mechanics can accomplish.
The first step in this process is to ensure the engine is cool and the battery is disconnecte. After that, you’ll want to remove the valve covers, rockers, and pushrods. Once this is done, remove the intake manifold and exhaust headers.
With these components removed, you can remove the head bolts and lift the heads off the engine block. It’s important to remember that SBC heads can be heavy, so you’ll want to have a friend or helper on hand to assist you with this task.
Step 01. Preparation
Preparation is key when it comes to tackling any engine repair project. One common repair many mechanics encounter is removing SBC (small block Chevrolet) heads. This requires a careful approach and attention to detail. Before starting, it’s essential to gather all necessary tools and materials, including a torque wrench, socket set, gasket scraper, and new head gaskets.
Once you have everything on hand, disconnect the battery and drain the coolant. Then, remove the valve covers and the rocker’s arms. From there, loosen the head bolts in a specific pattern and remove them altogether.
The heads should then be carefully lift off of the engine block, taking care not to damage the gasket surfaces. Once the heads are remove, inspecting them for any signs of damage or wear is essential. They are sent to a machine shop for resurfacing or repairs. You can access the pistons and cylinders with the heads removed for further inspection and repairs.
Step 02. Drain The Coolant
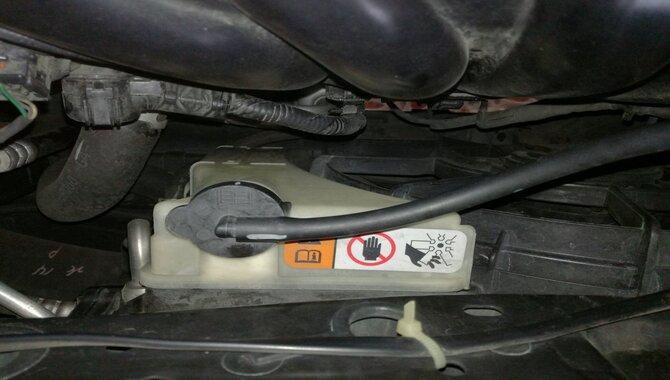
When performing maintenance on your engine, certain tasks may seem daunting, such as removing the SBC heads. One of the first steps in this process is draining the engine’s coolant. This is important because if the coolant is not draine before removing the heads, it can spill into the engine and cause damage to other components.
To drain the coolant, locate the drain plug on the bottom of the radiator and open it up. You may also need to remove the radiator hose for all the coolants once the coolant has been draine. You can remove the SBC heads. This is a delicate process that requires precision and attention to detail. It is important to ensure all bolts and components are remove carefully and in the correct order.
Step 03. Remove The Intake Manifold
When it comes to performing maintenance on a small-block Chevy engine. There are a few key steps that need to be taken to ensure proper function. One of these steps is removing the intake manifold before removing the SBC heads.
The intake manifold sits atop the engine block and distributes air and fuel to the cylinders. To access the heads, the manifold must remove first. This is daunting, as many bolts and connections must be loose and disconnected to remove them.
However, it accomplished easily with the right tools and patience. Once the intake manifold is remove, the next step is to remove the SBC heads.
Step 04. Disconnect Exhaust Headers
Disconnecting the exhaust headers can be necessary when performing certain repairs or modifications on a vehicle. The exhaust headers collect the exhaust gases from the engine and channel them through the exhaust system.
Depending on the make and model of the vehicle, the exhaust headers may be bolted directly onto the engine block or attached to a separate exhaust manifold. In either case, disconnecting the headers involves removing the bolts that secure them to the engine.
You may need to disconnect the exhaust headers if replacing the engine or performing major engine repairs. Remove the engine from the vehicle, disconnect all components attached to it, including the exhaust headers.
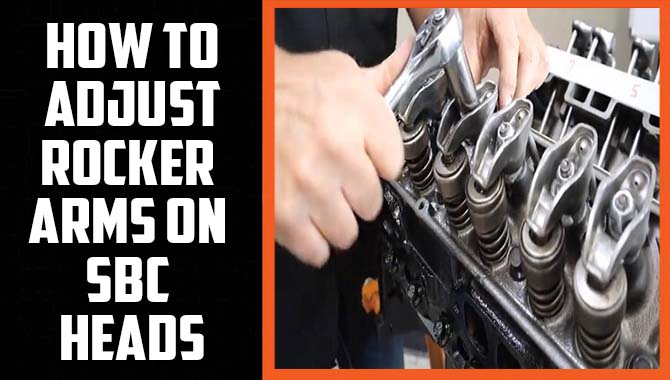
Step 05. Remove The Rocker Arms And Pushrods
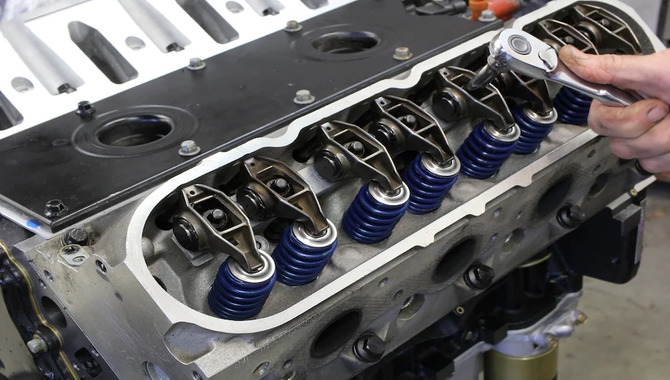
Removing the rocker arms and pushrods may be necessary when working on an engine. These components are responsible for opening and closing the valves in the engine. You’ll need to locate the rocker arm assembly first to remove them. This can typically be found on top of the cylinder head.
Once you’ve located it, loosen the bolts securing the cylinder head’s rocker arm assembly. You’ll then need to remove the rocker arms from the assembly carefully. Keeping all components organised is essential so they can be easily reassembled later.
After removing the rocker’s arms, you must remove the pushrods. These can typically be pulled out by hand once the rocker’s arms have been removed. Again, keeping all components organised is essential to easily reassemble once you’ve removed the rocker arms and pushrods.
Step 06. Loosen Head Bolts
It is crucial to loosen head bolts correctly when working on an engine. Failure to do so can result in costly damages to the engine. Loosening head bolts can be a tedious task that requires patience and attention to detail.
The process involves using a torque wrench to loosen the bolts in a specific order, starting from the centre and working towards the outside. Ensuring the torque settings are correct is essential, as over-tightening or under-tightening can have negative consequences. Over-tightening can cause the bolts to break while under-tightening can result in coolant leaks or blown head gaskets.
Before loosening the head bolts, ensuring the engine is cold and the coolant has been drained is also essential. This will prevent any accidents or injuries. Replacing the head gasket and bolts if worn or damaged is also advisable.
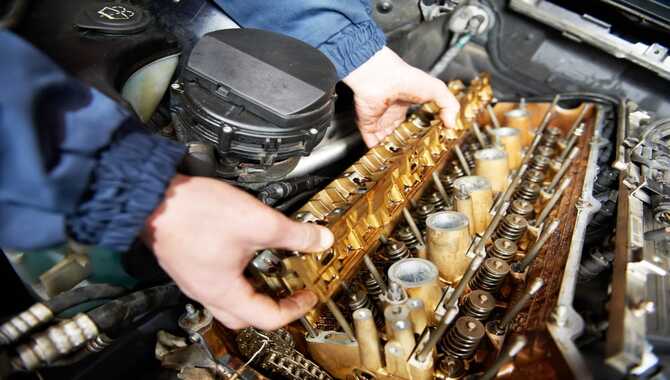
Step 07. Remove The Cylinder Head
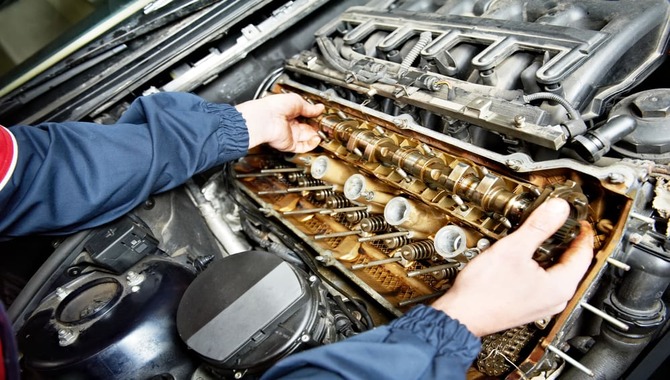
Removing the cylinder head is a complex and delicate process that requires precision and expertise. It is an essential step in the engine rebuilding process, allowing you to access the valves, pistons, and other crucial engine components.
However, it’s not something that you should attempt unless you have the proper tools and knowledge. To remove the cylinder head, you must carefully disconnect all components, such as the spark plugs, hoses, and electrical connections.
Once you have disconnected all the components, you must loosen the cylinder head bolts. This is a critical step, as you don’t want to damage the bolts or the threads that hold them in place. According to the manufacturer’s specifications, you must use a torque wrench to carefully loosen each bolt in the correct sequence.
Step 08. Clean The Gasket Surfaces
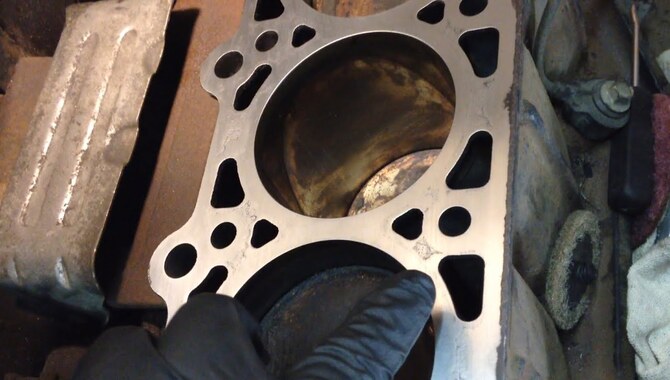
When repairing or replacing engine components, it’s important to ensure that all surfaces are clean and debris-free. This is particularly true for gasket surfaces, which form a seal between two components to prevent leaks. Any dirt, grime, or residue on these surfaces can compromise the integrity of the gasket and lead to leaks or other problems.
It’s best to use a high-quality degreaser and a clean rag or brush to clean the gasket surfaces. Remove loose debris with a dry cloth, then apply the degreaser to the surface. Allow it to sit briefly to break down any stubborn grime, then wipe it clean with a fresh rag.
Repeat this process as needed until the surface is immaculate. It’s also important to ensure the surface is dry before installing a new gasket.
Some Mistakes In Removing SBC Heads
Removing SBC (small block Chevy) heads can be difficult and time-consuming. Even the most experienced mechanics can make some mistakes during the process. One common mistake is not properly labelling the bolts and keeping track of their location.
Mixing up the bolts can lead to incorrect torque settings, which can cause damage to the engine block or the heads themselves. Another mistake is not properly cleaning the head gasket surfaces before reinstallation. Any remaining debris or oil can prevent the head gasket from sealing properly, leading to leaks and loss of engine performance.
It’s also important to check the valve train components for wear or damage before reinstalling the heads. Failing to do so can lead to premature failure and costly repairs. Another mistake that inexperienced mechanics make is not using the correct tools, such as a torque wrench or a breaker bar, which can lead to an uneven tightening of bolts and cause damage to the engine.
Conclusion:
How to remove SBC heads is a daunting task. But with the right tools and knowledge, It is done with ease. Following the steps and procedures is important to ensure the job is done correctly and safely. Remember to take your time, be patient, and wear appropriate safety gear. With these tips and tricks, you can master removing SBC heads and confidently tackle any future engine projects.
FAQ:
1.What Tools And Equipment Are Required To Remove SBC Heads?
Ans: Socket and wrench set, Torque wrench, Cylinder head bolts, Valve spring compressor, Pry bar
2.What Steps Are Involved In Removing SBC Heads From The Engine Block?
Ans: Drain the coolant from the engine, Remove the valve covers, rocker arms, and pushrods, Remove the intake manifold, Disconnect the exhaust manifolds from the head, Remove the head bolts in a specific order, and lift the head off the engine.
3.How Do You Properly Torque The Bolts When Reinstalling SBC Heads?
Clean the threads and bolt holes thoroughly before installing the bolts. Apply a small amount of engine oil to the threads and the underside of the bolt head. Use a torque wrench and tighten the bolts in three stages
4.What Are Some Common Mistakes To Avoid When Removing SBC Heads?
Ans: Not properly draining the coolant from the engine before removing the heads can result in a messy and potentially damaging spill. Forgetting to label or document the location of bolts and components during disassembly can cause confusion and difficulty during reassembly.
5.Are There Any Special Precautions That Should Be Taken When Removing SBC Heads On A High-Performance Engine?
Ans: Removing the spark plugs and rotating the engine to ensure that each piston is at Top Dead Center (TDC) before removing the head. Loosening the head bolts gradually and evenly in a specific sequence to prevent warping or cracking of the head.
