
Primer application is an essential step in many painting and decorating projects. It is important to ensure that the correct technique is used in order to achieve the desired results.
This article will explore the various Master Primer Application Techniques available, discussing the advantages and disadvantages of each. From brush and roller application to spray application, readers will gain a comprehensive understanding of the different options available.
The article will also explore the importance of surface preparation prior to primer application and provide guidance on the best products to use. With the right techniques and products, readers will be able to achieve professional-looking results. Read on to discover the best primer application techniques and how to use them.

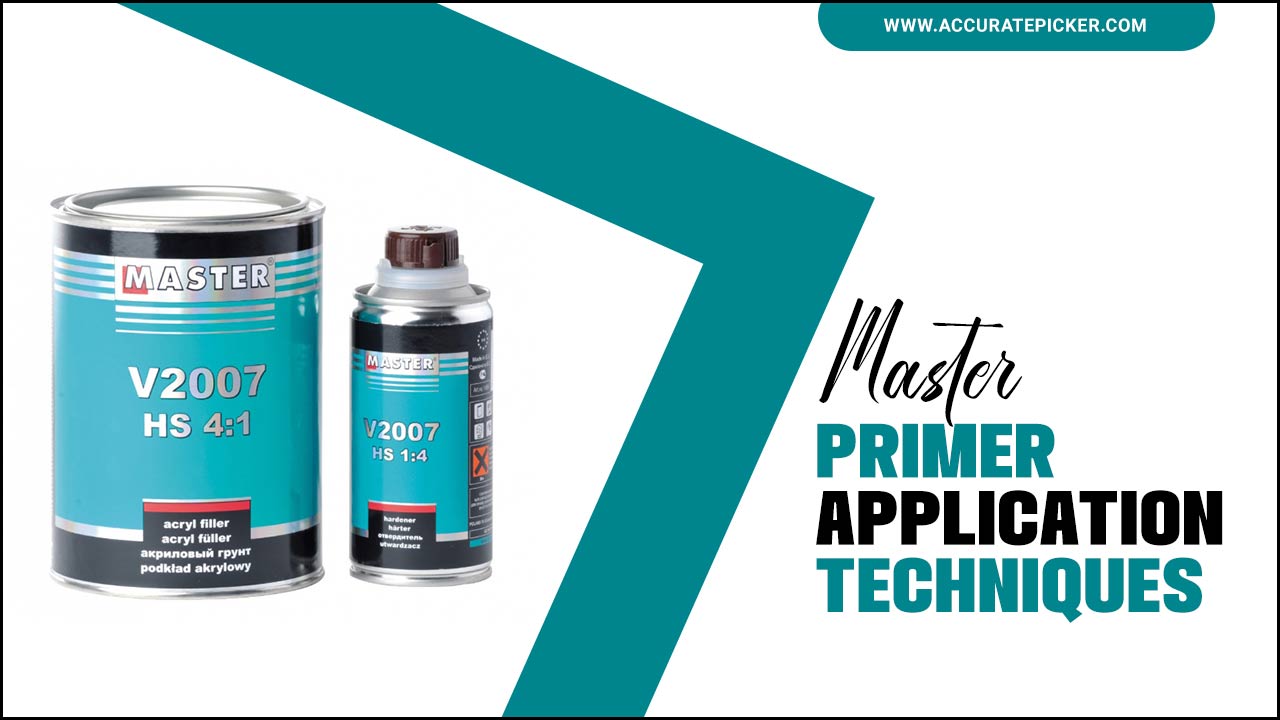
Master Primer Application Techniques: Tips & Tricks
Before delving into the main article, it is important to understand the basics of primer application techniques. Primer is a type of foundation that helps to create an even base for makeup and can be used on both the face and body. It helps to reduce the appearance of pores, fine lines, and wrinkles, while also providing a barrier between the skin and makeup products.
Primer application techniques involve choosing the right primer for your skin type, applying primer correctly, and understanding the different types of primers available. With this knowledge, you’ll be able to get the best out of your primer application and achieve the perfect makeup look.
Preparation
Proper preparation is the key to achieving flawless makeup. Before applying primer, it is extremely important to cleanse your face to get rid of any impurities, oil, and dirt. Make sure to use a gentle cleanser that won’t strip away the natural oils of your skin. After cleansing, it is advised to use a toner to balance your skin’s pH level and restore its natural moisture.
Pat your face with a clean towel and use a moisturizer to keep your skin hydrated and nourished. Let your moisturizer absorb into your skin for at least 5 minutes before you apply the primer. During this time, you can apply a sunscreen to protect your skin from the sun’s harmful UV rays. Finally, choose the right primer according to your skin type and desired look.
Cleaning
Cleaning is an essential step in applying primer. It will help remove dirt, debris, and any existing coatings that could prevent primer from adhering properly. To start, use a pressure washer to remove all dirt and grime from the surface. Once the surface is clean, use a brush or scraper to remove any loose material that the pressure washer may have missed.
This will help ensure that the primer adheres to the surface without any issues. Once the area is completely clean and dry, you can begin applying the primer.
Sanding
Sanding is an essential step in prepping a surface for primer. Sanding removes any existing defects in the surface such as dirt, dust, rust, or paint. It also creates a more uniform surface so the primer can adhere better. To sand a surface, you should use a medium-grit sandpaper and start from the center of the surface and work your way out.
Sand lightly in a circular motion, making sure to get into all the nooks and crannies. After sanding, use a vacuum and a damp cloth to remove any dust particles from the surface. With your surface properly prepped, you can now apply the primer.
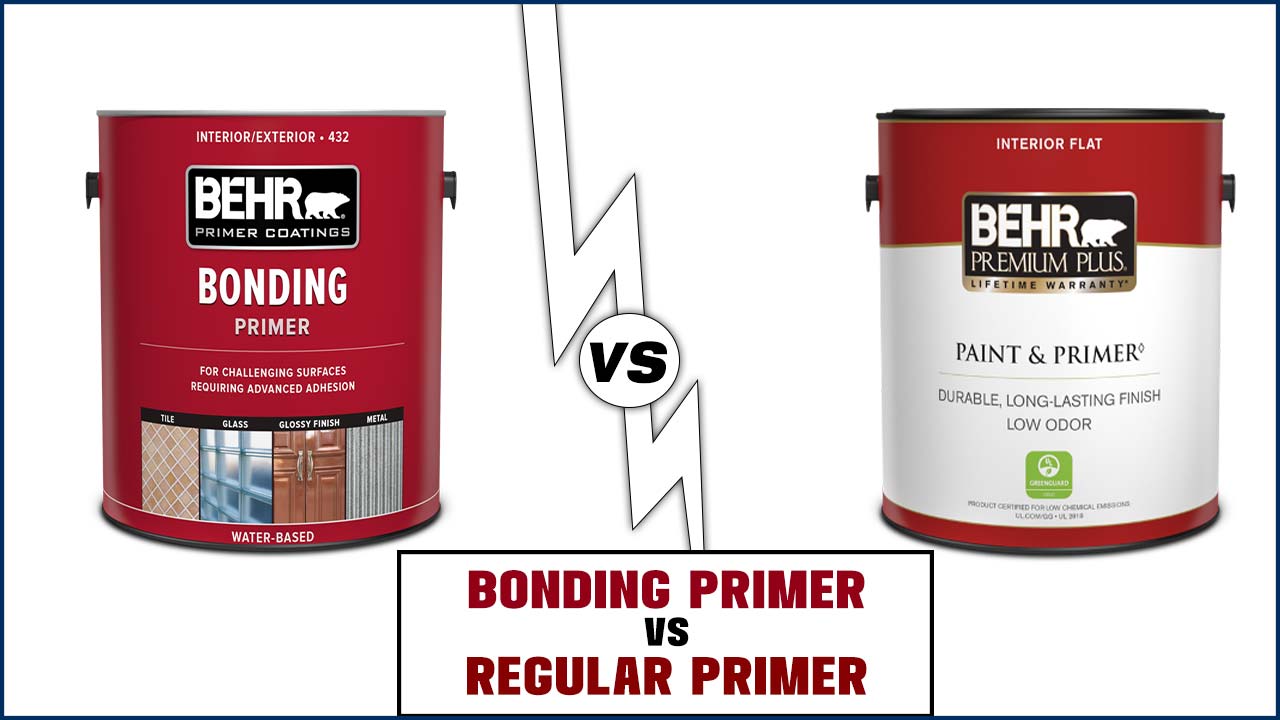
Primer Selection
Selecting the appropriate primer for a job is essential for achieving the desired results. Primers come in a variety of colors, sizes, and qualities, and choosing the right one is essential for the job. When selecting a primer, consider the type of surface you are working on, the desired finish, and the environment it will be used in. Different primers have different properties and some are better suited for certain applications than others.
For example, if the surface is metal, an oil-based primer is usually best as it provides superior adhesion and corrosion protection. For interior surfaces, a latex-based primer is often used as it is easier to work with and provides a smoother finish. Additionally, certain primers have additives designed to protect against mildew and ultraviolet light.
When selecting a primer, make sure to read the product label to ensure it is suitable for the job at hand. Once you have chosen the primer, you’ll need to prepare the surface properly before applying it. Cleaning the surface and ensuring it is free of dirt, dust, and debris is essential for achieving a smooth finish. Additionally, you may need to sand or smooth the surface before applying the primer.
Following these steps will help ensure you achieve the desired results.
Masking
Masking is an essential part of the primer application process. This technique requires you to cover any area of the wall that you don’t want to get painted. Masking tape and paper are the two most commonly used materials for this, with the tape being used to cover edges, such as door frames and window frames, while the paper is used to cover larger areas.
The paper should be secured tightly to the surface of the wall to ensure no primer slips past and gets onto the area that is not intended to be painted. It is important to be very thorough when masking, as any areas that are left exposed can make the finish look uneven.
Application
Applying makeup primer is an essential step in any beauty routine. It creates a smooth base and helps makeup stay in place longer. To apply primer correctly, start by using a small amount and spreading it evenly over the face with your fingertips. Make sure to blend it in around your jawline, hairline, and ears.
For best results, wait a few minutes after applying primer before starting your makeup routine. This will allow the primer to set in and create a smooth canvas for your makeup. Additionally, using a primer with SPF protection is a great way to ensure your skin is well protected from the sun’s harmful rays. Applying primer should be an easy and quick part of your beauty routine and will give you the best results when applying your makeup.
Spray
Spraying primer is a popular application technique for many DIY projects. If you choose to use a spray can to apply your primer, make sure to read all the instructions on the label. You should also wear protective gear such as a respirator and safety glasses. To begin, make sure the surface is clean and dry.
Then, hold the can upright and spray in a steady back-and-forth motion. To avoid runs and drips, keep the can the same distance from the surface and keep the can moving. After you have finished the application, allow the primer to dry for the length of time specified on the label. Finally, inspect the surface for any missed spots and re-apply as needed.
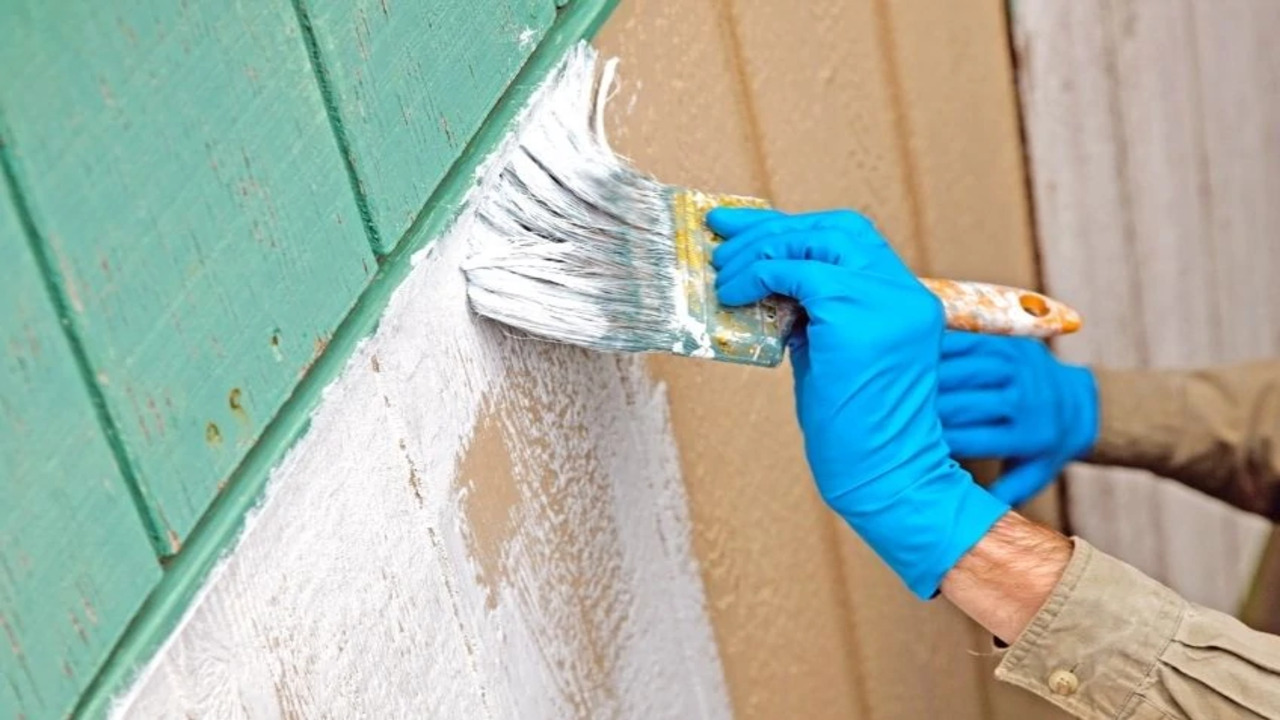
Brush
When it comes to applying primer, one of the most effective methods is to use a brush. Brushes give you the most control and precision when evenly distributing primer over the surface. When using a brush, start by dipping the bristles into the primer and lightly tap off the excess. Then, using a “W” or “N” motion, spread the primer evenly across the surface.
Take your time and make sure you are covering the entire surface. Once the primer has been applied, take a clean, dry cloth and gently remove any streaks or excess primer. With a little practice, you’ll be a pro at using a brush to apply primer.
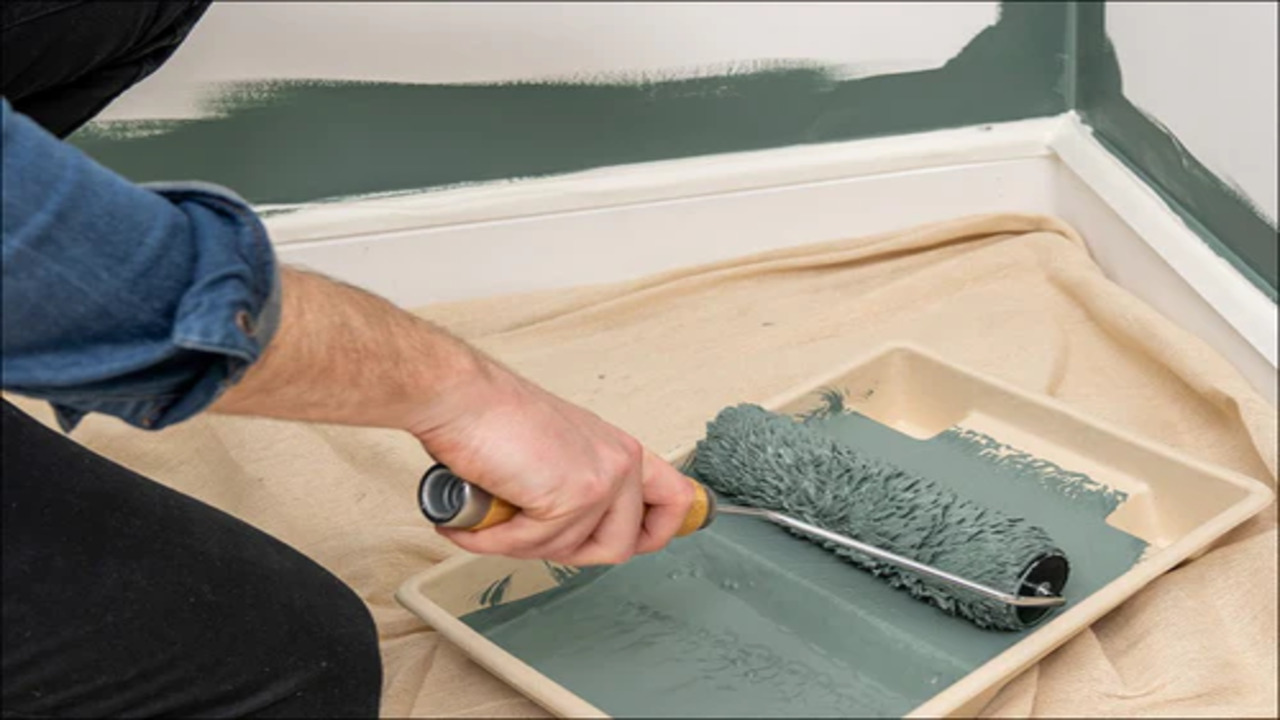
Roller
Rollers are a great way to apply primer to a surface. They provide an even coat of paint with no brush marks, allowing for a smooth and professional finish. The first step in using a roller is to prepare the surface. Be sure to remove any debris, dirt, or grease that may be on the surface.
Once the surface is clean, use a roller and a tray to apply the primer. Start from the top and work your way down. Work in small areas at a time and use a “W” pattern to apply the primer.
When you’re done, let the primer dry according to the instructions on the can before starting the next layer. Using a roller is a great way to apply primer in a quick, efficient, and professional manner.
Finishing
Once you have applied your primer, it is important to complete the job by properly finishing it. A good finish will ensure that your primer adheres correctly to the surface and looks good. To finish the primer, use a brush or roller to apply a thin layer of paint.
Make sure to apply the paint in thin coats and smooth out any ridges or brush marks. Allow the first coat to dry completely before applying subsequent coats. After the last coat of paint has dried, you can apply a clear sealer or varnish if desired. This will provide added protection and shine to the finished look of the primer. By following these steps, you can ensure that your primer application looks professional and will last for years to come.
Drying Time
When applying primer, it is important to consider the drying time. All primers have different drying times and it’s essential to check the instructions on the product label. Generally, a primer will take a minimum of one hour to dry, although this can vary depending on the type of primer used.
For best results, it is recommended that you allow the primer to dry overnight. Additionally, you should ensure that the room has adequate ventilation and that it is kept at an even temperature to ensure that the primer dries properly. Once the primer is dry, you can then proceed with the rest of your painting project.
Sanding Between Coats
When it comes to priming, sanding between coats is essential for a successful painting job. Sanding between coats will help to ensure a smoother finish and reduce the risk of paint chipping. It is important to use a fine-grit sandpaper for this process to avoid damaging the primer coating. This should be done before each additional coat is applied.
After sanding, it is important to use a damp cloth to remove any dust particles from the surface. Once the sanding is complete, the primer coat should be allowed to dry completely before applying the next coat. Sanding between coats should be completed with care to avoid damaging the primer coating. This will help to ensure that the primer coat adheres properly and that the final paint finish looks smooth and professional.
Topcoat Selection
Once your primer is applied, it is time to select the topcoat to use for the job. The type of topcoat you choose will depend on the surface you are painting, the color and finish desired, and the environment. Different surfaces require different topcoats; for example, metal requires an oil-based topcoat, while wood can take either an oil-based or water-based topcoat.
Additionally, you must consider the type of finish you desire. A glossy finish is best achieved with an oil-based topcoat, while a matte finish is best applied with a water-based topcoat. Finally, consider the environment in which the topcoat will be used. If the surface will be exposed to moisture, an oil-based topcoat is best as it is more resistant to moisture. Taking all of these factors into account will help you select the best topcoat for the job.
Conclusion
This article provides an overview of primer application techniques. It covers the importance of using the right type of primer, the benefits of using a primer, and the different application methods available. It also provides tips on how to achieve the best results when applying primer.
The article concludes by emphasizing the importance of following the manufacturer’s instructions when applying primer to ensure the best results.
FAQ’s
1.What Are The Various Types Of Primer Application Techniques?
Ans: Primer application techniques include brushing, rolling, spraying, and stippling. Brushing is the most common technique and involves using a brush to spread the primer across the surface. Rolling is also widely used and involves using a roller to apply an even coat of primer. Spraying is faster and more efficient than brushing and rolling, but is only suitable for large surfaces. Finally, stippling is a technique that involves using a stippling brush to create a textured finish.
2.What Are The Most Common Mistakes Made When Applying Primer?
Ans: The most common mistakes made when applying primer are not priming the entire surface, not sanding down the surface before priming, not using the right primer for a specific surface, and not allowing the primer to dry completely before painting.
3.What Type Of Primer Should Be Used For A Particular Surface?
Ans: The type of primer that should be used depends on the type of surface that needs to be primed. For example, if the surface is metal, an oil-based primer should be used. If the surface is wood, a latex-based primer should be used. For masonry surfaces, an acrylic-based primer should be used. Finally, for drywall, a water-based primer should be used.
4.How Can I Achieve A Professional-Looking Finish When Applying Primer?
Ans: To achieve a professional-looking finish when applying primer, make sure to prepare the surface correctly by cleaning and sanding it. Use a good quality brush or roller appropriate for the type of surface and primer you are using. Apply the primer in thin, even coats to avoid drips and runs. Allow the primer to dry completely between coats for the best results.
5.What Additional Steps Should Be Taken To Ensure A Good Primer Application?
Ans: 1. Prep the surface beforehand by cleaning it with a degreaser and then sanding it down.
2. Apply the primer in thin, even coats using a brush or roller and making sure to cover the entire surface.
3. Allow each coat to dry before applying the next coat.
4. Finally, lightly sand the surface after the primer is completely dry to ensure a smooth finish.