
Customizing a fender for your car or motorcycle can be an exciting and rewarding experience. With the right tools and knowledge, you can create a unique look for your vehicle that will turn heads and stand out from the crowd.
In this article, we’ll discuss the different steps involved in customizing a fender, from selecting the right materials and tools to creating the perfect design. We’ll also provide some tips and tricks to help you get the best results. With the right approach, you can create a fender that is truly your own. So, if you’re ready to give your vehicle a unique look, read on to learn how to customize a fender for your car or motorcycle.

Customize A Fender For Your Car Or Motorcycle – Simple Ways
Before we dive into the details of how to customize a fender for your car or motorcycle, it’s important to understand why customizing a fender is beneficial. A custom fender can give your vehicle a unique look and feel, as well as provide additional protection from road debris and other hazards.
It also adds a layer of personalization that can make your car or motorcycle stand out from the rest. In this article, we’ll explore the steps to take when customizing a fender to get the perfect look and feel for your vehicle.
Preparation
For a successful customization of a fender for your car or motorcycle, the most important step is to ensure that you are properly prepared. Begin by doing research on the type of fender you desire and the modifications you plan to make. Make sure that the fender you are using is compatible with your vehicle. Additionally, ensure that you have the necessary tools and materials before you start.
Gather all of the necessary items and double-check that you have everything before beginning. Alternatively, if you are hiring someone to do the job, make sure they have all the tools and materials they need. Taking the time to properly prepare will ensure that your fender customization goes smoothly.
Gather Materials
Before you begin customizing your fender, you need to have all the right materials. Start by gathering the fender, along with any other pieces you may need to complete the job. You will also need to have a few tools, such as a drill, screwdriver, and sandpaper. Additionally, you will need to have some type of paint or primer to cover the fender.
Make sure to have the right type of paint or primer for the type of fender you are working with. You may also need to have some type of epoxy or adhesive to attach the fender if it does not have pre-made holes. Gather all these materials before you start customizing your fender.
Check Measurements
Taking accurate measurements is a critical step in customizing the fender of a car or motorcycle. Before you start cutting and drilling, you need to make sure you have the right information. Measure the width of the fender, the distance between the mounting points, the depth of the fender, and the gap between the fender and the wheel.
Additionally, you will need to measure the size of the hole for the mounting bolts. Once you have all the measurements, you can start creating a plan for how to customize the fender. Make sure to double check your measurements before you start to make sure your fender will fit your car or motorcycle.
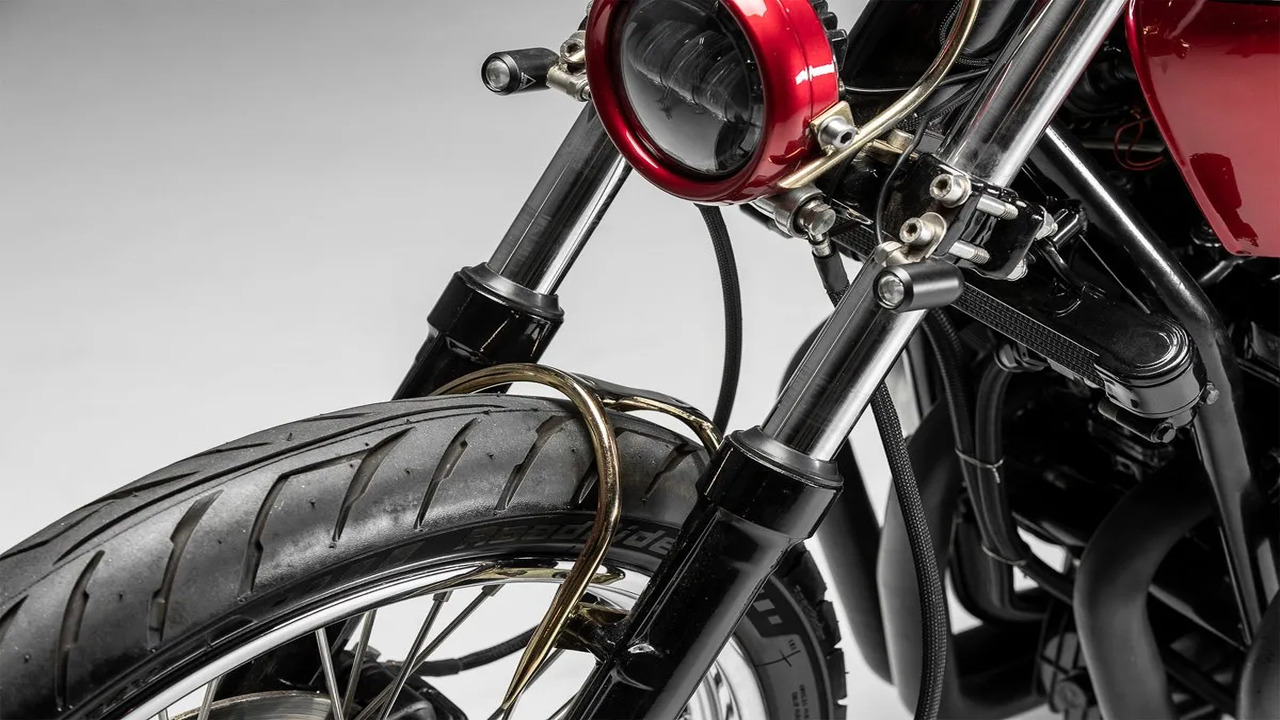
Choose Design
When it comes to customizing a fender for your car or motorcycle, the first step is to choose a design that reflects your individual style. There are a variety of fender designs available, from classic to minimalistic. Consider the overall look and feel you want for your vehicle, and find a design to match.
Research different types of fender designs and decide if you want a single-piece, split-style, or something else. You can also look into custom designs, such as airbrushed designs or unique shapes. It is important to choose a design that is both aesthetically pleasing and practical for your car or motorcycle.
Consider the material, shape, and size of the fender, and make sure it is compatible with your vehicle. Once you have chosen the perfect design, you can move on to the customization process.
Paint Selection
Choosing the right paint for your custom fender is an important decision. Primer and basecoat paints are the two most common options for a custom fender. Primer is a great choice for a base layer of protection and can help keep the fender from rusting. Basecoat paint provides a thicker layer of protection and is often used for designs and graphics.
When selecting a paint, you’ll want to consider the type of finish you want, the color, and the durability of the paint. You’ll also want to make sure the paint is compatible with the material of your fender. Additionally, you should check the manufacturer’s guidelines and safety warnings before beginning the painting process. With the right paint and preparation, you can achieve a great-looking custom fender for your car or motorcycle.
Construction
Construction is an important step in customizing a fender. To start, you will need to measure the length, width, and height of the area that the fender is going to fit into. You should then use these measurements to create a template for the fender. This will ensure that the fender fits properly and securely when mounted.
When creating the template, you should also take into account the type of material you will be using to create the fender. For example, if you are using metal, you will need to account for the thickness of the metal when creating the template. Once the template is complete, you can begin to construct the fender using the template as a guide.
Be sure to use quality materials and tools, as a poorly constructed fender could cause damage to your vehicle. When the fender is finished, check the fit and make necessary adjustments if needed. Once you are satisfied with the fit, you can move on to the next step.
Cut Fabricate
Cutting and fabricating a fender for your car or motorcycle can be a challenging but rewarding task. Depending on the parts and pieces at hand, you’ll need to decide the best way to cut the metal and fabricate the fender. Before you begin, make sure you have all the necessary tools and safety gear. It’s important to have a plan in place and take your time with each step.
Start by measuring the area you want to cover and determine the best shape and size of the fender. Use a metal saw to cut the shape of the fender and then use a grinder to smooth out any rough edges. Once you have the shape of the fender cut, you’ll need to weld the edges together.
Be sure to use a welding mask and gloves for safety. Once you have the fender welded together, you can paint it to your desired color. With these steps, you can customize a fender for your car or motorcycle.
Assemble Pieces
Now that you have all the pieces to customize your fender, it’s time to assemble them. Start by attaching the fender to the vehicle frame using the appropriate fasteners. Make sure the fender is securely mounted and won’t shift around.
If necessary, use a wrench or other tools to tighten the bolts. Next, apply the primer and paint to the fender, using a brush or sprayer. Allow the paint to dry completely before reattaching any trim or other components. Finally, attach the trim pieces to the fender. Screw the pieces in place, ensuring that they are secure and won’t rattle around. Once you have all the pieces in place, you can admire your newly customized fender.
Install Fender
Installing a Fender on your car or motorcycle is a great way to customize it and make it look more unique. Before you start, you’ll need to make sure you have the right tools and supplies for the job. Make sure you have a drill, a set of screwdrivers, a wrench, and some screws. Once you have all the tools ready, you’ll need to measure the area where the fender will be installed.
Mark the spot with a marker and use the drill to make small pilot holes. Then, secure the fender in place using the screws. Make sure to tighten them properly so the fender doesn’t become loose. Finally, use the wrench to finish up the job. With the fender securely in place, you can now enjoy your new custom ride!
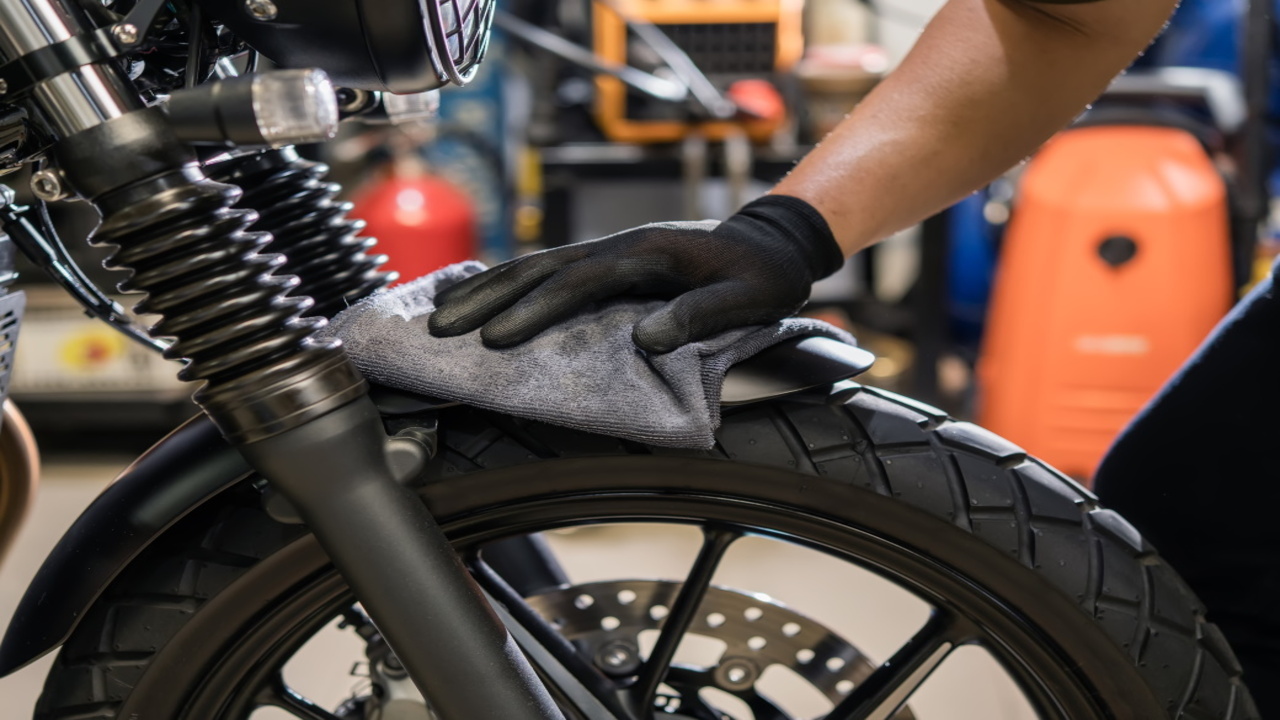
Finishing Touches

Once you have customized your fender to your desired look, it’s time to add the finishing touches. Make sure all the hardware is installed correctly and securely. Check to see if the fender has any scratches or dents. If so, use a sandpaper to sand down the area and make sure to remove any rust. If you are painting your fender, use a primer and then apply the paint in even strokes.
Be sure to let it dry completely before adding the clear coat. After it is completely dry, you can wax to add a glossy finish. Finally, you can attach any necessary decals to give it a personal touch. Congratulations, you have now successfully customized your fender.
Conclusion
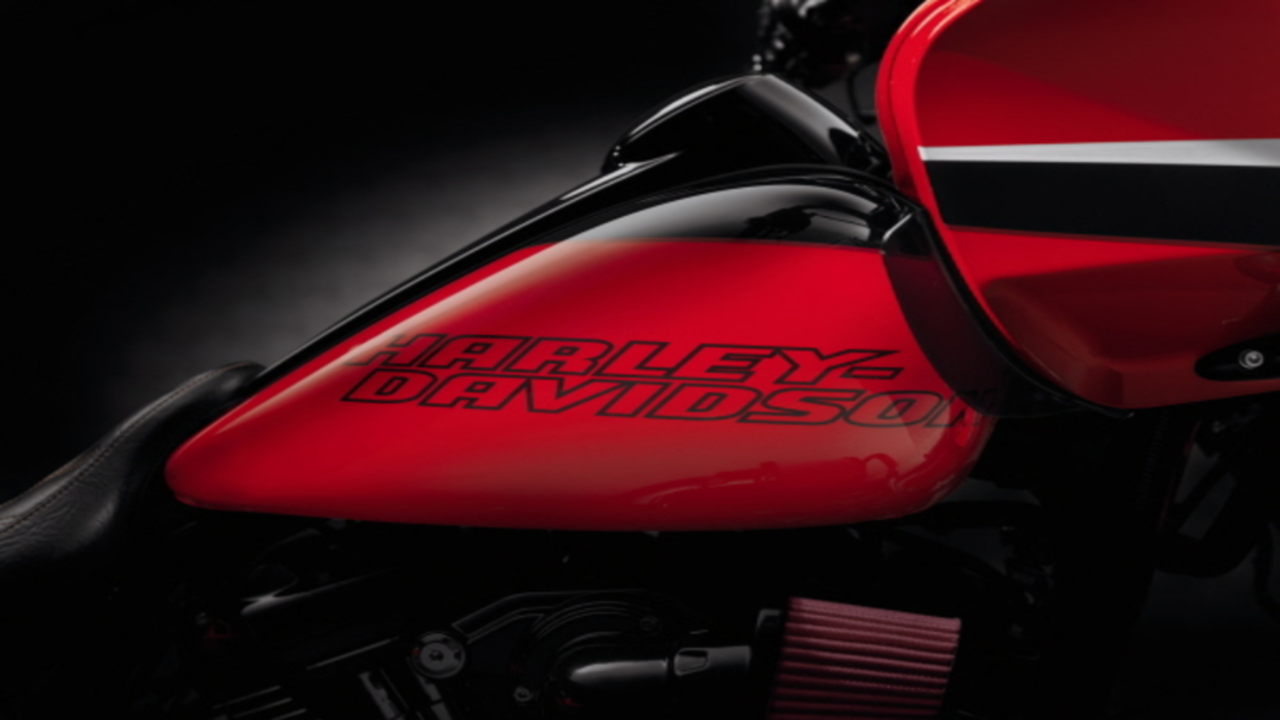
Customizing a Fender for your car or motorcycle is a great way to make your ride stand out and express your personal style. With a few simple steps, you can customize your fender to make it unique and eye-catching.
Start by selecting a fender that fits your vehicle and then use a variety of paints, stencils, and decals to give it a personalized touch. With a bit of creativity and some elbow grease, you can have a fender that will turn heads and make your vehicle look amazing.
FAQ’s
1.What Tools Do I Need To Customize My Fender?
Ans: To customize your Fender, you will need some tools such as a screwdriver, wrench, and pliers. You may also need an Allen key, a soldering iron, electrical tape, and wire cutters. Depending on the specific customization you are attempting, you may also need other items such as a drill, sandpaper, and various paints or finishes. With the right tools, you can customize your Fender to make it truly unique!
2.What Types Of Materials Are Used To Customize A Fender?
Ans: The types of materials used to customize a fender are usually metal or plastic. They can also be made of wood, fiberglass, carbon fiber, or a combination of any of these materials. Fenders can be customized to fit any vehicle, and the type of material used will depend on the desired look and performance. Paint, vinyl wraps, and decals can also be used to add a unique look to a fender.
3.How Much Does It Cost To Customize A Fender?
Ans: The cost to customize a Fender guitar depends on the complexity of the customizations. It can range from a few hundred dollars for basic modifications like a new pick guard or set of tuning keys, to several thousand dollars for more complex modifications such as a new bridge or body shape. The price also depends on the type of customizations done, as well as the materials used. It’s best to contact a local guitar shop for an accurate price quote.
4.Are There Any Special Techniques Required To Customize A Fender?
Ans: Yes, there are special techniques required to customize a Fender. These include the ability to solder, read wiring diagrams, and understand the basics of electric guitar wiring. It is also important to have knowledge of the materials that make up the guitar. Additionally, the ability to shape and form the body of the guitar to the desired specifications is important.
5.What Are The Benefits Of Customizing A Fender?
Ans: Customizing a Fender guitar can have many benefits for the player. It allows the player to choose the exact specifications and features they want for their guitar, such as the type of pickups and the type of bridge. This can result in a more personalized feel and sound for the instrument.
Additionally, customizing a Fender can make the guitar more comfortable to play, as the player can tailor the specifications to their individual needs. Finally, customizing a Fender can also add to the instrument’s resale value should the owner ever decide to part ways with it.

