
The use of primers on non-porous surfaces is an important step in the painting process, as it provides a base coat that helps the paint to adhere better and last longer.
Primers are designed to fill in small imperfections and create a smoother surface for the paint to adhere to. This primer guide will provide an overview of the different types of primers available for non-porous surfaces, as well as the advantages and disadvantages of each type.
Additionally, it will provide tips for proper application and maintenance to ensure the best results. With this information, you can make an informed decision about which primer is best for your project and ensure a long-lasting, professional-looking finish.

Primer Basics For Non-Porous Surfaces

This article provides a primer for non-porous surfaces, helping to explain the different types of surfaces and the best ways to clean and maintain them. Non-porous surfaces are found in many places, from kitchen countertops to bathroom walls, and come in a variety of materials, such as granite, marble, and glass.
Understanding the basics of non-porous surfaces and the best practices for cleaning and maintenance will help ensure they stay looking great and last for years to come. In this article, we will discuss the different types of non-porous surfaces, the best cleaning and maintenance methods, and the products to use for optimal results.
Preparation
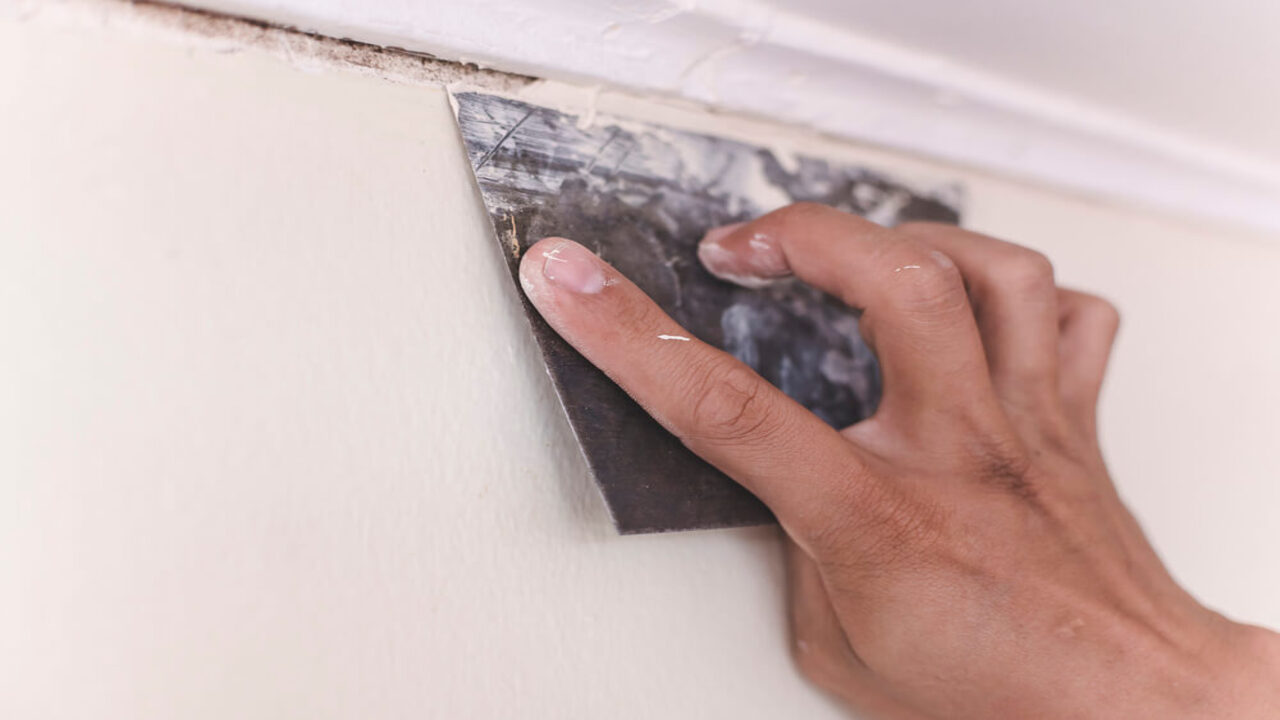
Preparing a non-porous surface for painting is a crucial step in ensuring a successful finished product. It is important to clean, degrease, and sand the surface for the best results. Before painting, you should first inspect the surface to ensure it is free from dirt, grease, and dust.
Cleaning the surface with a mild detergent and warm water can help remove any debris. If a degreaser is needed to remove any grease, be sure to follow the manufacturer’s instructions. Once the surface is clean and dry, you should sand the surface to create a smooth finish for the paint to adhere to.
Finally, use a damp rag to remove any dust from the surface before you begin painting. Taking the necessary steps to prepare a non-porous surface will ensure the best possible results.
Cleaning
When cleaning non-porous surfaces, it’s important to use the right supplies and technique. Start by dusting the surface with a dry cloth. For tougher dirt or debris, use a damp cloth and a mild cleaner. Avoid using too much pressure as this could damage the surface.
If a cleaning solution is needed, use one specifically made for the type of surface you’re cleaning. After scrubbing the surface, rinse it with a damp cloth and then dry it with a soft, dry cloth. Make sure you use a clean cloth each time you clean the surface to avoid spreading dirt and grime.
Sanding
Sanding is a key step in preparing non-porous surfaces. It helps to create a smooth, even surface for primer to adhere to. To get the best results, start with a medium-grit sandpaper, and gradually move up to a finer grit. For the most effective sanding, use an orbital sander.
This will help even out the surface more quickly and efficiently. When sanding, be sure to wear a dust mask and safety goggles to protect yourself from dust particles. Additionally, use a damp cloth to periodically wipe away the dust so that you can see the areas that still need to be sanded. Once the surface is completely smooth, it’s ready to be primed.
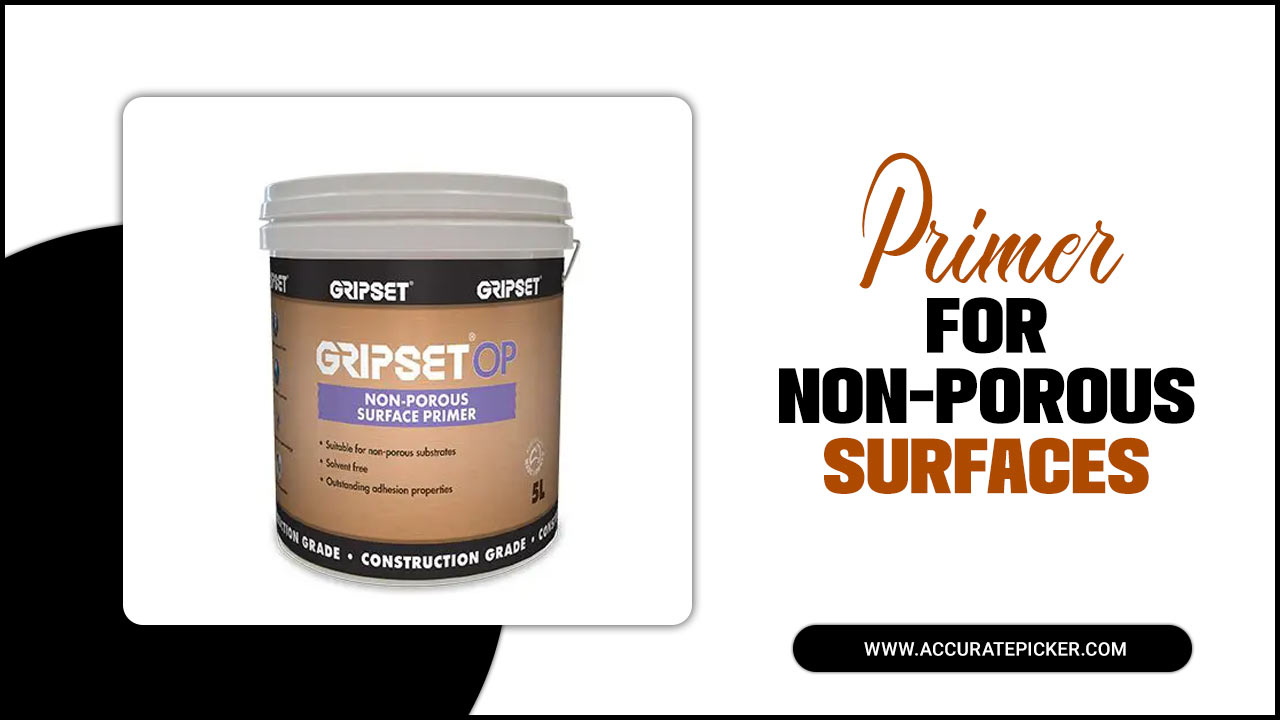
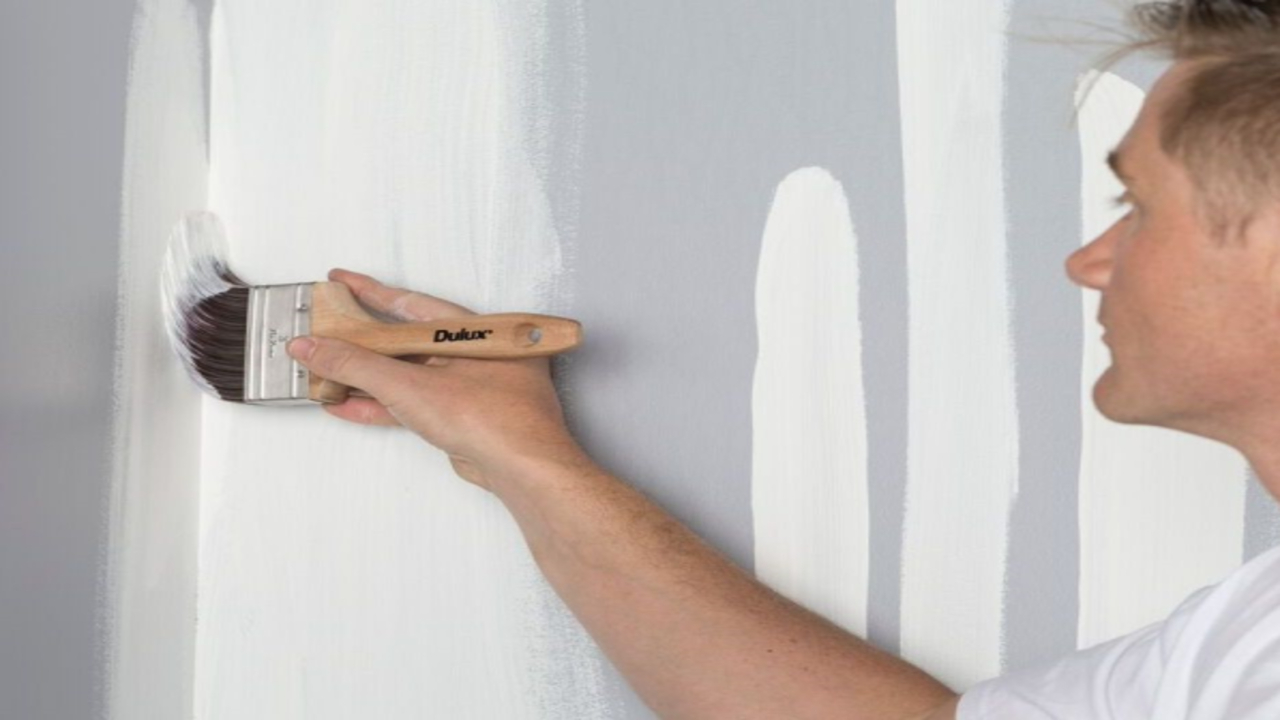
Priming
Priming is the process of applying a base coat to a non-porous surface. It helps create a smooth, even base for the paint to adhere to. Most primers also contain a sealant that can protect the surface from the elements. Priming is especially important for outdoor projects, as it can help reduce fading and protect the paint from cracking and peeling. Primers come in different types, such as oil-based and water-based.
It is important to use the right primer for the type of surface you are painting. While oil-based primers are ideal for metal surfaces, they are not as suitable for wood surfaces. Likewise, water-based primers are best for wood surfaces, but may not be as effective for metal surfaces. Once you have chosen the correct primer, it is important to apply it in a thin, even coat. Allow the primer to dry before painting.
Finishing
Once the primer is completely dry, it’s time to finish the non-porous surface. Depending on the type of material, you may choose to leave the surface as-is, or you may opt to paint, stain or seal the surface. If you choose to paint, you can use either water or oil-based paint, but be sure to use a primer specifically designed for the type of paint you choose. If you choose to stain, make sure to use a product that is designed for the material you are staining.
If you choose to seal, a polyurethane sealer is a great choice. When it comes to finishing non-porous surfaces, the key is to make sure you use products that are designed for the material and the job at hand. With the right products, you can create a look that will last for years.
Application
Applying primer to a non-porous surface is a straightforward process. Start by removing any dirt, dust, or other debris that may be on the surface. Next, use a damp cloth to wipe the surface clean. Once the surface is clean and dry, lightly sand the area with a fine-grit sandpaper.
Make sure to clean the surface again after sanding. Now you are ready to apply the primer. Use a brush or roller to evenly apply the primer across the surface.
Allow the primer to dry for the recommended amount of time before painting. When it’s time to paint, use a brush, roller, or sprayer to evenly apply the paint. After the paint has dried, you can apply a clear sealer to protect the surface. Following these steps will help ensure that you get the best results when priming and painting your non-porous surfaces.
Spraying

Spraying is a great way to apply primer to non-porous surfaces. It provides a uniform, even coat of primer that can be difficult to achieve with a brush or roller. When using a sprayer, it is important to make sure that you are using the right type of primer and that the sprayer is set correctly to achieve the desired finish.
Start by thinning the primer to the manufacturer’s instructions and adjusting the sprayer’s nozzle size, pressure, and pattern. When ready, spray the entire surface in a back and forth motion, overlapping each stroke to ensure even coverage. Allow the primer to dry for the manufacturer’s recommended time before adding a second coat.
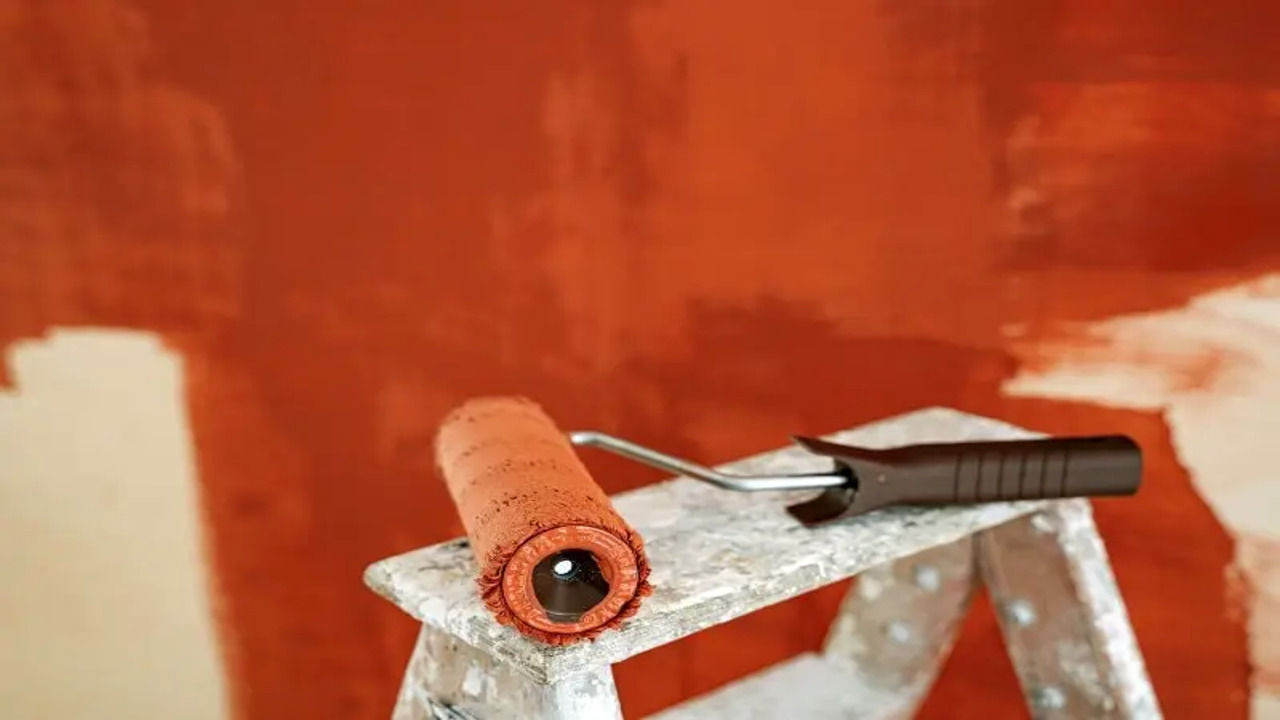
Rolling

Rolling is an important step when painting a non-porous surface. It is the best method for creating an even coat of paint that will last. When rolling, you should use a roller with a medium-sized nap. To begin, dip the roller into the paint and roll it across the surface in a zig-zag pattern.
Then, use long strokes to spread the paint evenly. Afterward, you should go back and roll a second coat. This will ensure that the paint is fully covered and that there are no gaps. To finish, use a brush to feather out the edges and to create a smooth, consistent finish. Rolling is a great way to ensure you get a professional-looking finish on your non-porous surface.
Brushing
Brushing is a great way to give a non-porous surface a nice finish. It is important to use the right type of brush for the job. A soft-bristled brush with natural fibers is best for applying paint or varnish to non-porous surfaces.
A stiff-bristled brush should be used for cleaning or polishing. When applying a finish, make sure to use a brush with the appropriate width for the job. For large surfaces, use a wide brush to apply the finish evenly. For small, intricate areas, use a thin brush to get into the crevices.
Make sure to brush in the direction of the grain to get the best results. Clean the brush after every use, and store it in a cool, dry place. With proper brushing technique and the right type of brush, you can achieve the desired finish on your non-porous surface.
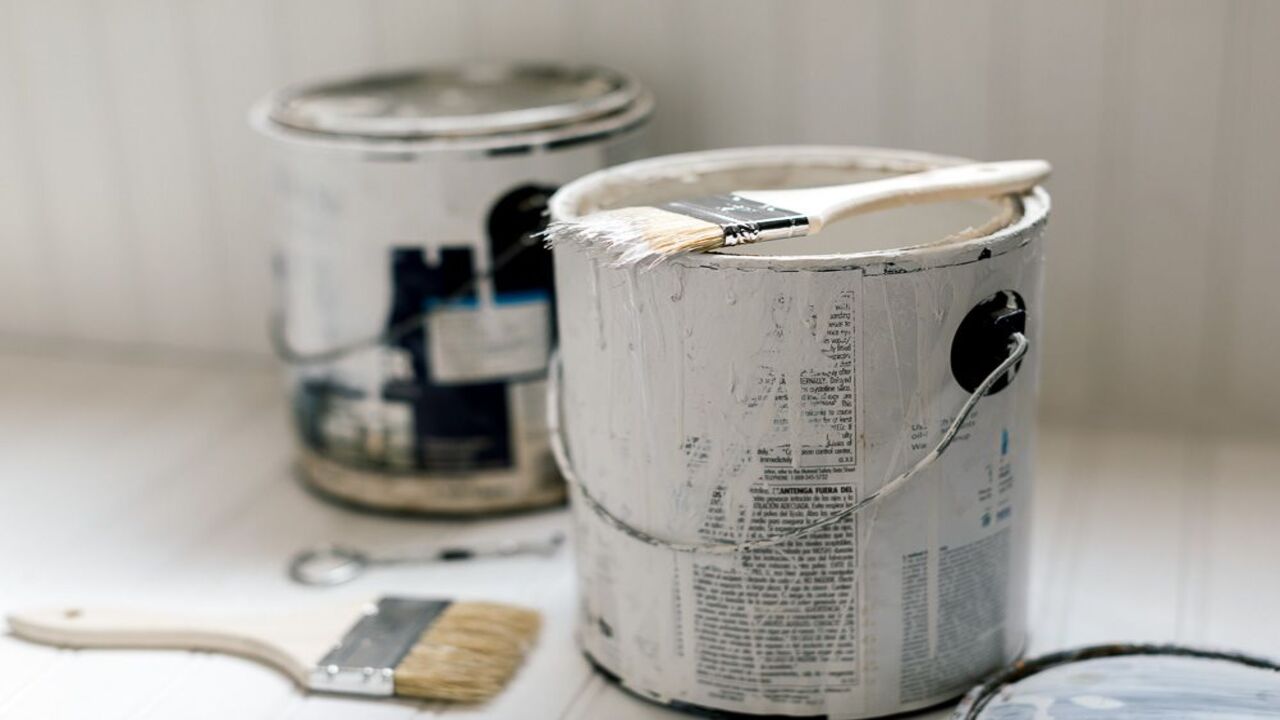
Cleanup
Cleanup can be tricky when it comes to non-porous surfaces. After you’ve finished priming the area, it’s important to make sure that all of your equipment is properly cleaned. Dispose of any used brushes and rollers and start with fresh applicators for the next coat.
Make sure to use warm, soapy water to clean the surfaces of any leftover primer. The soap should help remove any primer residue, and the warm water should help soften it for easier removal.
Additionally, use a damp or dry cloth to wipe down any excess paint or primer that may have spilled. Finally, rinse the area with clean water and allow it to dry completely. This will help ensure that your next coat of paint or primer doesn’t end up clumping together.
Conclusion
This article provides a comprehensive guide to priming non-porous surfaces. It covers the materials and tools needed, the steps involved, and the tips and tricks for achieving the best results. It also explains the importance of priming before painting and how to choose the right type of primer for the job. With this information, you can confidently prepare and prime your non-porous surfaces for a successful painting project.
FAQ’s
1.What Types Of Non-Porous Surfaces Are Best To Use For Priming?
Ans: Non-porous surfaces such as glass, metal, and plastic are the best for priming as they provide a smooth, even surface for the primer to adhere to. Primer will not stick to porous surfaces such as wood, so these are not ideal for priming. Additionally, the surface should be clean and free of dirt or oils before priming. The primer should also be compatible with the surface material for the best results.
2.What Type Of Primer Is Best For Painting Non-Porous Surfaces?
Ans: Oil-based primer is the best primer for painting non-porous surfaces. It is designed to create a strong bond with the surface and provide an ideal foundation for the paint to adhere to. Oil-based primers are also great for blocking out stains and providing a protective layer of protection. They are also more durable and resistant to wear over time.
3.How Long Should Primer On Non-Porous Surfaces Dry Before Painting?
Ans: Primer on non-porous surfaces typically needs to dry for about two hours before the surface can be painted. This can vary depending on the type of primer, the temperature, and the humidity. Generally, if the primer feels dry to the touch and has lost its sheen, it is likely ready to be painted. It is important to make sure the primer has fully dried before proceeding with painting.
4.Is It Necessary To Sand Non-Porous Surfaces Before Priming?
Ans: No, it is not necessary to sand non-porous surfaces before priming. Primers are designed to adhere to a wide range of surfaces, including non-porous ones, and do not require sanding. Sanding may still be necessary to remove any contaminants from the surface, but it is not needed for the primer to adhere. Sanding will also help to create a smoother surface for the paint to adhere to, but this is not necessary for the primer to do its job.
5.Are Primer Coats Necessary For Painting Non-Porous Surfaces?
Ans: Yes, primer coats are necessary for painting non-porous surfaces. This is because primer helps to create a more even and smooth surface, allowing for an optimal finish. It also helps to fill in any small imperfections, as well as providing a strong base for the paint to adhere to. In addition, primer can help to seal the surface, preventing moisture and other contaminants from affecting the paint job.