
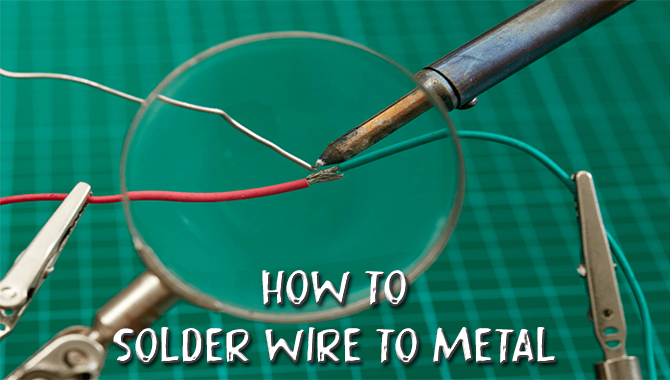
Your favorite speakers are not working. Instead of buying a new one, you try to fix it. If there is a wiring issue, you ought to change it. To repair the electrical wiring, soldering the wire is essential.
400;”>Copper wires are soldered onto metal connections to establish a firm bond. This bond should be solid so that the electricity flow is uninterrupted and your device is safe. So, how to solder wire to metal?
In this guide, we are going to introduce some basic techniques for soldering wires to metal. So, let’s begin!

Solder Suitable For Electrical Connections

Soldering is a process where two metals are adjoined together by melting solder, a metal alloy usually made of tin (Sn) and lead (Pb) with a lower melting point.
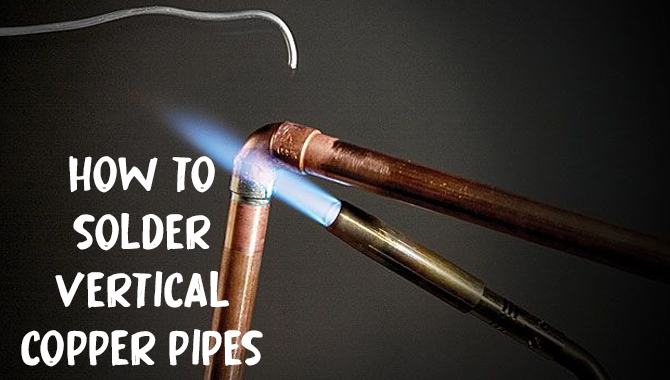
The process is carried out using a hot iron tool. There is another soldering for plumbing purposes. But that requires a different set of tools.
Do not use plumbers solder or plumbers flux for wire connections. They are very corrosive and acidic. Use rosin core solder for electric boards and electric connections. Additionally, use rosin flux.
Types Of Wires That Are Appropriate For Soldering To Metal
Copper is a universal metal for electrical wires. It is very easy to solder. Copper is popular because it has low electrical resistance; additionally, it is easy to work with.
Also, copper is often tinned. This gives it a silver appearance rather than the usual reddish-brown color of copper.
Electrical wire is either of these three types:
- bare copper
- tin-plated copper (as known as “tinned copper wire”)
- CCA (“copper-coated aluminum) – avoid this if you possibly can.
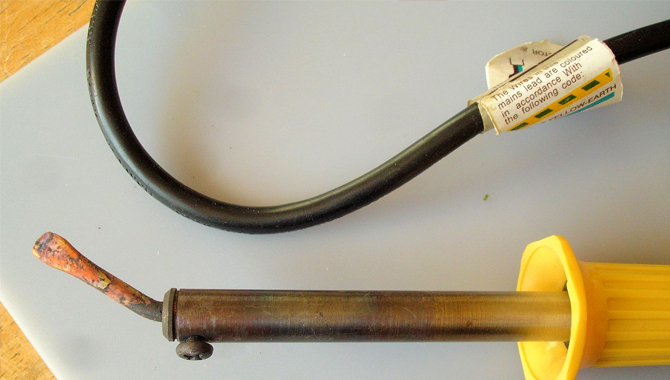
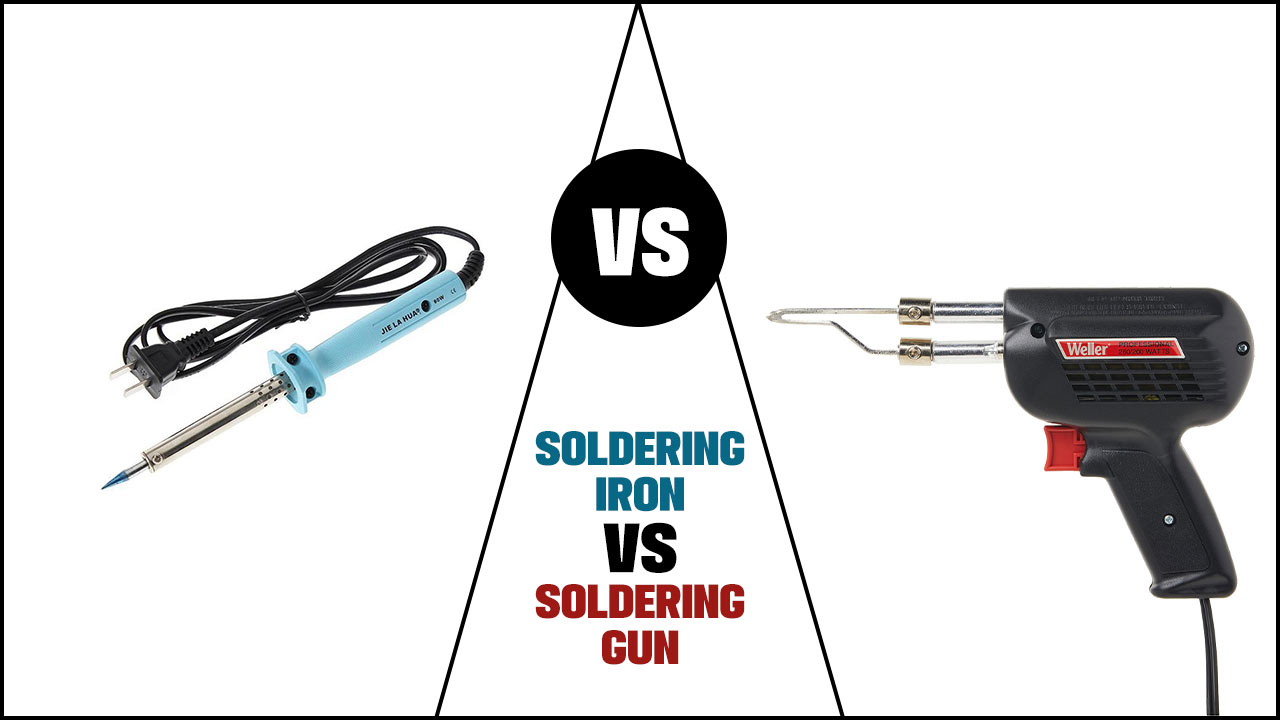
Soldering Iron Suitable For Electronic Soldering

It is good to be familiar with the tool you will be using for work. If you have the proper knowledge to operate the instrument, it is easier to conduct the operation. Solder generally melts at 385 degrees Fahrenheit.
The soldering irons can generate around 392 – 890 degrees Fahrenheit. It can have a pointy tip or a screwdriver tip. There are a few types of soldering iron available. Here are some basic ones:
- 20- 30 Watts for PCB (Printed circuit boards), IC (Integrated circuit)
- 40- 60 Watts for Speakers, switches, wires e.t.c.
- 70- 100 Watts when a large heat capacity is necessary (Large wires, extensive connections)
Simple irons use electrical cord or battery cables as a power supply. In contrast, cordless irons use battery or gas combustion ( mostly butane) as a heating source.
It is handy when there is no electricity available. Simple soldering irons do not have a temperature adjustment function.
How To Solder Wire To Metal?
Here’s a step-by-step procedure –
1. Get Your Workplace Ready
Clean the workstation for your safety. The hot solder might burn something if it is in contact. Plugin the soldering iron and wait until it reaches the desired temperature.
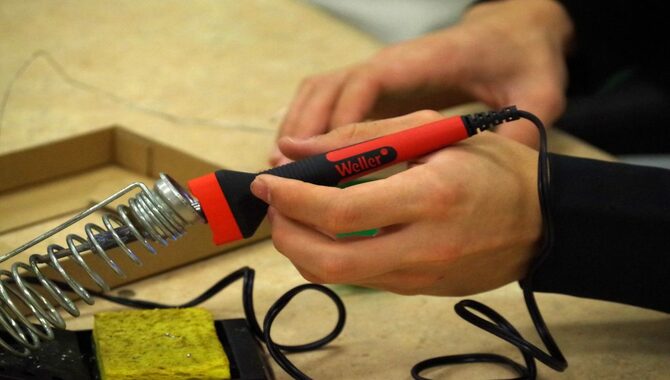
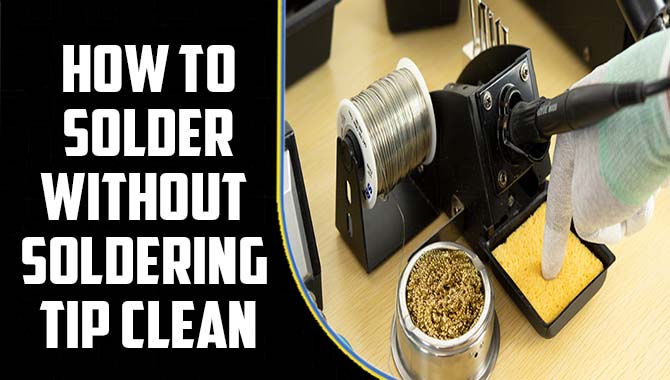
2. Cleaning The Iron Tip
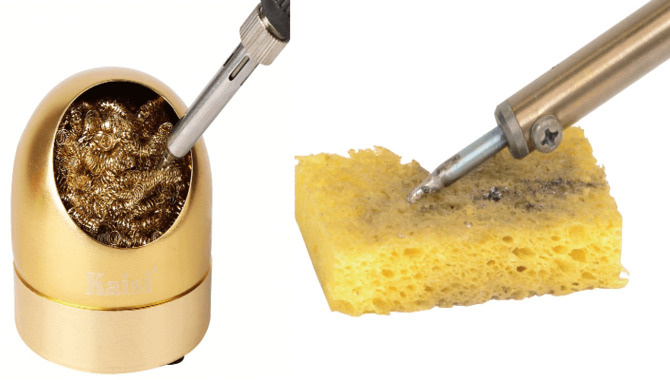
Then, clean the iron’s tip with a damp sponge once it is hot enough to clean off the previous work’s solder residue.
You can also use wire cleaner. Do not scrape the tip with it. Also, do not use any invasive method to clean, like – sandpaper or other.
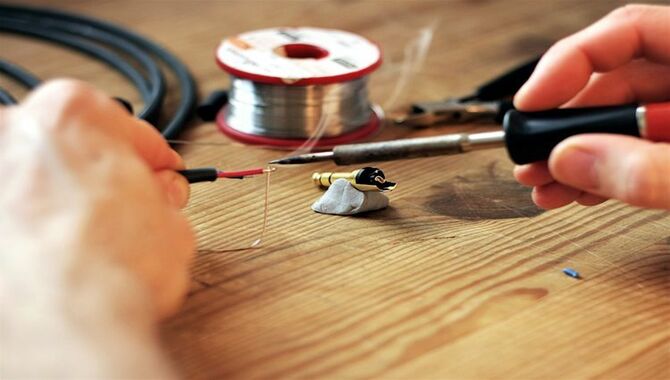
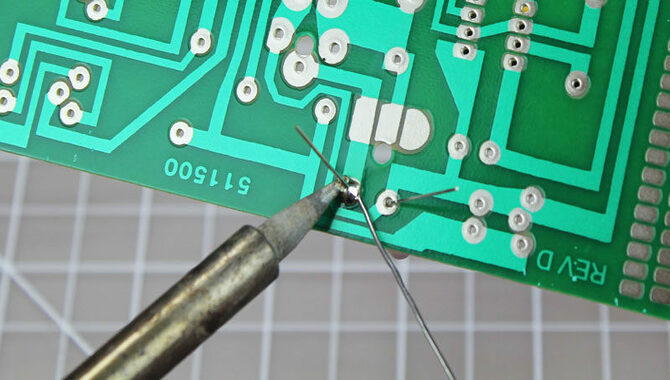
3. The Parts That You Want To Join Clutch Them Together
Make a tight mechanical connection between the joining components. This will ensure a strong bond.
An expert tip: Make a knot with the wire onto the metal. If the copper wire is thick and rigid, loop it around the metal terminal or rod. Then cut off the leading excess portion if necessary.
4. Tin Your Tip
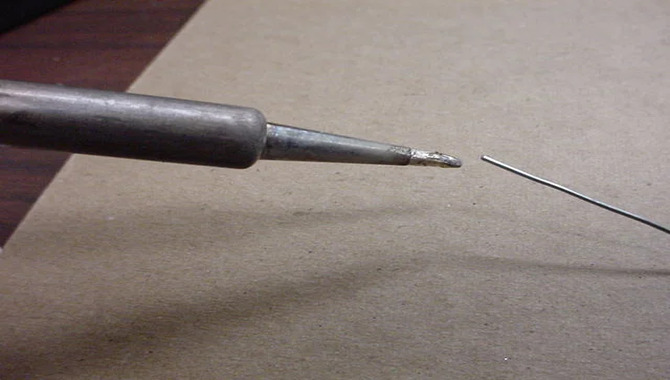
Before soldering the wire, add flux and solder consecutively to the tip of the soldering iron. It is to increase the thermal conductivity.
The tin acts as a conductor for the heat to pass on to the metal. Also, it provides a broader surface area for the heat to be distributed. Thus, the metal becomes hot at a faster pace.
5. Place The Soldering Iron On The Metal To Heat It.
Add flux before heating the metal. Keep the tip there for a few minutes. Then add solder. The solder will start to melt and flow towards the soldering iron. Remove the solder after covering the wire.
6. Hold It In Place Right After Applying Solder
Use hands or clips to keep copper wire sturdy. If the wire displaces even a little bit, the joint becomes brittle and unsure. This is cold solder. It breaks off shortly.
A few minutes later, reheat the joint and melt the solder. It is to ensure a strong connection. The solder will flow and spread into the wire’s crevices and establish an unbreakable joint.
Clean Up After Soldering
- Never use the tip untinned because this will oxidize it and disrupt the performance.
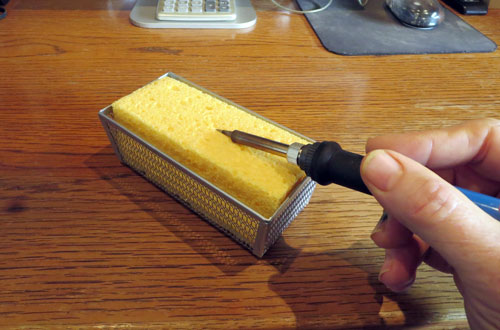
- Clean the tip with wet sponges. Keep it ready on your workstation. Just dab it on the sponge. It will sizzle, but it is alright.
- Another option is using a wire cleaner to clean off solder on the tip. Don’t use force. This will damage the tip coating.
- Let the soldering iron cool down. Then unplug and store carefully.
Safety Measures
- Never forget to wear safety gear before starting. Wear protective gloves and goggles. So when you are working close up to the soldering point, your eyes will not get hurt.
- Make enough space in the workplace. The congested area will hamper your work.
- Do not put the soldering iron on the work surface. This will burn surrounding materials and also might burn your skin. The most crucial aspect of your operation should be avoiding possible dangers and reassuring your safety.
- There are solder stands to hold iron solders while you are not using them. It also includes a sponge for cleaning efficiently.
- There is a type of stand with claps to hold the piece of work for ease of eye. This is also called the third hand. It can take off the stain on your neck while working.
Conclusion
The recommendation, you practice these methods on a spare wire. Once you get the hang of the actual process, apply your skills to the original workpiece. This will increase your success rate! I hope now you know about how to solder wire to metal.
