
Soldering is a crucial part of electronic repair and DIY projects. It involves using a soldering iron and a soldering station holder to heat up and melt a metal alloy that joins two metal parts. However, not everyone has access to a soldering station holder, making the process seem impossible.
Fortunately, there are alternative methods to solder without a holder. This comprehensive guideline will show you how to solder without a soldering station holder. Including the tools and steps required to achieve successful results.
For those who are just starting their soldering journey and do not have a lot of equipment, this guide will be helpful in aiding you in achieving your desired result. It is essential to note that soldering without a holder may require more patience and skill, but with the right techniques, you can still achieve the same level of quality as you would with a holder.

How To Solder Without Soldering Station Holder A Step-By-Step Guideline
Soldering can seem like a daunting task for those who don’t have access to a soldering station holder. Fortunately, you don’t need a fancy setup to solder like a pro. With simple tools and a little practice, you can easily learn how to solder without a soldering station holder. Here’s How to solder without soldering station holder and step-by-step guidelines to help you get started:
1. Prepare your workspace: Clear a clean and organized workspace to ensure safety and efficiency during the soldering process. Make sure you have all the necessary tools and materials within reach.
2. Secure the components: If you don’t have a soldering station holder, you can use alternative methods to secure the components you are working with. For example, you can use alligator clips or third hands with adjustable arms to hold the parts in place while you solder.
3. Heat the soldering iron: Turn on your soldering iron and allow it to heat up to the appropriate temperature for your specific application. It is crucial to use the correct temperature setting to prevent damage to the components or poor solder joints.
4. Clean and tin your soldering iron tip: Before starting, make sure your soldering iron tip is clean and tinned. This helps improve heat transfer and ensures better flow of solder.
5. Apply flux: Flux helps promote proper wetting of the joint and improves solder flow. Apply a small amount of flux to both the component leads and the PCB pads before soldering.
6. Heat the joint: With one hand holding the soldering iron, use your other hand to feed a small amount of melted solder onto the tip of the iron. Place the heated tip on one side of the joint, allowing heat to transfer evenly across both components.
How Do You Solder Without A Soldering Station?
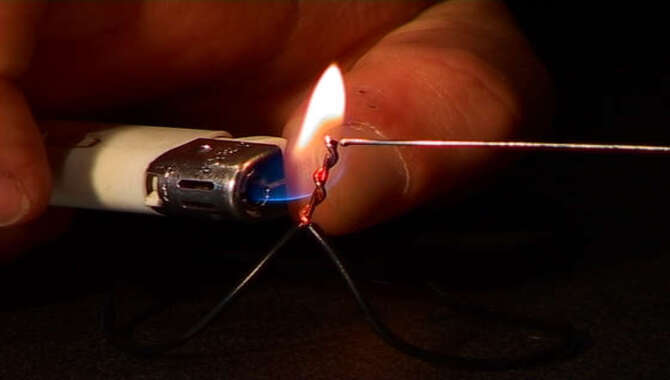
How do you solder without a soldering station? One option is to use a butane torch or a heat gun to heat the joint and melt the solder. However, these methods can be tricky to control and may require some practice. You can heat a soldering iron using a propane torch or a stove burner and use it as another option.
To do this, simply heat the soldering iron tip until it’s hot enough to melt the solder. Apply the soldering iron to the joint once you have melted the solder and let the solder flow into the gap. It’s important to use flux to help the solder flow evenly and thoroughly clean the joint before soldering. You can use conductive glue or tape directly on the joint to create a strong bond as another alternative.
How To Use Basic Soldering Techniques
Anyone interested in electronics or DIY projects should learn to solder, as it is a fundamental skill. It involves using a heated metal alloy to join two metal components together.
Gather the necessary tools and materials, including a soldering iron, soldering wire, flux, and a damp sponge. Next, heat the soldering iron to the appropriate temperature for the job. The temperature should be hot enough to melt the solder but not so hot that it damages the components. Once the iron is hot, clean the tip by wiping it on the damp sponge and apply a small amount of flux to the joint you wish to solder.
This will help the solder flow smoothly and make a strong bond. Then, touch the tip of the soldering iron to the joint and allow it to heat up for a few seconds. Once the joint is hot enough, touch the end of the solder wire to the joint and let it melt and flow into the gap. Hold the wire in place until the solder cools.
What Materials Are Required For Soldering
Typically, to perform soldering, one typically requires the following materials:
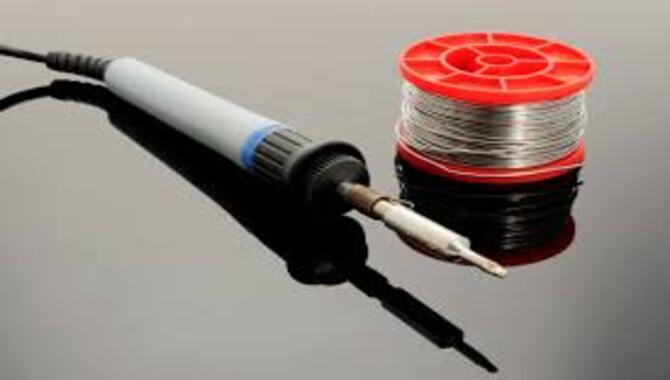
- Soldering Iron: This handheld tool with a heated metal tip melts the solder and creates a bond.
- Solder Wire: This metal alloy wire creates the solder joint. Common solder alloys include tin-lead (Sn-Pb) and lead-free alternatives like tin-silver-copper (Sn-Ag-Cu).
- Flux: Flux is a chemical compound used to clean the surfaces to be soldered and promote better solder flow.
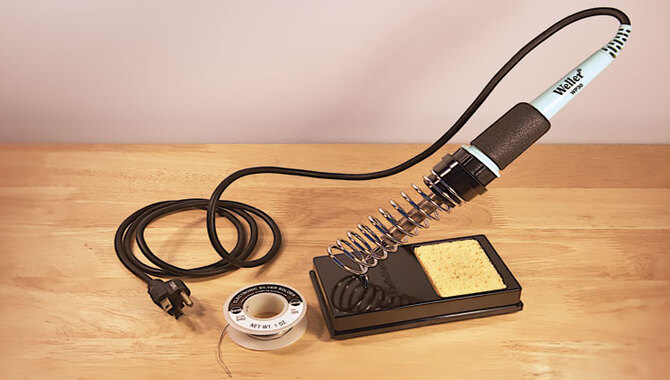
- Soldering Stand: A stand or holder for the soldering iron helps to keep the iron safe when not in use, preventing accidental burns or damage to surfaces.
- Soldering Tip Cleaner: A tip cleaner or sponge cleans the soldering iron’s tip, ensuring good heat transfer and removing excess solder or debris.
- Helping Hands: These are usually adjustable metal clips or a stand with alligator clips that hold the workpiece or wires in place, leaving your hands free to solder.
- Safety Equipment: Soldering can produce heat, fumes, and small molten droplets, so it’s important to have safety equipment like safety goggles, a heat-resistant work surface, and adequate ventilation.
- Wire Strippers and Cutters: These tools are necessary to strip insulation from wires and cut them to the desired length.
It’s essential to familiarize yourself with the soldering equipment and follow safety guidelines to ensure proper usage and minimize the risk of accidents or damage.
Choosing The Right Soldering Iron
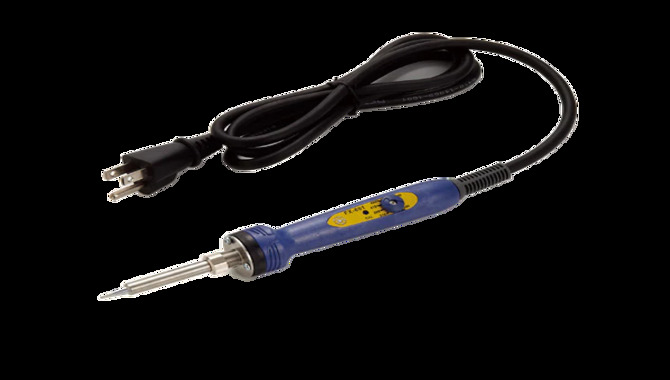
Several factors to consider when selecting a soldering iron include its tip size and shape, temperature control, wattage, and ergonomics. The tip size and shape are important. Because they determine the amount of heat transferred to the joint and the precision with which the solder can be applied.
Temperature control is essential for ensuring that the soldering iron maintains a consistent temperature, which is especially important when working with delicate components. Wattage is also important because it determines the speed with which the soldering iron heats up and how quickly it can melt the solder.
Another important consideration is the ergonomics of the soldering iron. A comfortable grip and balanced weight distribution can help reduce hand fatigue and improve precision when working on long projects. The power cord should also be long enough to provide flexibility in positioning the soldering iron during use.
Cleaning The Soldering Tip
Cleaning the soldering tip is an essential part of any soldering process. To achieve a strong and stable connection, it is crucial to ensure the tip is clean and free of oxidation, debris, or flux buildup.
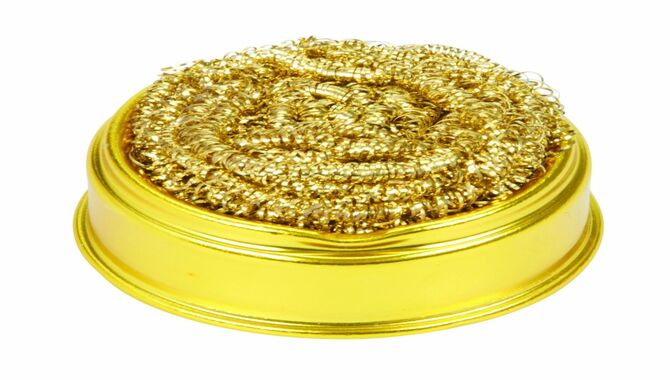
First, heat the soldering iron and wipe the tip with a damp sponge or brass tip cleaner to clean the tip. A damp sponge is a quick and easy way to clean the tip, as it removes any excess solder and debris. Using a brass tip cleaner is better if the tip is heavily oxidised.
Brass tip cleaners are made of coiled brass wires that scrub away any oxidation on the tip’s surface. It is essential to avoid using any abrasive materials as they can scratch the tip and create a rough surface, leading to poor soldering quality.
Another important step is to tin the tip regularly. Tinning is the process of coating the tip with a thin layer of solder to prevent oxidation. It also helps to transfer heat efficiently and improve the solder.
Preparing The Work Area
The first step in preparing the work area is to choose a well-ventilated space away from flammable materials and ignition sources. The next step is to ensure that the work surface is clean and free of any debris or contaminants that can interfere with the soldering process.
Additionally, it is important to have all the necessary tools and materials ready and within reach, including the soldering iron, solder, flux, and any other accessories required for the task at hand. A heat-resistant surface, such as a silicone mat or ceramic tile, can protect the work area from accidental damage and heat transfer.
Before starting the soldering process, it is important to review any safety protocols and precautions, such as wearing protective clothing, goggles, and gloves. The soldering process will be more efficient, safe, and successful by taking these necessary steps to prepare the work area.
Troubleshooting Tips For Soldering
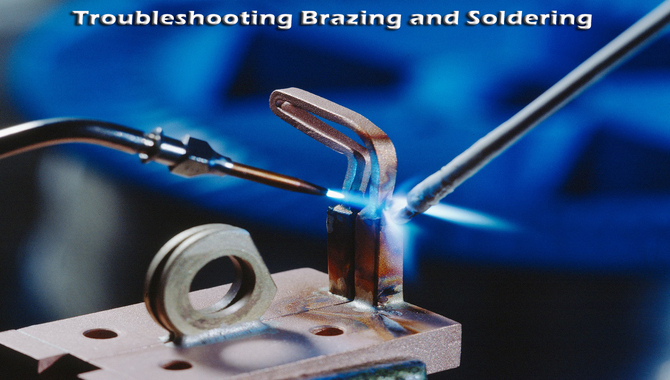
Soldering is an essential skill for electronic enthusiasts and professionals alike. It involves joining two pieces of metal using a special metal alloy called solder. However, soldering can be tricky, and it’s common to run into problems. Fortunately, you can overcome most soldering issues with a few troubleshooting tips.
One of the most common issues is poor solder joints. When the solder doesn’t flow properly or the joint is not heated enough, this can happen. To avoid this problem, make sure that you heat the joint evenly and apply the solder in a steady stream. Another issue is cold solder joints, which occur when the solder doesn’t flow properly and solidifies before forming a proper bond.
To prevent this, ensure that the solder is heated enough and that you hold the joint steady until the solder cools. Additionally, overheating can cause the solder to boil and create a poor joint. To avoid this, use the right temperature for the solder and the surface.
Tips For Soldering Without A Holder

Soldering can be challenging, especially when you don’t have a holder to keep the components steady. However, you can use several tips and tricks to solder without a holder and still get good results.
- One technique is to use a helping hand tool or a third-hand tool. This tool has adjustable arms with alligator clips that can hold the components in place, leaving your hands free to do the soldering. Another technique is to use a magnetic holder. Magnets can hold the components in place while you do the soldering.
- You can also use a vice or a clamp to steady the components.
- However, be careful not to apply too much pressure, as it may damage the components.
Additionally, you can use heat-resistant tape to hold the components in place. After soldering, you can easily remove this tape and it can withstand high temperatures. Lastly, you can use a small piece of wire to hold the components together.
Advanced Soldering Techniques
Advanced soldering techniques are essential for creating stable, reliable electrical connections. These techniques require great skill, precision, and specialized tools and materials. One of the most important aspects of advanced soldering is temperature control.
Different types of solder require different temperatures to melt and form a strong bond, and the heat must be applied evenly to avoid damaging the delicate soldered components. Another important technique is flux, a chemical that cleans and prepares the surfaces to be soldered and helps the molten solder flow smoothly into the joint.
Advanced soldering also requires a steady hand and a good eye for detail, as the solder must be applied in just the right amount and place to create a strong, lasting bond. Experienced solderers may also use advanced techniques such as drag soldering, where the solder is “dragged” along the joint’s surface, and reflow soldering, where the solder is melted and allowed to flow into the joint under control.
Conclusion
Knowing How to solder without soldering station holder is a crucial task that requires attention to detail and precision. Following the comprehensive guidelines outlined in this guide, you can successfully solder on various surfaces and components.
Always prioritize safety when soldering and follow the proper precautions to avoid burns or other injuries. Always prioritize safety and accuracy when working with hot soldering irons and other tools. You can become a skilled solderer with practice and patience without needing a soldering station holder.
FAQs
1.Can I Use A Makeshift Holder Like A Clamp Or Vice?
It depends on what you are trying to hold.
2.Can You Solder Without A Kit?
Yes, it is possible to solder without a kit. However, having the necessary tools, such as a soldering iron, solder, flux, and a soldering stand, is important.
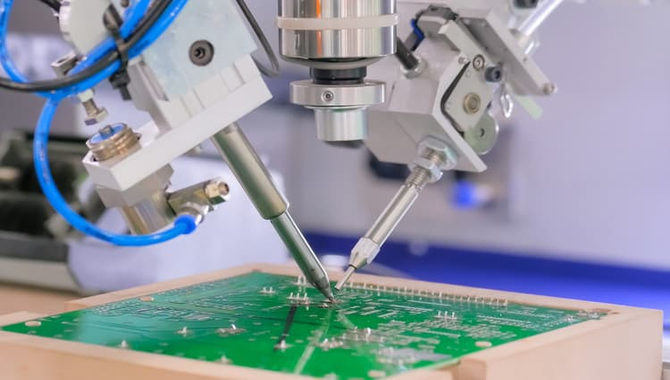
3.Is Soldering Done By Hand?
People can manually solder or use machines and robots to solder.
4.Can I Use Tape Instead Of Solder?
No, you cannot use the tape instead of solder.
5.How Can I Ensure That My Soldering Iron Stays In Place?
Ans: Using a soldering iron stand, you can ensure that your soldering iron stays in place.
