
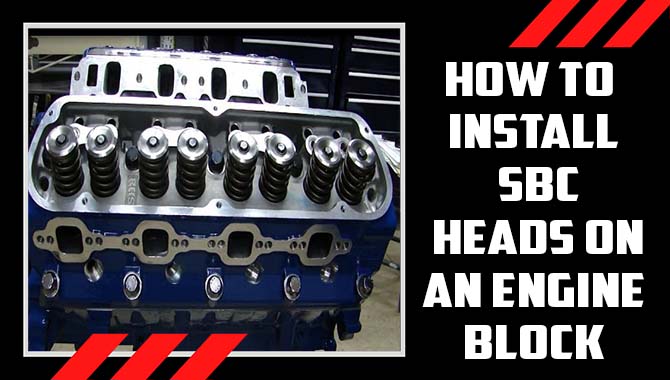
When building a high-performance engine, upgrading the cylinder heads is one of the most critical components. The Small Block Chevy (SBC) engine is popular among car enthusiasts due to its versatility and affordability.
Installing SBC heads on an engine block can significantly increase horsepower and torque output, but it requires precision and attention to detail. Whether you’re a seasoned mechanic or a novice DIYer, this ultimate guide will help you learn how to install SBC heads on an engine block.
From selecting the right cylinder heads to choosing the right gaskets and bolts, this comprehensive guide provides step-by-step instructions and tips to ensure a successful installation.
You’ll also learn about the different types of SBC heads, their features, and benefits. The guide covers everything from disassembling the engine to installing the heads and torquing them down in the correct sequence.

Tools Required For Installation
Here are some commonly used tools:
- Screwdriver set
- Hammer
- Measuring tape
- Level
- Pliers
- Utility knife
- Drill
- Drill bits
- Screws and nails
- Allen wrenches
- Saw
- Chisel
- Wire cutters/strippers
- Safety equipment
These are just some basic tools commonly used for installation tasks. The specific tools required will depend on the type of installation you are performing. Always follow the manufacturer’s instructions and safety guidelines when using tools.
How To Install SBC Heads On An Engine Block – Step By Step

- Knowing how to install SBC heads on an engine block is a crucial task that requires attention to detail and precision. If you want to upgrade your engine’s performance, installing SBC heads is a great way.
- Before you start, ensure you have all the necessary tools and parts, including a torque wrench, gaskets, and head bolts. First, remove the old heads and clean the engine block thoroughly.
- Then, install the head gaskets onto the block, making sure they’re properly aligned. Place the SBC heads onto the gaskets and hand-tighten the bolts.
- Next, torque the bolts down properly and to the manufacturer’s specifications. It’s important to follow the correct sequence to ensure the heads are evenly tightened and prevent any damage to the engine.
- After the heads are torqued down, install the pushrods and rocker arms. Finally, adjust the valves and double-check all connections and bolts before starting the engine.
- Installing SBC heads may seem daunting at first, but by following these simple steps and taking your time, you can upgrade your engine.
Preparing The Engine Block
Preparing the engine block is one of the most important steps in building a high-performance engine. It involves a series of steps that must be followed carefully to ensure that the engine runs smoothly and efficiently. The first step in preparing the engine block is to clean it thoroughly.
This involves removing any dirt, oil, or debris that may be present on the surface of the block. Once the block is clean, it needs to be inspected for any signs of damage or wear. Any damaged or worn parts must be replaced before the block can be assembled.
The next step is to hone the cylinders to ensure that they are perfectly round and smooth. This is done using a special tool called a cylinder hone. Once the cylinders are honed, the block is ready to be assembled.
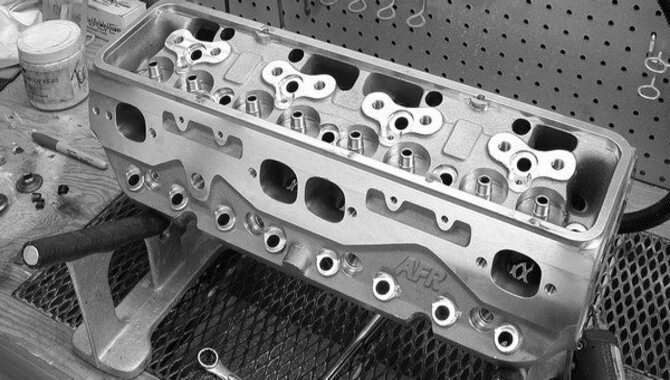
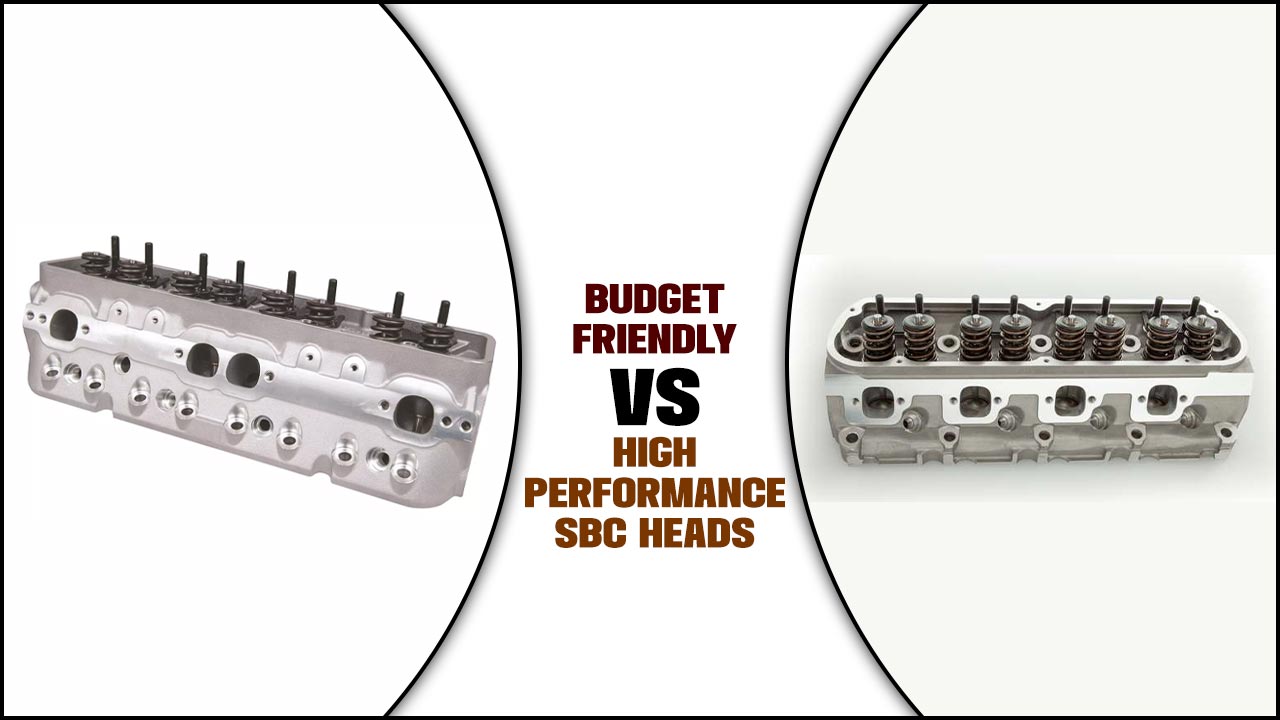
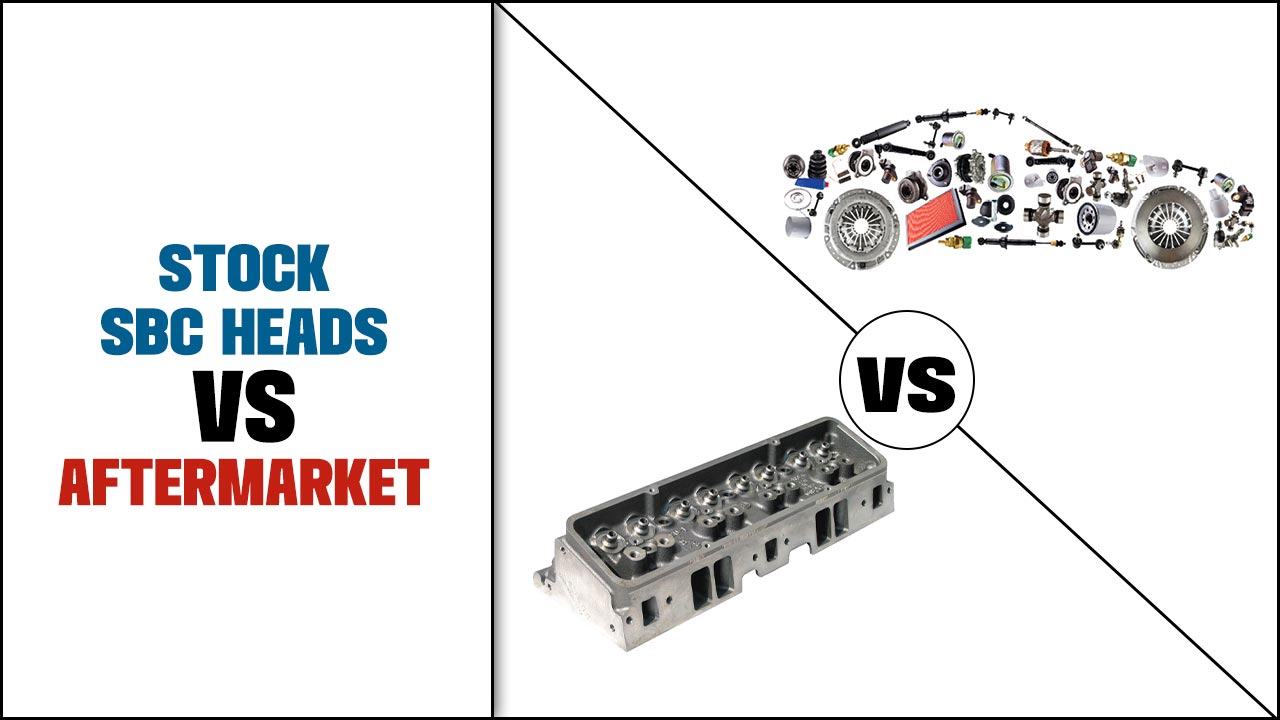
Preparing The SBC Heads
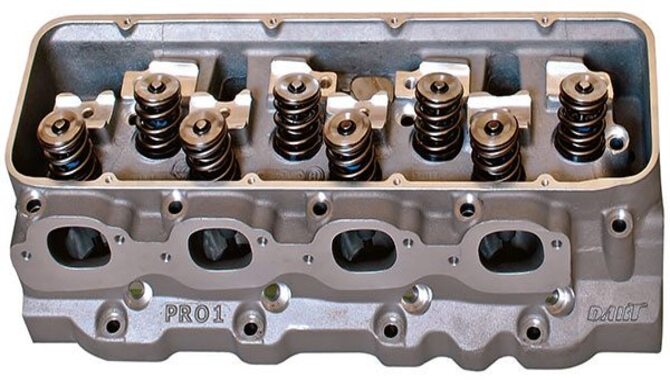
Properly preparing the Small Block Chevy (SBC) heads is crucial when building a high-performance engine. First and foremost, it is important to inspect the heads for any cracks or damage and replace them if necessary. You can begin preparing once you have ensured the heads are in good condition.
This involves cleaning the heads thoroughly to remove any debris or contaminants that may be present. You can use a degreaser solution and wire brush to clean the heads inside and out. Next, remove any burrs or rough edges from the ports and chambers inside the heads. This can be done using a die grinder or sandpaper.
After the ports and chambers have been smoothed out, you can begin porting and polishing to improve airflow and increase horsepower. This involves enlarging and shaping the ports to optimize airflow and removing any rough edges or casting imperfections.
Installing The Head Gaskets
Installing the head gaskets is a crucial step in the process of rebuilding an engine. Head gaskets serve as a seal between the engine block and the cylinder head and play a vital role in maintaining the engine’s compression.
A blown head gasket can cause problems, including engine overheating, coolant loss, and oil contamination. Therefore, it is important to ensure that the head gaskets install correctly to prevent future issues.
The first step in installing the head gaskets is thoroughly cleaning the engine block and cylinder head mating surfaces. Any residual material or debris can cause the gasket to fail prematurely.
Once the surfaces are clean, the head gaskets should be carefully positioned on the engine block. It is crucial to ensure that the gaskets install in the correct orientation and that any required sealant applies to the mating surfaces.
Placing The SBC Heads On The Engine Block
When building a high-performance engine, one of the critical steps is placing the SBC (Small Block Chevy) heads on the engine block. This process involves careful attention to detail, as even the slightest misalignment can lead to significant issues.
The first step is to ensure that the engine block and the heads are clean and free of debris or residual oil. Once you clean the surfaces, carefully lower the heads onto the block while paying close attention to their alignment. Ensure that you match up the bolt holes and seat the gasket correctly.
Once you place the heads, thread the bolts in, starting with the centre bolts and working outwards in a crisscross pattern. You should follow the torque specifications precisely as over-tightening can warp the heads, and under-tightening can cause leaks. The engine is one step closer, with the SBC heads properly secured to the block.
Torquing The SBC Heads
When building a high-performance engine, one of the essential steps is torquing the SBC heads. You must torque the heads correctly to get the most out of your SBC. Torque refers to the force applied to tighten the bolts holding the head. Proper torquing securely fastens the head to the engine block, preventing leaks and maintaining optimal compression.
The recommended torque specifications for SBC heads can vary depending on the engine and the type of bolts used. Generally, it’s best to consult the manufacturer’s guidelines or a trusted mechanic to ensure you’re correctly torquing the heads. Failure to torque the heads properly can result in costly engine damage, such as blown head gaskets or warped heads.
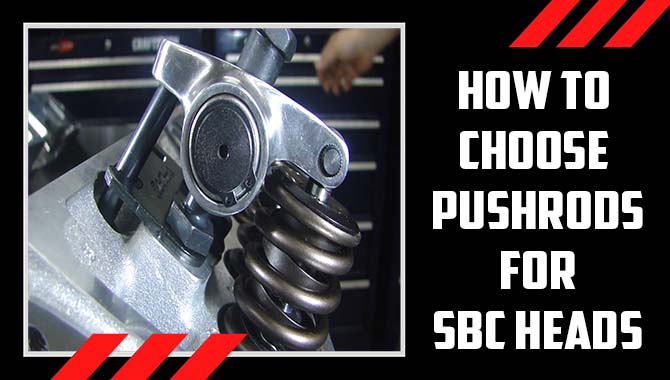
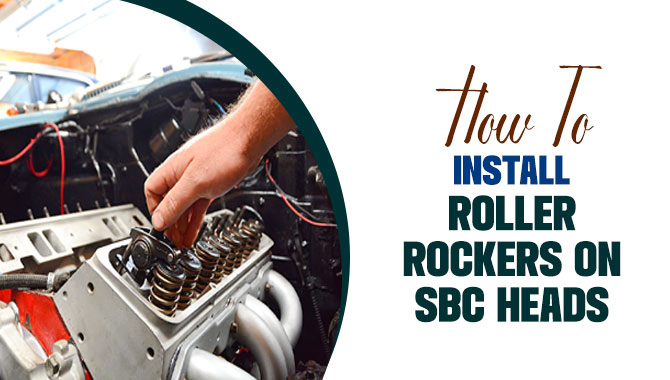
Installing The Pushrods And Rocker Arms
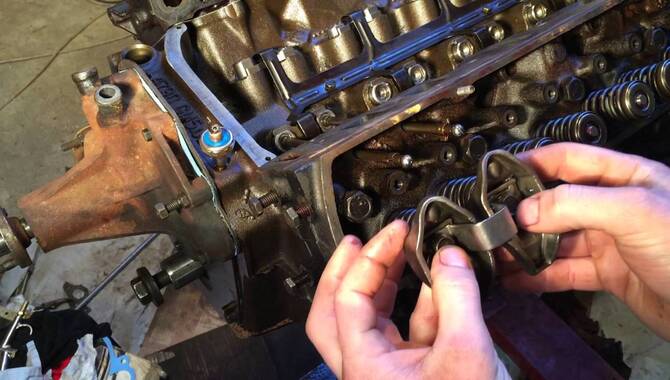
Installing the pushrods and rocker arms is crucial in assembling any overhead valve (OHV) engine. The pushrods transmit the motion from the camshaft to the rocker’s arms, opening and closing the valves.
You must carefully select the length and diameter of the pushrods to ensure proper valve timing and clearance. Before installing them, it is important to ensure they are clean and free of any debris that could damage the engine. The rocker arms should also inspect for wear or damage.
Once the mechanic deems these components fit, they will install them in the engine. They will insert the pushrods through the pushrod guide holes in the cylinder head and the lifter cups. Then, they will position the rocker arms over the valve stems and the pushrod ends.
They will tighten the rocker arm nuts to the specified torque to ensure proper valve clearance. It is essential to double-check the valve clearance and adjust as necessary before starting the engine.
Installing The Intake Manifold
Installing the intake manifold is a crucial step in ensuring the proper functioning of any internal combustion engine. This component is responsible for delivering air into the engine, which is necessary for fuel combustion.
Installing the intake manifold requires careful attention to detail and a good understanding of the engine’s design. Before beginning the installation process, it is important to ensure all necessary components and tools are available. This includes the intake manifold gasket, bolts, and a torque wrench.
The first step is to remove the old manifold and clean the mating surfaces. Once you have done this, you can install the new gasket, followed by the manifold itself. You should tighten the bolts in a specific sequence according to the engine manufacturer’s specifications, using a torque wrench to ensure that you tighten the bolts to the correct level.
Once you have securely put the manifold in place, you can reassemble the rest of the engine components. It is important to test the engine’s performance after installing the intake.
Testing For Compression And Oil Leaks
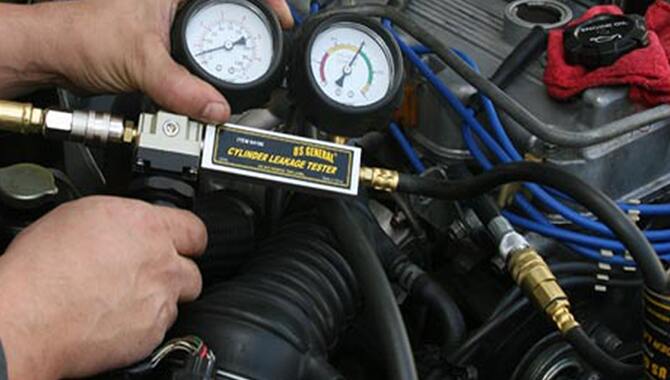
Testing for compression and oil leaks are essential procedures in maintaining the performance and longevity of an engine. Compression testing involves checking the engine’s ability to maintain pressure during combustion.
Insert a pressure gauge into the spark plug hole and turn the engine over to do this. If there is low compression, this could indicate worn piston rings, valves, or head gaskets. On the other hand, oil leaks can occur due to various reasons, such as worn gaskets or seals, damaged engine components, or improper installation.
These leaks can lead to a decrease in oil pressure, which can cause engine damage and even failure. To test for oil leaks, one can inspect for visible signs of oil on the engine components or check the oil levels regularly.
In addition, using UV dye can help identify the source of the leak. Regularly testing for compression and oil leaks can detect potential issues early on and address them promptly, thereby increasing the engine’s reliability and lifespan.
Troubleshooting Common Issues
Troubleshooting common issues is an essential part of maintaining any system or device. Whether it’s a computer, a smartphone, or a piece of machinery, problems can arise at any time. The key to effective troubleshooting is identifying the root cause of the issue.
This often requires a systematic approach that involves gathering information, testing various components, and eliminating potential causes individually. Some common issues that require troubleshooting include slow performance, connectivity problems, and software errors.
In the case of slow performance, it may be necessary to check for viruses or malware, upgrade hardware components, or optimize software settings. Faulty cables, incorrect network settings, or interference from other devices can cause connectivity problems.
Software errors may result from bugs, compatibility issues, or corrupted files. In each case, the key to successful troubleshooting is patience and persistence. By carefully analyzing the symptoms and systematically testing potential causes, it is possible to identify and resolve the issue.
Conclusion
You can successfully install SBC heads on an engine block with the right tools, knowledge, and patience, though it may seem daunting. Knowing How to install SBC heads on an engine block is a crucial task that requires attention to detail and precision.
Following our ultimate guidelines will ensure that your engine performs at its best and provides you with reliable power for years to come. It’s important to remember to double-check your work, torque all bolts to specification, and perform a thorough inspection before starting your engine.
With these steps in mind, you’ll enjoy the benefits of a well-tuned engine with the satisfaction of having installed the SBC heads yourself.
Faq
1.What Tools Will I Need To Install SBC Heads?
Ans: You will typically require a torque wrench, socket set, gasket scraper, thread sealant, assembly lube, and a torque angle meter.
2.How Do I Prepare The Engine Block For Head Installation?
Ans: Ensure the block and deck surfaces are clean and free of debris. Remove any old gasket material using a gasket scraper, and clean the surfaces with an appropriate solvent.
3.What Precautions Should I Take During Head Installation?
Ans: Make sure the head gasket and deck surfaces are properly aligned. Use assembly lube on the head bolts and torque them evenly to the manufacturer’s specifications.
4.Should I Use New Head Bolts Or Reuse The Old Ones?
Ans: Using new head bolts for optimal performance and to prevent potential issues is generally recommended. New head bolts ensure accurate torque readings.
5.How Do I Properly Torque The Head Bolts?
Ans: Follow the recommended torque specifications provided by the head manufacturer. Typically, you will torque the bolts in a specific sequence using multiple steps to achieve the final torque value.