
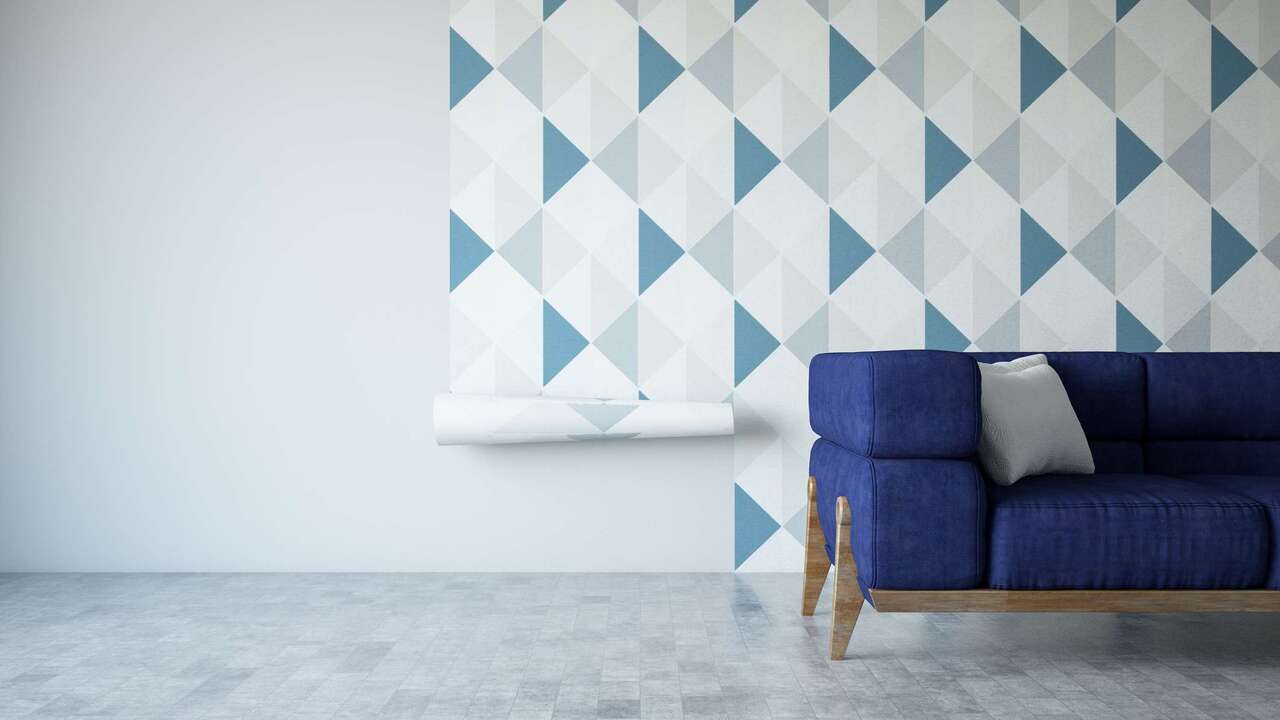
Wallpaper is a great way to add style and personality to any room. However, it can be daunting to know where to start when selecting and applying wallpaper.
This primer provides an overview of the basics of wallpaper, including the different types of wallpaper, how to measure and prepare a wall for wallpaper, and how to install wallpaper properly.
By the end of this primer, you will have the knowledge and confidence to select and install the perfect wallpaper for your space. So, if you’re ready to add a splash of color and personality to your walls, let’s get started and explore the world of wallpaper!

Primer: Wallpaper Basics
This article provides a primer for wallpaper, giving readers an overview of the various types, styles, and materials available. It covers the basics of wallpaper installation, as well as tips for choosing the right wallpaper for your home.
Additionally, this article offers advice on how to care for and maintain wallpaper once it has been installed. With this primer for wallpaper, readers will be able to make informed decisions when selecting the perfect wallpaper for their home.
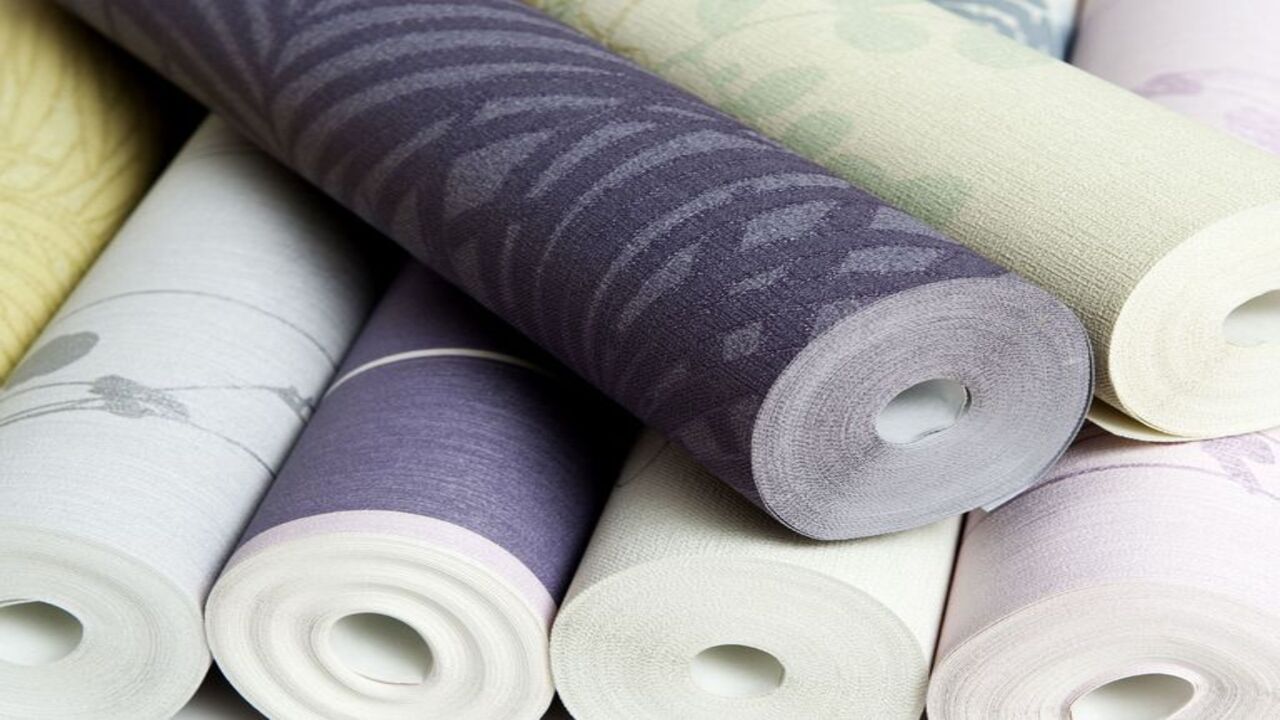
Types Of Wallpaper
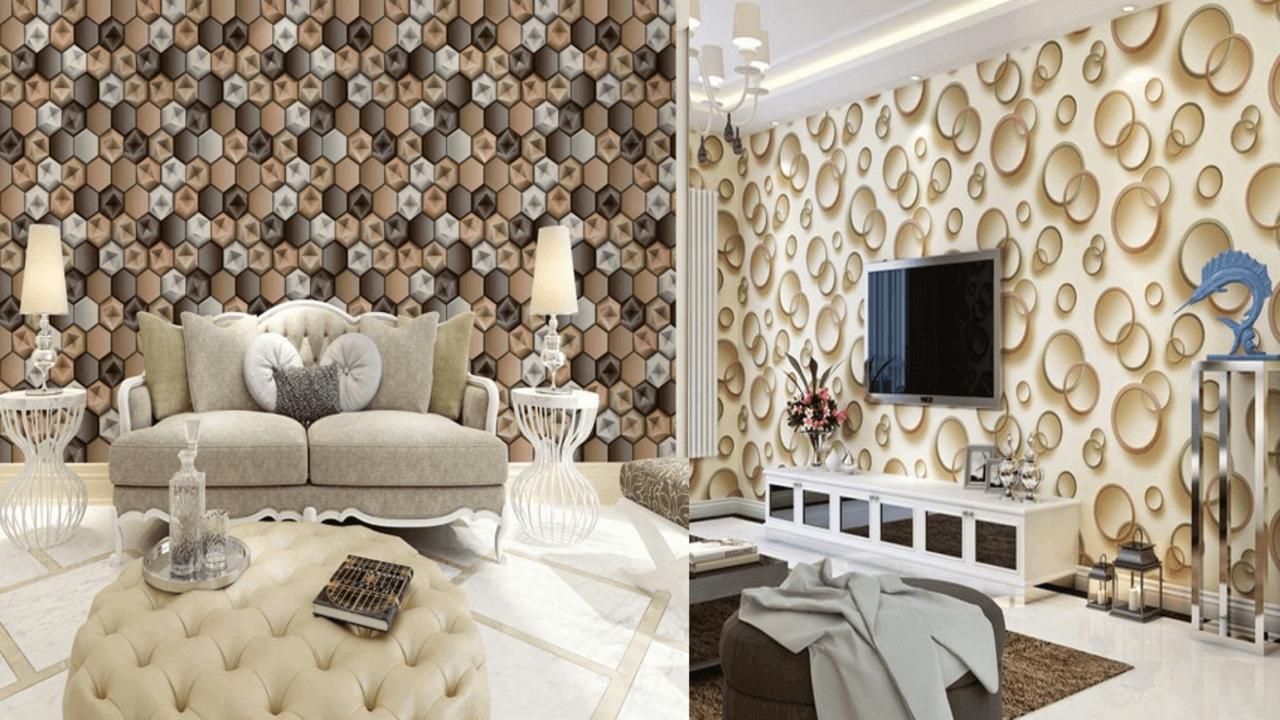
Wallpaper is a great way to add texture, depth, and personality to any room. There are many different types of wallpaper to choose from, each with their own unique look and feel. The most common types of wallpaper are vinyl, fabric, and paper-backed. Vinyl wallpaper is the most popular and is great for areas that get a lot of wear and tear.
Fabric wallpaper is a great option for bathrooms and kitchens, as it is more resistant to moisture. Paper-backed wallpaper is the least expensive and is easy to install. It is also the most versatile, as it can be used in any room.
For more intricate patterns and designs, textured wallpaper is a great option. It is available in a variety of textures, from smooth to rough, and offers a more unique look to any room.
Standard Wallpaper
Standard wallpaper is the most common type of wallpaper and is readily available in a variety of colors, patterns and textures. It is made up of a paper backing and a vinyl or acrylic coating that makes it durable and resistant to staining. Standard wallpaper is great for high-traffic areas, and is easy to clean with a damp cloth.
It can also be painted over, allowing for easy updates to a room. It is most often installed by pasting the wallpaper to the wall, but some types may require special adhesives. Standard wallpaper is an affordable option and is a great choice for any room in the home.
Textured Wallpaper
Textured wallpaper adds a unique visual element to any room. It is a popular choice for interior decor and can be used to create a range of effects from subtle to dramatic. Before you hang textured wallpaper, it is important to ensure that the walls have been properly prepared for the job.
Primer helps to ensure that the wallpaper adheres properly and that it will last for years to come. A primer also helps to create a smoother surface for the wallpaper to adhere to, which will help the wallpaper to last longer. Additionally, priming the wall helps to seal any imperfections in the wall, preventing them from showing through the wallpaper.
For best results, use a high-quality primer that is designed for textured wallpaper. This will help to ensure that the wallpaper adheres properly and that it will look great for years to come.
Grasscloth Wallpaper
Grasscloth wallpaper is a great way to add texture and visual interest to any room. It is made of natural grasses like jute, sisal, and hemp, and can be dyed a variety of colors. Additionally, grasscloth wallpaper is durable and environmentally friendly.
The texture of grasscloth is one of its biggest advantages, making it an excellent option for rooms with a lot of natural lighting, as it will absorb and diffuse excess light.
To ensure a successful installation, it is important to properly prepare the walls and use a high-quality adhesive. Any flaws in the wall should be fixed ahead of time so the wallpaper hangs evenly. Additionally, it is important to match the pattern of the strips when hanging the wallpaper to create a consistent look.
Embossed Wallpaper
Embossed wallpaper is a popular choice for many homeowners looking to add a touch of texture to their walls. It is created by pressing a design into the wallpaper, which gives it a raised effect.
This type of wallpaper can be used to create a dramatic look or to add subtle texture in a room. To ensure your embossed wallpaper looks its best, you will need to use the right primer.
It is best to use a primer that is specifically designed for wallpapering, as this will help create a strong bond with the wall. Primer also helps to make the wallpaper more resistant to dirt and moisture, which helps keep it looking good for longer.
Preparing The Walls
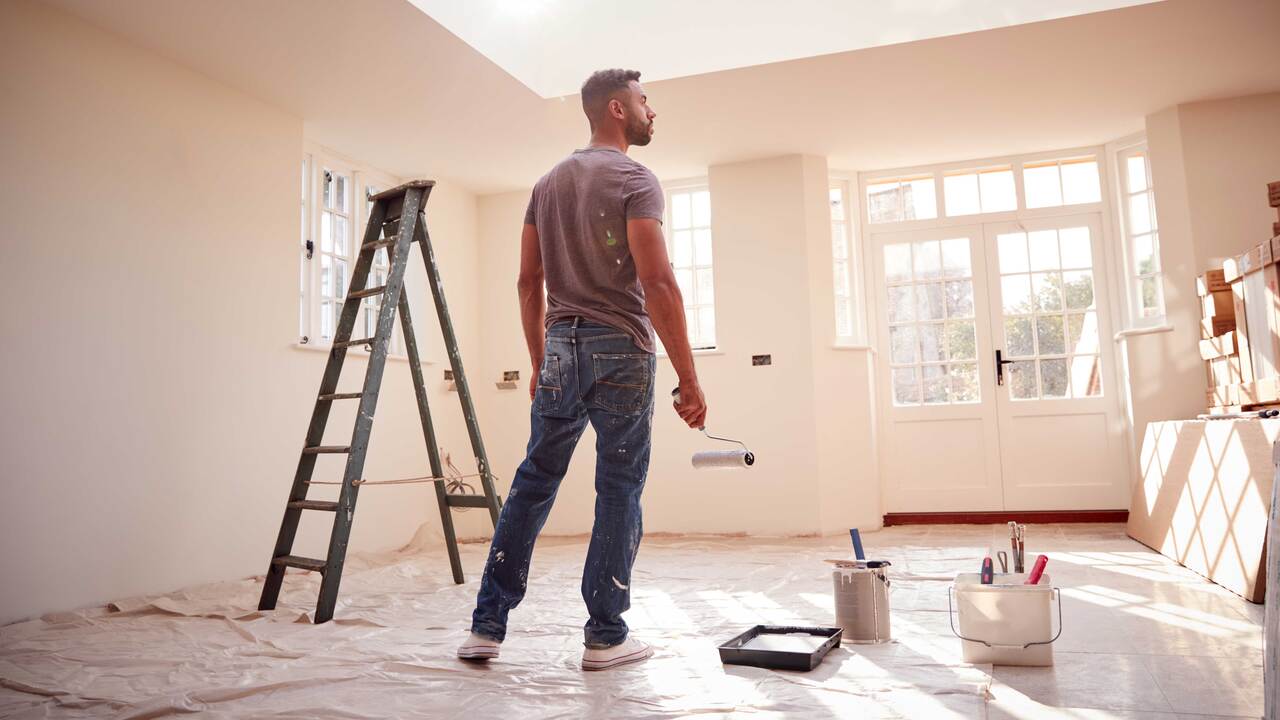
Preparing the walls before applying wallpaper is a crucial step in the process. Start by removing any existing wallpaper with a steamer or a scoring tool. After all of the wallpaper is removed, sand the walls to remove any remaining residue.
Once the walls have been sanded, wipe them down with a damp cloth and let them dry. To ensure a smooth surface, patch any holes with spackling and sand the patched areas. Finally, apply a coat of primer to the walls and let it dry completely before beginning the wallpaper installation. Following these steps will help ensure a successful wallpaper installation and a beautiful look.
Cleaning The Walls
Cleaning the walls is an important step before installing wallpaper. To ensure a successful outcome, it is important to thoroughly clean the walls to remove dirt and debris. Start by wiping down the walls with a damp cloth to remove any surface dirt.
If the walls are especially dirty, use a mild detergent in warm water to clean them. Rinse the walls with a damp sponge and dry with a lint-free cloth. For tougher stains, such as crayon marks or grease, use a cleaner specifically designed for walls or scrub with an abrasive sponge.
Additionally, inspect the walls for any holes or cracks and fill them in with a spackling compound before applying primer. Once the walls are clean and free of any defects, you are ready to apply a primer coat.
Testing For Flatness
When buying wallpaper, it is important to check for flatness. To do this, you’ll need to open the wallpaper and lay it out flat on a flat surface. If the wallpaper is not flat, it will be difficult to hang the wallpaper evenly on the walls. To ensure flatness, press down on the wallpaper while it is laid out.
If there are any bumps or lumps, the wallpaper will not be suitable for hanging. Additionally, look for any creases or folds that may have been caused during shipping or storage.
If any of these are present, the wallpaper may not hang properly and may even need to be discarded. If your wallpaper passes the test for flatness, then you can be sure it will hang properly and add a beautiful touch to your walls.
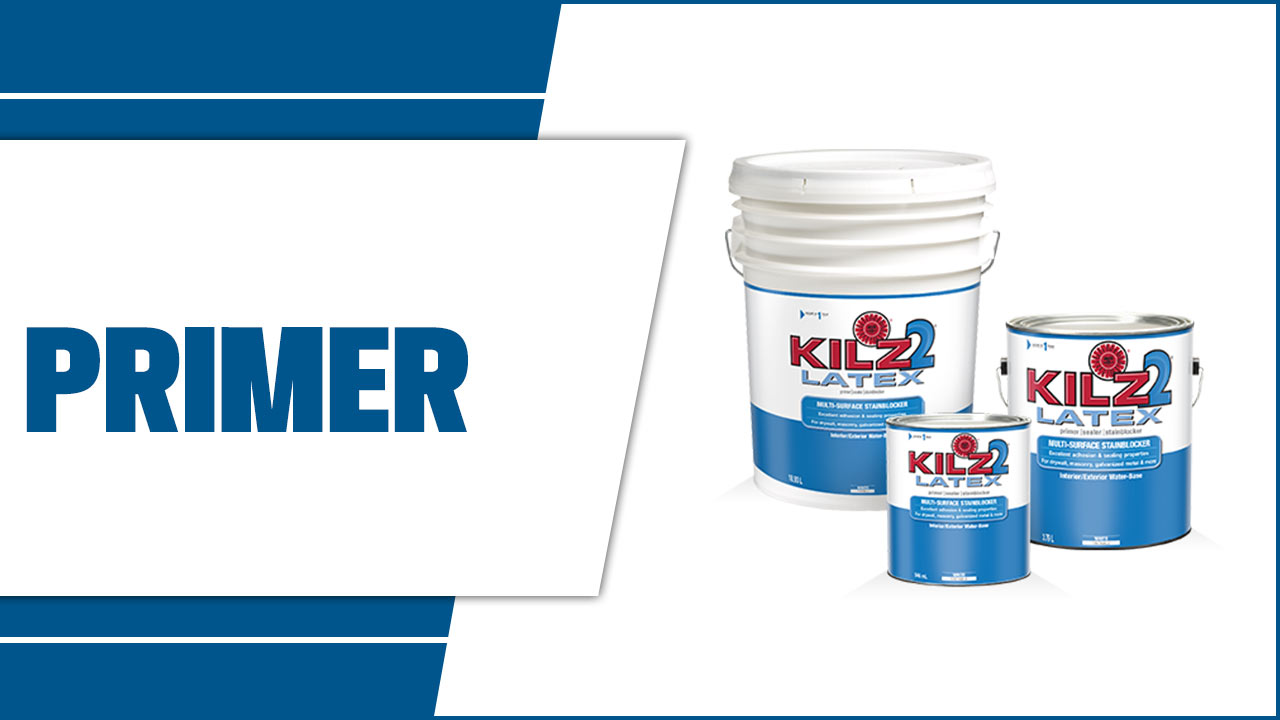
Applying Primer
Applying primer before wallpapering is an essential step to ensure the wallpaper adhesive sticks to the wall securely. To apply primer, mix the primer with water according to the manufacturer’s instructions. Then, use a brush or roller to spread the primer evenly over the wall.
Make sure to take care of any dents, cracks, or other imperfections in the wall before applying the primer. Afterwards, allow the primer to dry completely before applying the wallpaper adhesive. This step is important as the primer helps the wallpaper adhesive adhere to the wall better and ensures that the wallpaper will last for many years to come.
Repairing Damaged Walls
When you’re repairing damaged walls, you’ll need to prepare them properly. Priming the walls is an important step for wallpaper installation. Primer seals the wall, so the wallpaper adheres better and lasts longer. It also helps create an even foundation for the wallpaper and ensures the surface is clean and free of dust and debris.
When applying the primer, make sure you use a quality brand that is specifically designed for wallpaper applications. Use a clean roller or brush to apply the primer in even strokes over the entire wall. Allow the primer to dry completely before continuing with the wallpaper installation.
For additional protection, you may also want to apply a sealant to the walls before starting. This will provide an added layer of protection against water, dirt, and other elements that could potentially damage the wallpaper. Take your time when preparing the walls for wallpaper. Doing it right the first time will ensure your walls look their best and last for years to come.
Hanging The Wallpaper
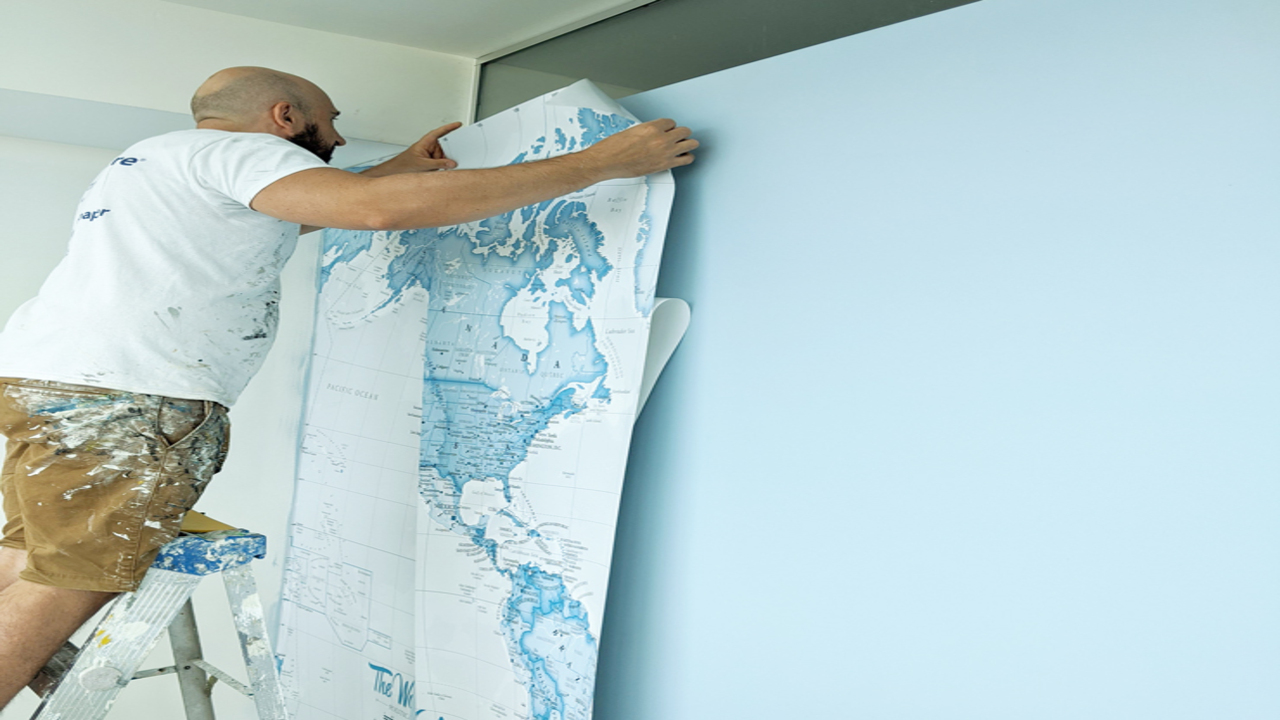
Hanging wallpaper is no easy task. It takes a bit of patience, a bit of practice, and a bit of know-how. Fortunately, with the right preparation, you can get the job done without breaking a sweat.
The first step is to prepare the walls. This may involve cleaning, sanding, and priming. Once the walls are ready, you can begin to hang the wallpaper. Start at the top of the wall and work your way down.
Make sure to keep the edges straight and use a damp cloth to smooth out any air bubbles. If you’re using a patterned wallpaper, be sure to match the pattern at the seams. Finally, trim any excess paper and you’ll have a beautiful wall. With a bit of practice and patience, hanging wallpaper is a task that anyone can master.
Calculating The Number Of Rolls
Wallpapering a room is a great way to add a touch of color and texture to a space. Before you start, however, it’s important to calculate the number of wallpaper rolls you need. To do this, consider the size and shape of the room you’re wallpapering.
Start by measuring the room’s height, width, and length. Then, multiply the length and width to get the total square footage. Divide this number by the square footage of a single roll of wallpaper to get the number of rolls needed.
If the room has any windows or doors, subtract their square footage from the total. Finally, add 10% to account for any mistakes or cuts. Following these steps will ensure that you have the right amount of wallpaper for the job.
Preparing The Paste
Preparing the paste is the most important step in priming a wall for wallpaper. First, you will need to measure out the correct amount of paste for the room. Next, mix the paste and water in a large bucket according to the instructions on the package. Make sure to mix thoroughly until the paste is the consistency of a thick cream.
Once the paste is ready, use a brush or roller to evenly apply the paste to the wall. Let the paste dry for the recommended amount of time before adding the wallpaper. This process can take several hours depending on the room’s temperature and humidity. With the correct preparation, you will be ready to hang the wallpaper for a beautiful finish.
Applying The Paste
Applying the paste is a crucial step when installing wallpaper. Before starting, make sure the wall is clean, dry, and smooth. Begin by mixing the paste according to the manufacturer’s instructions.
To apply the paste, use a roller or brush starting from the top of the wall and working downwards. It should be applied in a consistent manner and take care to avoid any air bubbles. Once the paste is applied, it is important to let it rest for the time specified in the instructions.
This ensures that the paste is sufficiently activated and will adhere properly. After the resting time, you can hang the wallpaper. Following these steps will help ensure a successful wallpaper installation.
Hanging The Wallpaper
Hanging wallpaper requires patience, precision, and a certain level of skill. Before you begin, make sure you have the right tools for the job, including a wallpaper brush, a seam roller, a razor knife, a damp sponge, a straight edge, and a pasting table.
All of these tools are necessary for creating a seamless and professional looking wallpaper installation. Begin by measuring the wall, and then cut the wallpaper to the correct size. If you are using paper-backed wallpaper, you will need to use a pasting table to apply the adhesive to the back of the paper.
When you are ready to hang the wallpaper, use a wallpaper brush to spread the adhesive onto the wall. Then carefully place the wallpaper onto the wall, and use a seam roller to ensure that it is properly adhered.
For seams and corners, use a razor knife to trim the excess paper. Finally, use a damp sponge to remove any excess adhesive. With the proper tools and techniques, you can easily hang wallpaper in your home and create a beautiful, professional look.
Conclusion
This article provides an overview of the basics of wallpaper, including types of wallpaper, adhesive tips, and installation techniques. It also covers common mistakes to avoid when hanging wallpaper and provides helpful resources for further information. Whether you’re a beginner or experienced DIYer, this article has all the information you need to get the job done right.
FAQ’s
1.What Are The Different Types Of Wallpaper Available?
Ans: The different types of wallpaper available include vinyl-coated, pre-pasted, fabric-backed vinyl, and solid sheet vinyl. Vinyl-coated wallpaper is highly durable and easy to clean.
Pre-pasted wallpaper is ready to install and requires no additional paste. Fabric-backed vinyl wallpaper is a more expensive option but offers a softer look than traditional wallpaper. Solid sheet vinyl wallpaper is the most durable and requires no additional paste.
2.What Steps Should I Take When Prepping A Wall For Wallpaper Installation?
Ans:
- Start by removing any existing wall coverings, such as paint, plaster, or wallpaper.
- Clean the wall with a damp cloth to remove any dirt or dust.
- Fill in any holes or cracks with spackle or drywall compound.
- Finally, apply a wallpaper primer to the wall and allow it to dry before installing the wallpaper.
3.What Are The Benefits Of Using Wallpaper Over Paint?
Ans: Wallpaper has the potential to add more depth and texture to a room than paint alone. Wallpaper also has the advantage of offering a wide variety of patterns and colors, so you can really customize the space. Additionally, wallpaper can be easier to clean and may last longer than paint in high traffic areas. Finally, wallpaper can be a more cost-effective option than painting walls with high-end paint or faux finishes.
4.What Tools Are Required For Wallpaper Installation?
Ans: Tools needed for wallpaper installation include a measuring tape, a wallpaper smoother, a wallpaper brush, a utility knife, a straight edge, and a steamer. A ladder or step stool is also usually necessary to reach higher areas.
A sponge or cloth is also necessary to wipe away excess paste and clean up any mistakes. Finally, a bucket and wallpaper paste are also typically required for the installation process.
5.How Do I Select A Wallpaper Pattern That Best Suits My Room?
Ans: To select the best wallpaper pattern for a room, consider the style of the room, the color scheme of the room, and the overall atmosphere you are trying to create. Take into account the size of the room and the amount of natural light that enters the space. Think about how the pattern will look on the walls, and select one that works with the existing furniture and decor.
![Where To Buy Weld Through Primer? [Practical Advice]](https://accuratepicker.com/wp-content/themes/Extra/images/post-format-thumb-text.svg)
