

A primer is an essential step in the preparation of exterior wood surfaces prior to painting or staining. Primers act as a sealant, preventing moisture from penetrating the wood and inhibiting the growth of mold and mildew.
They also provide a basecoat for the topcoat of paint or stain, ensuring a longer-lasting finish. This article will provide an overview of the different types of primers available, their benefits, and best practices for applying them. With the right preparation and application, you can ensure your exterior wood surfaces look their best for years to come. Read on to learn more about priming your exterior wood surfaces.

Exterior Wood Primer: A Guide

This article is a primer for exterior wood, providing an overview of the types of wood, the best finishes, and proper maintenance techniques. We’ll look at wood species that are suitable for outdoor use, the best finishes for protection against the elements, and how to properly care for exterior wood to ensure it lasts for years to come.
We’ll also discuss the best practices for staining and painting wood, and how to repair wood that has been damaged by the elements. Finally, we’ll provide some tips and tricks to help you get the most out of your exterior wood projects.
Preparation

Preparing exterior wood for painting requires several steps. First, clean the wood using a pressure washer, paying special attention to areas that may have mold, mildew, or dirt buildup. If the wood is weathered, use a sandpaper or belt sander to remove any rough patches.
After this, remove any old paint or sealer by using a chemical stripper or heat gun. Finally, apply a primer to the wood to ensure the paint adheres properly and lasts for a long time. Make sure the wood is dry before you begin to paint, and use a paintbrush or roller to apply the paint evenly. With proper preparation, you can make sure your exterior wood looks beautiful with a fresh coat of paint.
Cleaning
Cleaning exterior wood is an important part of maintenance and upkeep. Regular cleaning helps protect the wood from the elements and can even extend its life. To clean exterior wood, the first step is to use a pressure washer with a low-pressure tip to remove debris, dirt, and mildew.
It is important to be careful not to damage the wood in the process. If there is mildew, use a mild detergent with the pressure washer and lightly scrub the affected area. Rinse the area off with the pressure washer afterwards. To prevent mildew growth, use a clear water sealer with a UV protector to protect the wood from the elements.
This should be done on a yearly basis. Finally, use a good quality natural-bristle brush to clean the wood and help to bring out its natural beauty.
Stripping
Stripping the wood of any existing paint or stain is the first step in the process of exterior wood finishing. It is important to use the right tools and materials for the job, such as abrasive stripping pads, chemical strippers, and heat guns.
It is also important to ensure that the entire surface is stripped, as any existing paint or stain left behind can cause uneven results. If you are unsure of the best method for stripping your particular exterior wood, consult a professional. Once the wood is stripped, use sandpaper to smooth the surface and prepare it for finishing.
Repairing
When it comes to repairing exterior wood, it is important to take the necessary steps to ensure the job is done right. First, it is important to remove the damaged wood, taking care to cut away any loose or splintered edges. Then, the area should be cleaned of dirt, dust, and debris before being filled with wood filler. Once the filler is dry, it is important to sand it down to ensure a smooth surface.
Finally, a primer should be applied to the area to protect the wood from water damage and rot. Once the primer is dry, a sealant can be applied to protect the wood from further damage. With the right preparation and materials, you can ensure your exterior wood is repaired and protected for years to come.
Sanding
Sanding is an important step in the process of prepping exterior wood surfaces for priming. It is necessary to remove dirt, old paint, and other materials that may be present on the wood surface. Sanding can be done by hand using sandpaper or with a power sander. It is important to be sure to sand evenly, and to use the correct grit size of sandpaper for the job.
After sanding, it is important to remove all dust and debris from the surface before applying primer. Vacuuming or using a cloth or paintbrush to remove the dust is usually sufficient. If there is any roughness or splinters on the surface, they should be sanded out before priming. With proper sanding, your exterior wood surfaces will be ready for priming and painting.
Priming
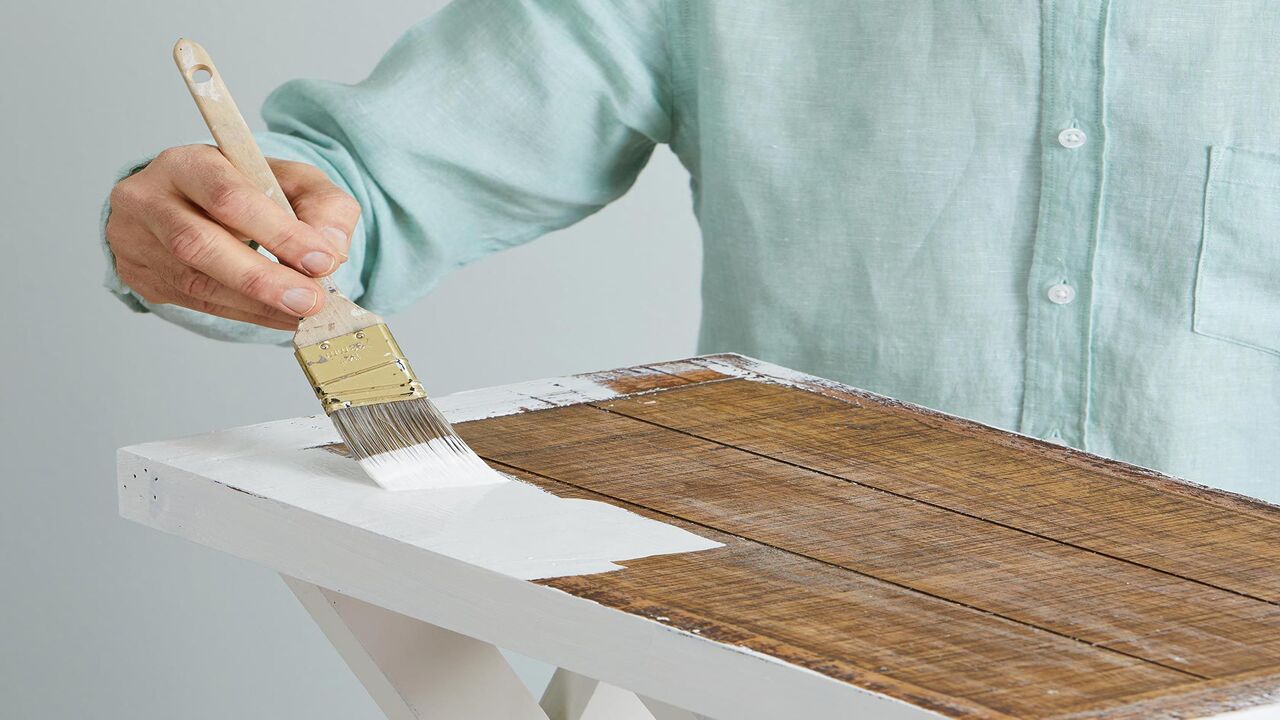
Priming is an important step in exterior wood preparation. It helps create a uniform surface for topcoat application and helps protect the wood from the elements. Primers are designed to bond to wood surfaces and provide a protective barrier against moisture, chemicals, and UV light.
Additionally, primers also improve adhesion of topcoats and provide a base for a uniform finish. When selecting a primer for an exterior wood project, it is important to choose one that is compatible with the wood type and the type of finish being applied.
Primers can be either oil-based or water-based, with some offering both. Oil-based primers are preferred for woods that are difficult to paint such as cedar and redwood. Water-based primers are usually used on softwoods and provide a smoother finish.
Primers should also be chosen based on the type of topcoat being applied and the intended use of the wood. For example, a latex primer should be used when applying a latex finish. Ultimately, primers are key to the longevity of exterior wood projects and should be chosen carefully.
Surface Requirements
When painting exterior wood, it is important to ensure that the surface is properly prepared. This includes removing any existing paint, dirt, and debris, as well as sanding the wood to create a smooth surface. Additionally, any cracks, knots, or other imperfections should be filled in with an appropriate filler.
Once the surface is prepped, it is important to use a primer. Primers help to create a smooth base for the paint to adhere to, as well as providing a protective barrier against the elements.
It is important to select a primer that is specifically designed for exterior use, as well as one that is compatible with the paint that is being used. Additionally, primers should be applied in multiple thin layers, allowing each layer to dry before applying the next. Finally, after the primer is applied, it is important to let it dry completely before beginning the painting process.
Primer Types
There are several types of primers available for exterior wood surfaces. Oil-based primers are the most commonly used, as they are very versatile and provide excellent adhesion. They also tend to be more durable, and provide greater protection from moisture and other elements.
Water-based primers are easier to clean up, but may not provide as much protection. Epoxy primers are extremely durable and provide superior protection from moisture and other elements, but they are also more expensive and difficult to use.
Urethane primers are very durable and provide excellent adhesion, but they are also more expensive and difficult to apply. Finally, acrylic primers are easy to apply, have good adhesion, and provide good protection from the elements, but they may not be as durable as other primer types.
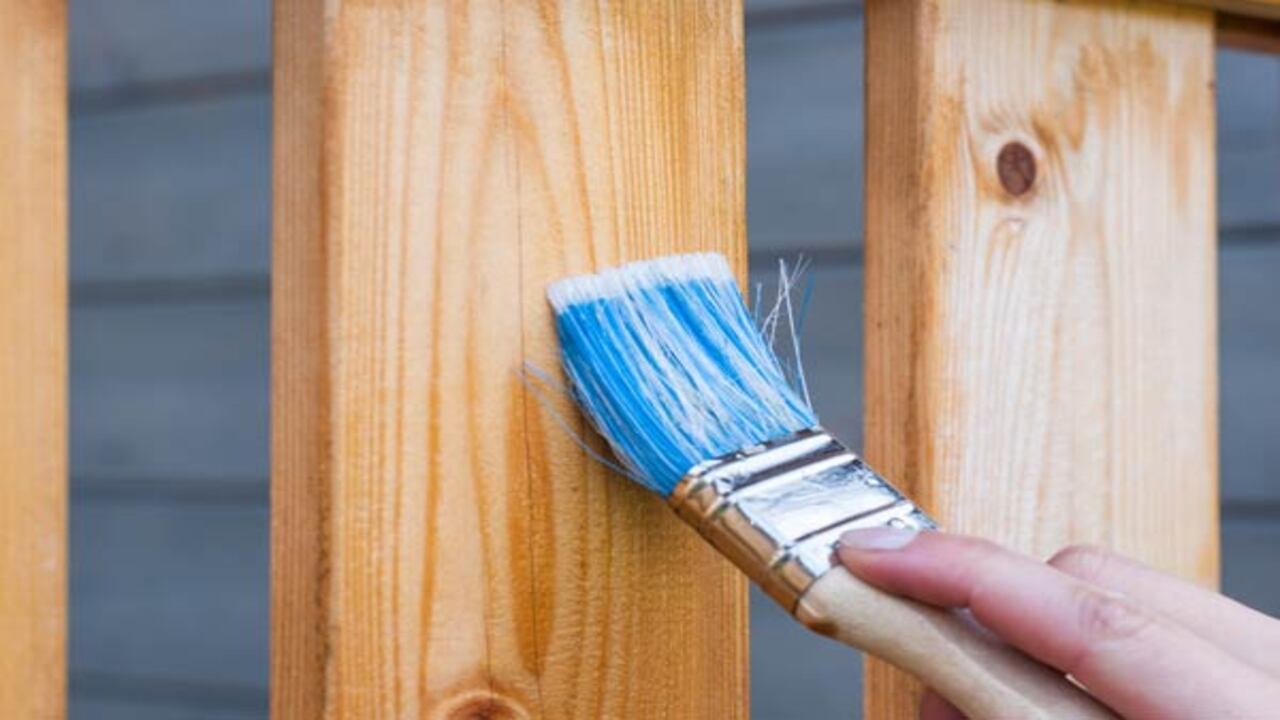
Application
Exterior wood surfaces require a primer before painting or staining. Primers provide an even base coat to ensure the paint or stain adheres properly and resists cracking, peeling, and fading. The type of primer used depends on the type of wood and the desired finish. For raw wood, a high-quality exterior latex primer is recommended.
If the wood has been previously painted, use a latex-based primer designed for previously painted surfaces. For staining, use a water-based primer designed for use with wood. Make sure the primer is rated for exterior use and the right type of wood.
Drying Time
When painting exterior wood, it is important to allow the primer to dry completely before applying the topcoat. Drying time depends on the type of primer used and the environmental conditions. For oil-based primers, plan on allowing a minimum of two hours of drying time between coats of primer.
If the temperature is below 50° F, the drying time may be significantly longer. Water-based primers typically require a shorter drying time; an hour or two should be sufficient.
If it is a particularly humid day, however, the primer may take longer to dry. Always check the manufacturer’s instructions for drying time and additional information. In general, it is better to err on the side of caution and allow more time for drying, rather than rushing the process.
Finishing
When it comes to finishing the exterior of your wood, it is important to remember that the finish is the final layer of protection. To ensure a long-lasting finish, it is important to select a product that is designed to withstand the elements. The best choice is usually a high-quality exterior primer.
This type of product will help protect the wood from UV rays, moisture, and other environmental factors. Additionally, it will provide a base for the topcoat, allowing it to adhere better and last longer. When applying the primer, be sure to follow the manufacturer’s instructions and use a quality brush or roller.
This will ensure that the primer is applied evenly and smoothly. Once the first coat of primer has been applied, allow it to dry completely before applying the topcoat. With proper preparation and a quality exterior primer, your wood will be ready for a beautiful and lasting finish.
Paint Types
When painting exterior wood, an initial coat of primer is essential for a lasting finish. Primers come in a variety of paint types, each designed for different surfaces and conditions. Water-based primers are best used on bare wood and metal surfaces, as they provide a good seal and are less likely to chip, peel, or crack.
Oil-based primers are ideal for exterior wood, as they penetrate deep and provide a better bond for the paint finish. Additionally, they are more effective at blocking out moisture than water-based primers.
Acrylic primers are a good all-purpose option, as they provide a good seal and are less likely to chip or peel, while also being more resistant to mildew and mold. They also allow for better adhesion, so the paint finish will last longer. Whatever paint type you choose, make sure to follow the manufacturer’s instructions for best results.
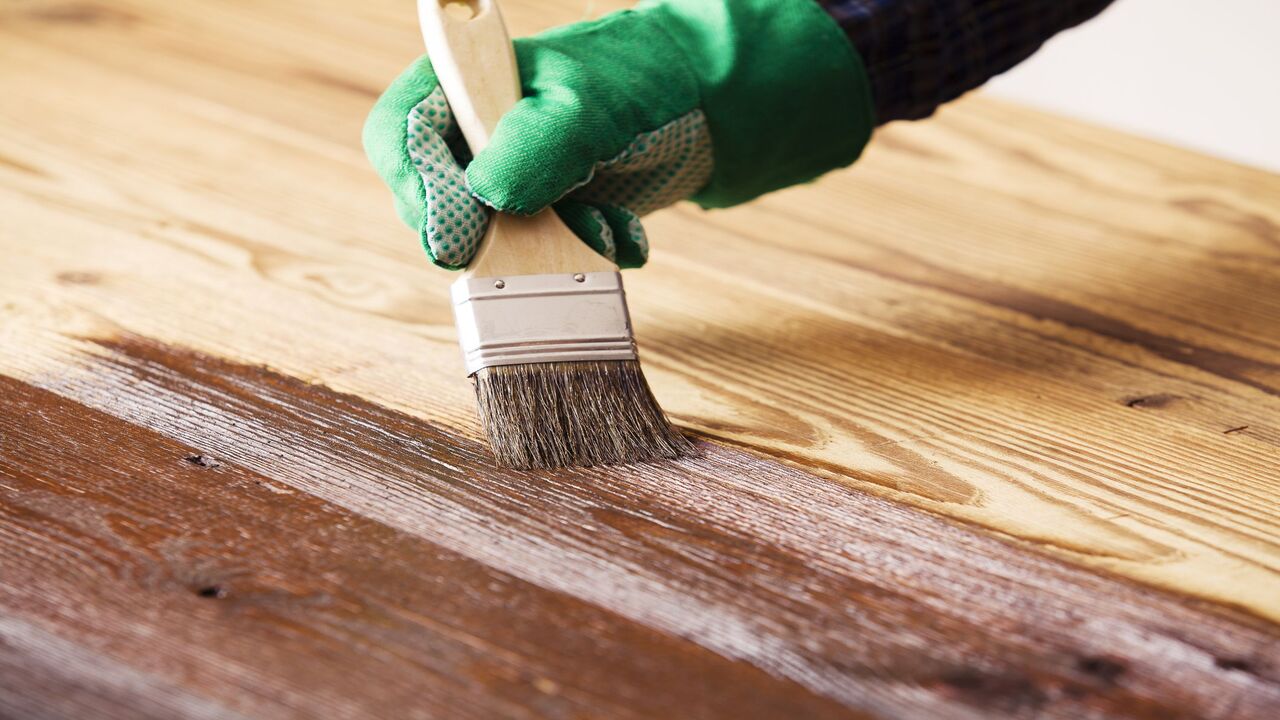
Application
Applying primer to your exterior wood surfaces is an important step for a successful paint job. For best results, start by cleaning the wood surface of any dirt, dust, or debris that could interfere with adhesion. Once the surface is clean, use a brush or roller to apply the primer, working in small sections to ensure even coverage. Make sure that all the edges, corners, and crevices are covered.
If you’re using a brush, use long strokes and move in the same direction with each stroke. Allow the primer to dry completely before applying additional coats or the topcoat. If you plan on painting the wood, use a paintbrush and a high-quality paint. Be sure to read the manufacturer’s instructions for drying times and other important instructions.
Finishing Touches
Once your primer has been applied, you are ready for the finishing touches. To achieve the desired look, you can use a sealer or a topcoat. A sealer is a clear coating that helps protect the wood from moisture, while a topcoat is a colored coating that adds color and protection.
For the best results, apply two coats of sealer if you are working with raw wood. The sealer should be allowed to dry for at least 24 hours before applying the topcoat. The topcoat should also be applied in two coats and allowed to dry for at least 24 hours before it is exposed to the elements. After the topcoat has been applied, you can finish the wood with a sealer or topcoat of your choice.
Maintenance
Proper maintenance of exterior wood is essential to ensure it remains in optimal condition. Regularly inspect wood surfaces for signs of wear such as discoloration, chipping, or fading. If any damage is visible, repair or replace the affected area as soon as possible. Clean wood surfaces regularly using a mild detergent and warm water.
A pressure washer may be used to remove stubborn dirt and debris. If painting, staining, or sealing the wood, use a high-quality product specifically designed for exterior use. Reapply finishes as recommended by the manufacturer to help protect the wood from the elements. For extra protection, consider applying a sealant that is waterproof and breathable.
Conclusion
This article provides an overview of the necessary steps to properly prime exterior wood. It covers the types of primers available, the importance of preparing the surface for painting, and the best techniques for applying primer. It also explains the benefits of using a quality primer, and provides advice on selecting the best one for the job. Lastly, it offers tips on how to maintain the wood’s appearance after priming.
FAQ’s
1.What Type Of Material Is Best For Exterior Wood?
Ans: The best material for exterior wood is one that is durable, rot-resistant, and weather-resistant. Cedar and redwood are very popular materials because they are naturally resistant to rot and decay.
Pressure-treated lumber is also a good option, as it is treated with preservatives to increase its resistance to insects and decay. Finally, composite materials, such as fiber cement and cellular PVC, are ideal for exterior wood applications as they are very durable and require minimal maintenance.
2.How Can I Protect My Exterior Wood From The Elements?
Ans: To protect exterior wood from the elements, you should apply a waterproof sealer or paint to the wood. Additionally, you can use a preservative treatment to protect the wood from rot and decay.
You should also cover the wood with a tarp when not in use and inspect it regularly for signs of wear or damage. Finally, it is important to clean the wood regularly with a pressure washer to remove dirt and debris.
3.What Kind Of Primer Should I Use For Exterior Wood?
Ans: The type of primer you should use for exterior wood depends on the type of wood you are using and the type of paint you plan to use. For most exterior wood, an oil-based primer is recommended as it provides better protection against the elements.
If you’re using a water-based paint, then a latex primer is recommended. For highly absorbent wood, such as cedar or redwood, a good quality stain-blocking primer should be used.
4.What Is The Best Way To Apply Primer To Exterior Wood?
Ans: The best way to apply primer to exterior wood is to begin by thoroughly cleaning the surface with a pressure washer and removing any existing loose paint. The wood should then be allowed to dry completely before applying the primer. Primer should be applied with a brush or roller in even coats. Finally, the primer should be left to dry before applying any exterior paint.
5.How Long Does Exterior Wood Primer Typically Last?
Ans: Exterior wood primer typically lasts for up to five years when properly applied and maintained. However, the exact lifespan can be impacted by the type of primer and environmental conditions such as moisture and sunlight.
It’s important to check the manufacturer’s instructions to determine the expected lifespan of the particular primer being used. Regular inspections and maintenance can help to extend the life of the primer.
