
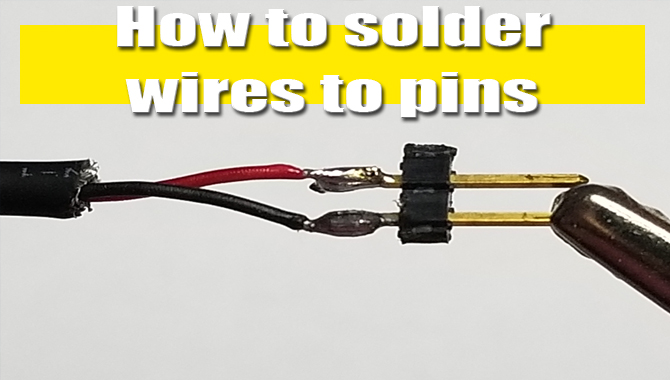
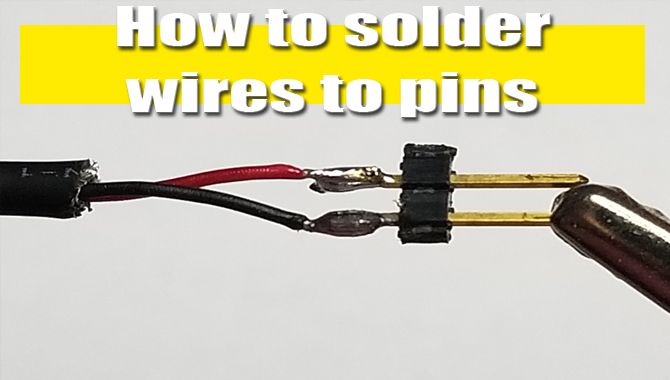
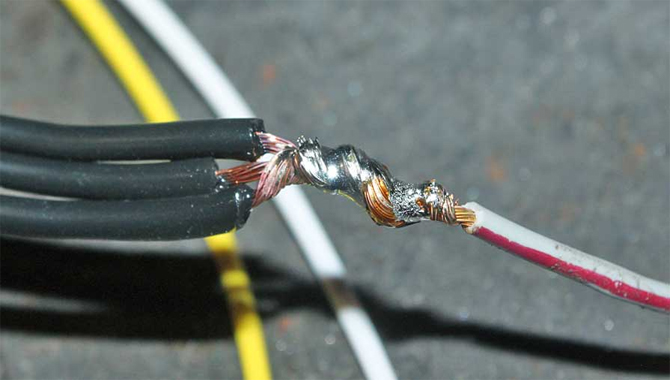
Soldering a wire to a pin header can be tricky. Though it sounds effortless, you will eventually encounter several challenges while getting the work done. One of the common incidents is the breakage of the wire. So, how to solder wires to pins?
Simply say, forming a mechanical connection with the metal wire before soldering can be the easiest solution to such a problem. Creating a wire loop around the header is the mechanical connection we are talking about.
However, you will require assistance while holding the pin header. Once, we came across a guy who helped us learn a trick of assistance.
He said, “how about using a chunk of clay as the third hand?” It was indeed surprising and worked great!
What Is Soldering?
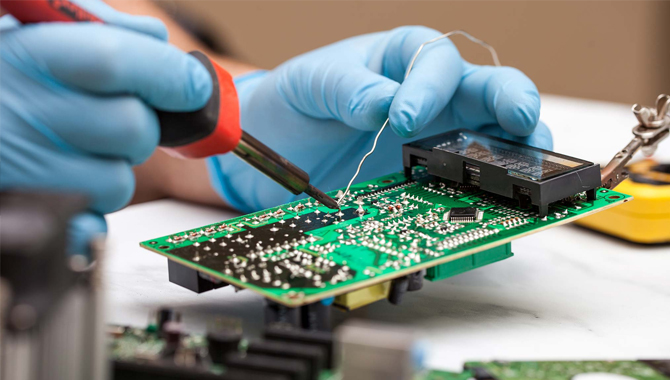
Soldering comes in whenever we want to make a connection between two metals having low temperature & conductive filler material.
Using a flux, the metal surface is chemically cleaned and the filler adheres to the base metal. In such a way, we establish a strong bond.
We are using solder iron to melt the filler metal and putting it at the joint of other metals having a higher melting point. Though it sounds trivial, due to different challenges, the question “how to soldering wires to pins?” arises.
Tools Required For The Job
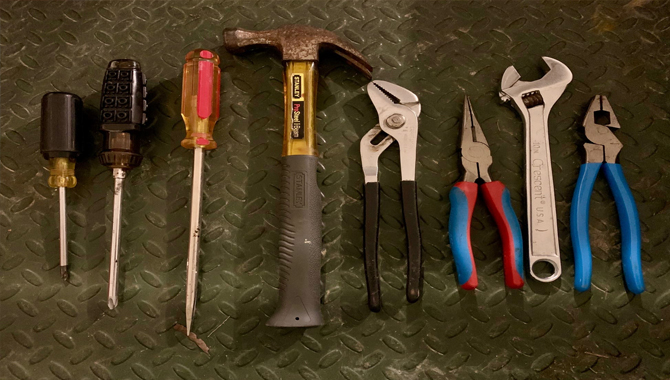
- Soldering iron (15-30watt model is preferable for small components)
- Soldering Gun (for larger projects)
- Solder (We prefer rosin core spool of 0.032inch & 2.5ounce)
- Header pin
- Brass Brillo pad (for cleaning up the iron tip but not mandatory)
- A chunk of clay (or other third party assistance if you have)
- Clamps/ tweezers
How To Solder Wires To Pins – The Procedure
The main theme is to connect the wire to the pin header using the hot soldering iron. There are a few ways to get the work done.
Method One
One can be melting & attaching the solder to the pin header and cutting the unwanted part using the hot soldering iron. Later on, melting the other side of the solder to connect it with the wire.
Touch the solder with an iron tip while joining it with the header. In this way, the solder will melt and get attached to the header.
Remove the iron tip soon after melting. Again use the same tip to detach the unwanted solder part from its holder.
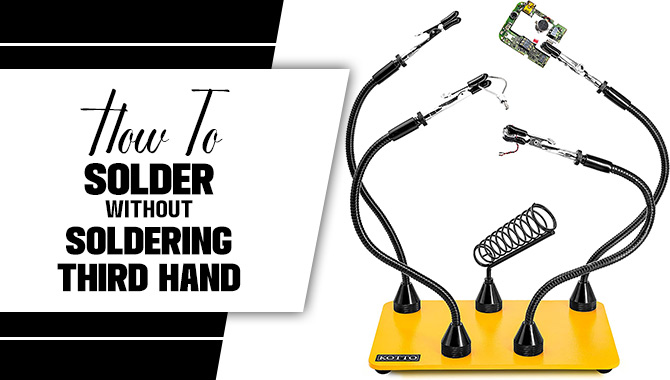
In this process, you can’t move the components while making joints, and so, there, you will need a third hand. If you don’t have a third-hand rig, simply use a chunk of clay.
Put the male header on the clay chunk and follow the above process.
Method Two
In this second method, we are not keeping any filler length. Rather we will be fusing it completely around the joint. So, the outcome is much more the fusible solder wire is wrapped around the joint of the header and the wire.
This method has two-step:
Step 1: Tinning The Male Header & The Wire Separately
At first, take the solder near the male header and slightly touch the solder with the soldering iron. In this way, the melted solder will get into the header. Do the same with the wire. Get the liquid solder filler into the wire tip.
You can do this tinning part in two ways. One is to touch the solder with iron and transfer this attached filler into the targeted tips directly from iron. Other is to put the solder with the targeted tips and place the hot iron in the joint.
This process of tinning the base metals separately is called “pre-solder” and used for smaller components.
Step 2: Soldering The Header Tip And Wire Together
After tinning the heads of both header and wire, put them together. As the melt will start to cool down, the bond will get strong.
Now, we will bring the hot iron tip to this joint to melt the metal a little bit. In this way, we will solder both tips together to strengthen the bond. Hence, the work is done.
Just like the first method, you will also need third-hand assistance here. If you don’t own any holding machine, you can get one from an electronic store or use clay chunks as an alternative.
Tips
- Prefer enough heat not overheating, or you will end up melting excess solder wire. The surrounding parts might get damaged as well, especially the integrated circuit, transistors, & the copper traces of the circuit boards.
- Removal of every plastic, wax, & oil coating is mandatory for high-quality adhesion.
- A dampened paper towel is preferable to wipe off the tip. But don’t burn your skin.
- Make your metal surfaces free from oxidation or corrosion by sanding or slightly scraping. Such clear surfaces will make a better connection.
- Make every soldered surface free from contamination. The slightest oil on your fingertip will create a hindrance to your connection.
- For tiny components or small connectors, soldering iron of 15 to 20-watt iron is safe.
- If you are adding a wire to the connector, create a wire loop around the connector by wrapping it. This will reduce the chances of wire breakage.
Precaution
When you are working with tiny wires & headers, soldering might seem insignificant & trivial. But forming a solid joint is important for your project to be reliable enough.
You ought to take precautions for your safety.
- Prevent touching the soldering iron tip with your bare hand.
- Use clamps for holding the wires while heating. Tweezers can be alternative.
- The cleaning sponge needs to be wet while using.
- Don’t put the unit on & plugged while not in use.
- You are missing something if you don’t know solder can spit. Remind to take an eye protector.
- Washing hands after soldering is mandatory.
- Better choose a fire-proof surface to perform soldering while working on bigger projects.
- Collect solder waste & gather it on a lidded container.
Termination
It’s pretty normal to damage a few tiny components as a newbie, but don’t get discouraged. You need some practice at the beginning.
Start with joint trial series on larger components and later on, proceed towards the tiny objects. We hope this guide has solved all your inquiries. I hope now you know about how to solder wires to pins.